...
...
Setup with NexOne
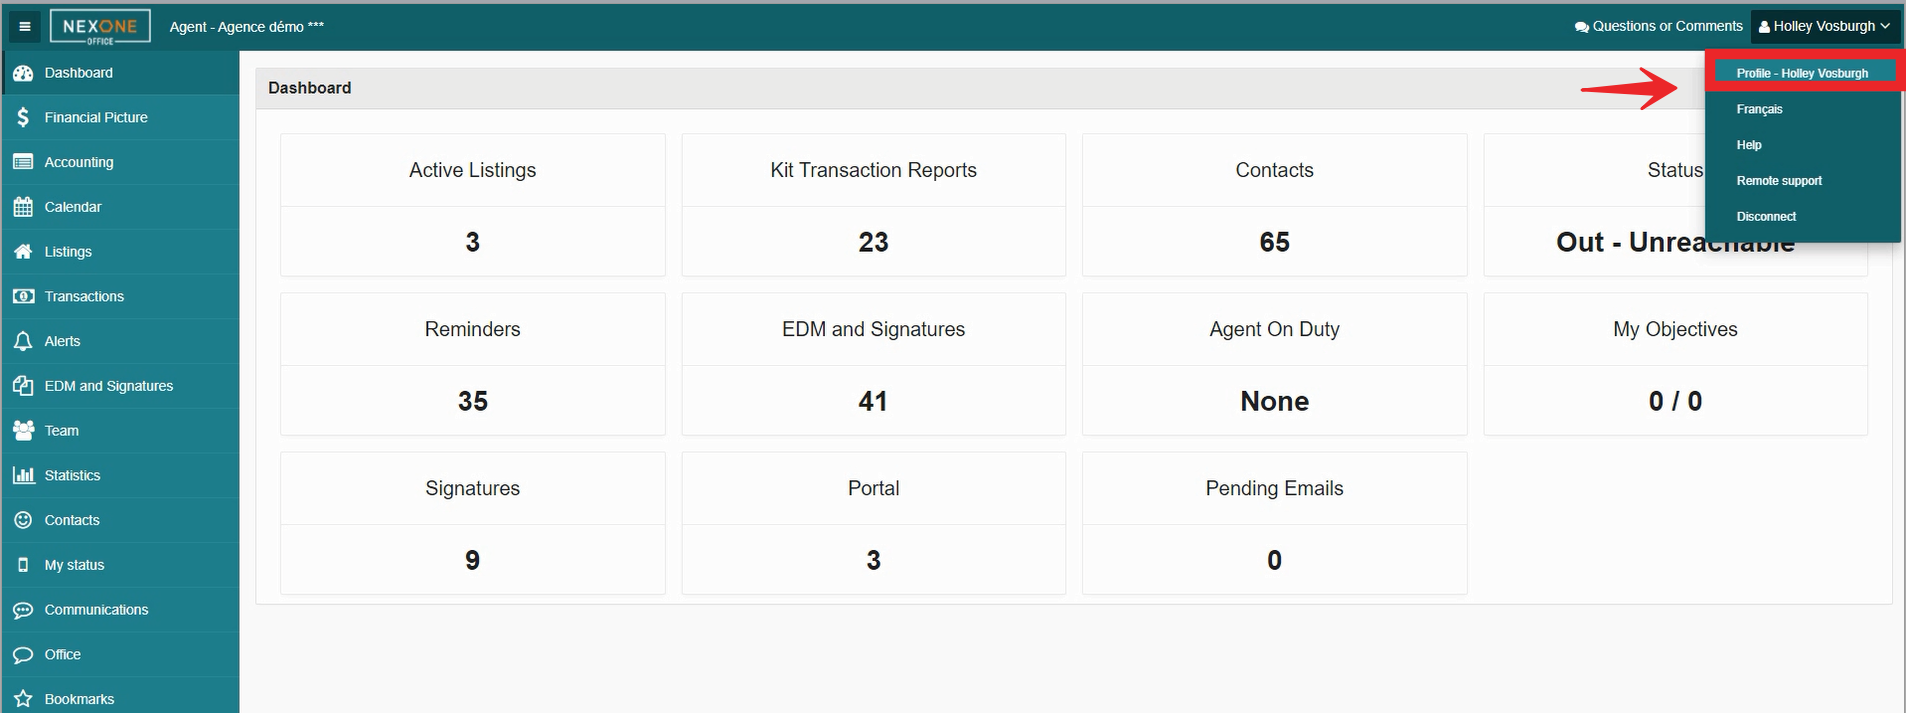
Open your agent profile in NexOne Office by clicking on your name in the top right corner.
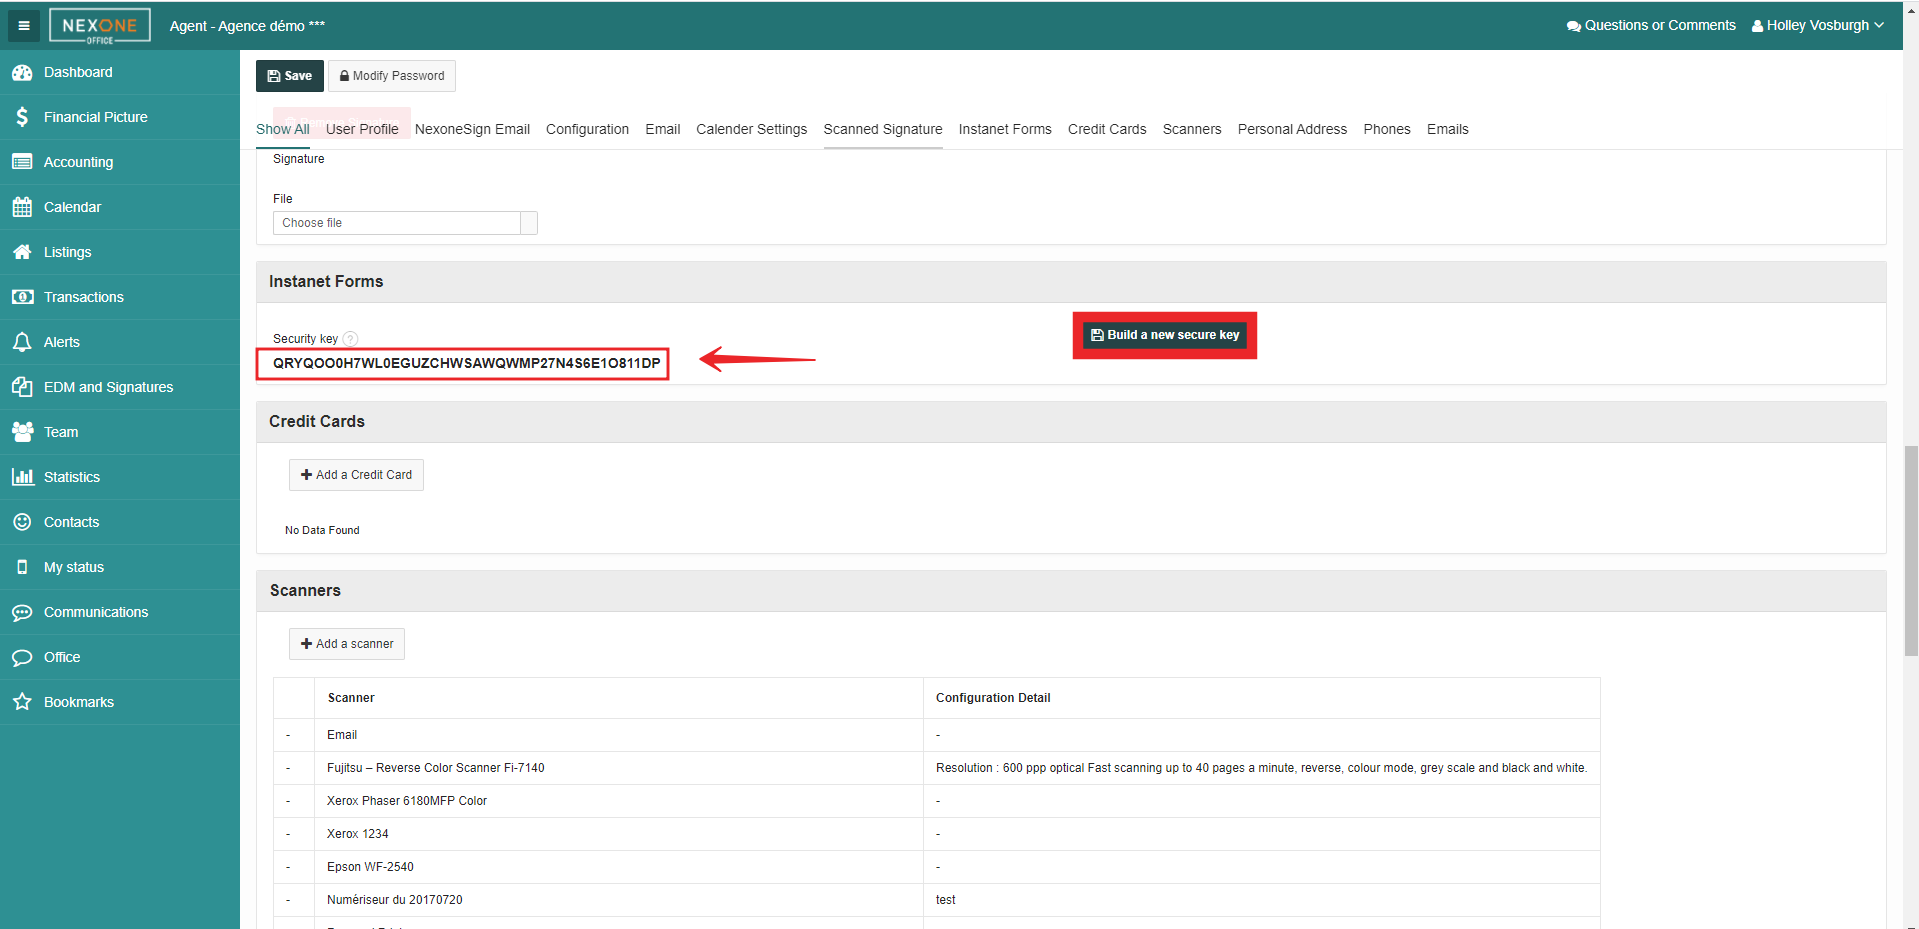
Make sure that the Instanet Forms section of your profile has a security key. If it is not the case, click on Build a New Secure key . Copy the security key.
Setup Instanet
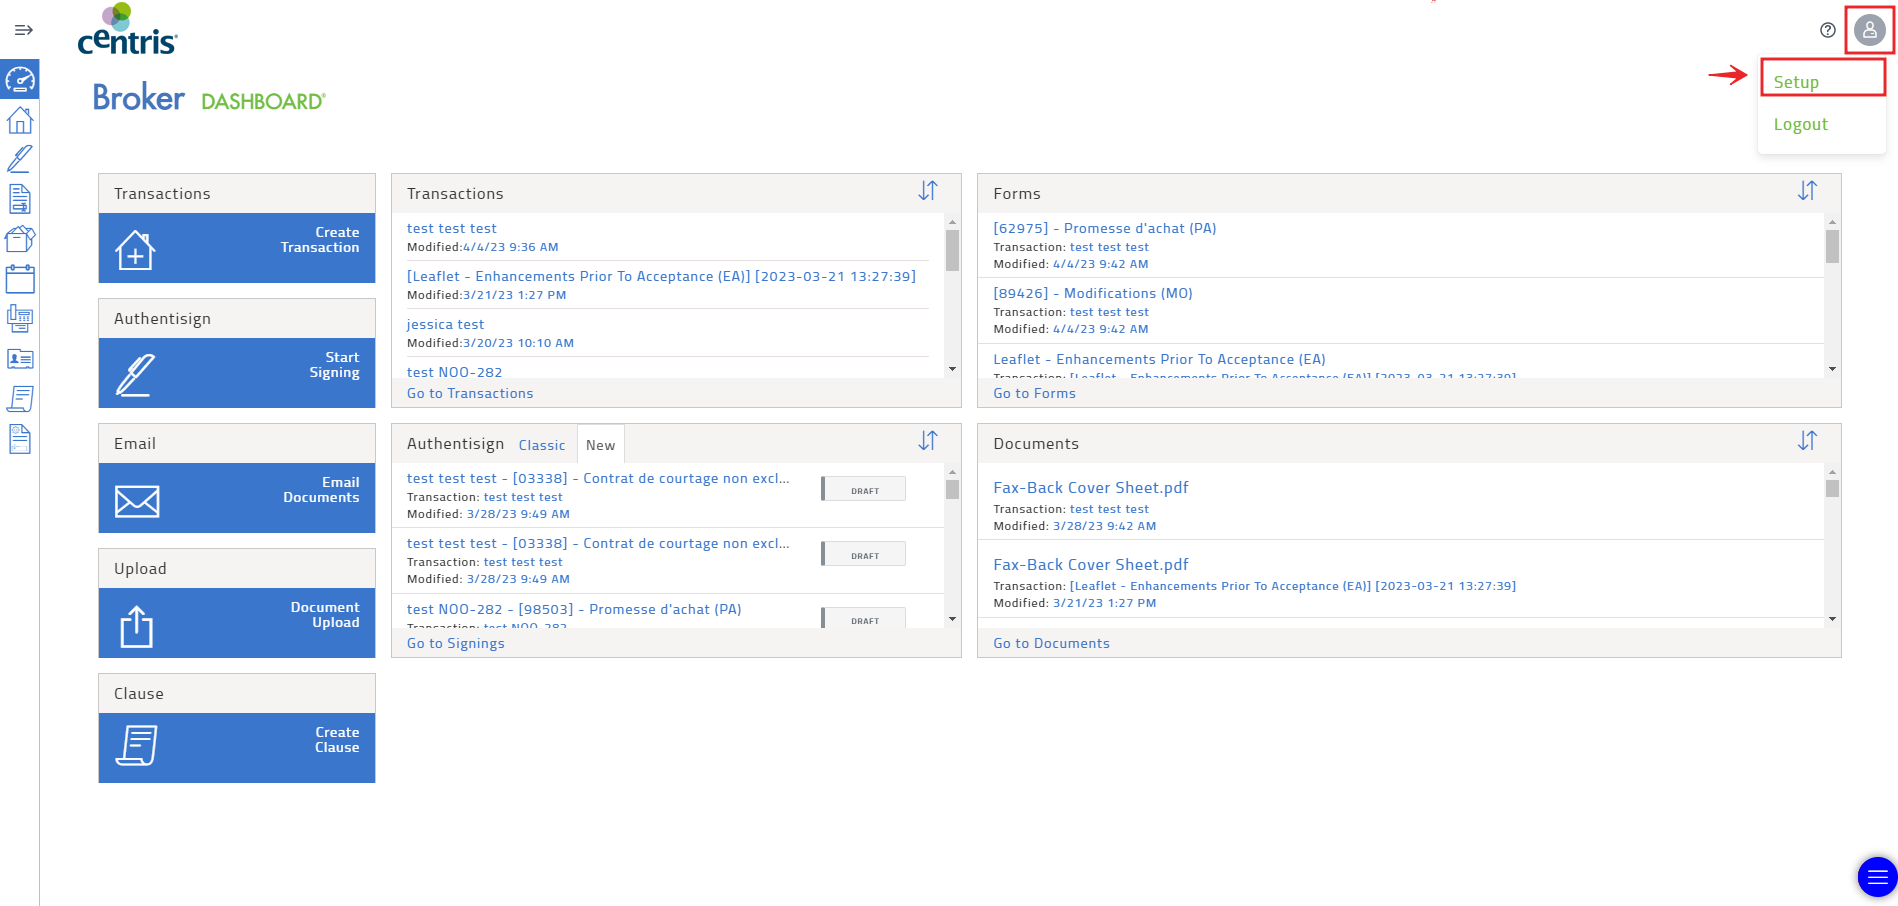
Once you have copied the security key, go in your Instanet account and click on the icon "little character" in the upper right corner and then on setup.
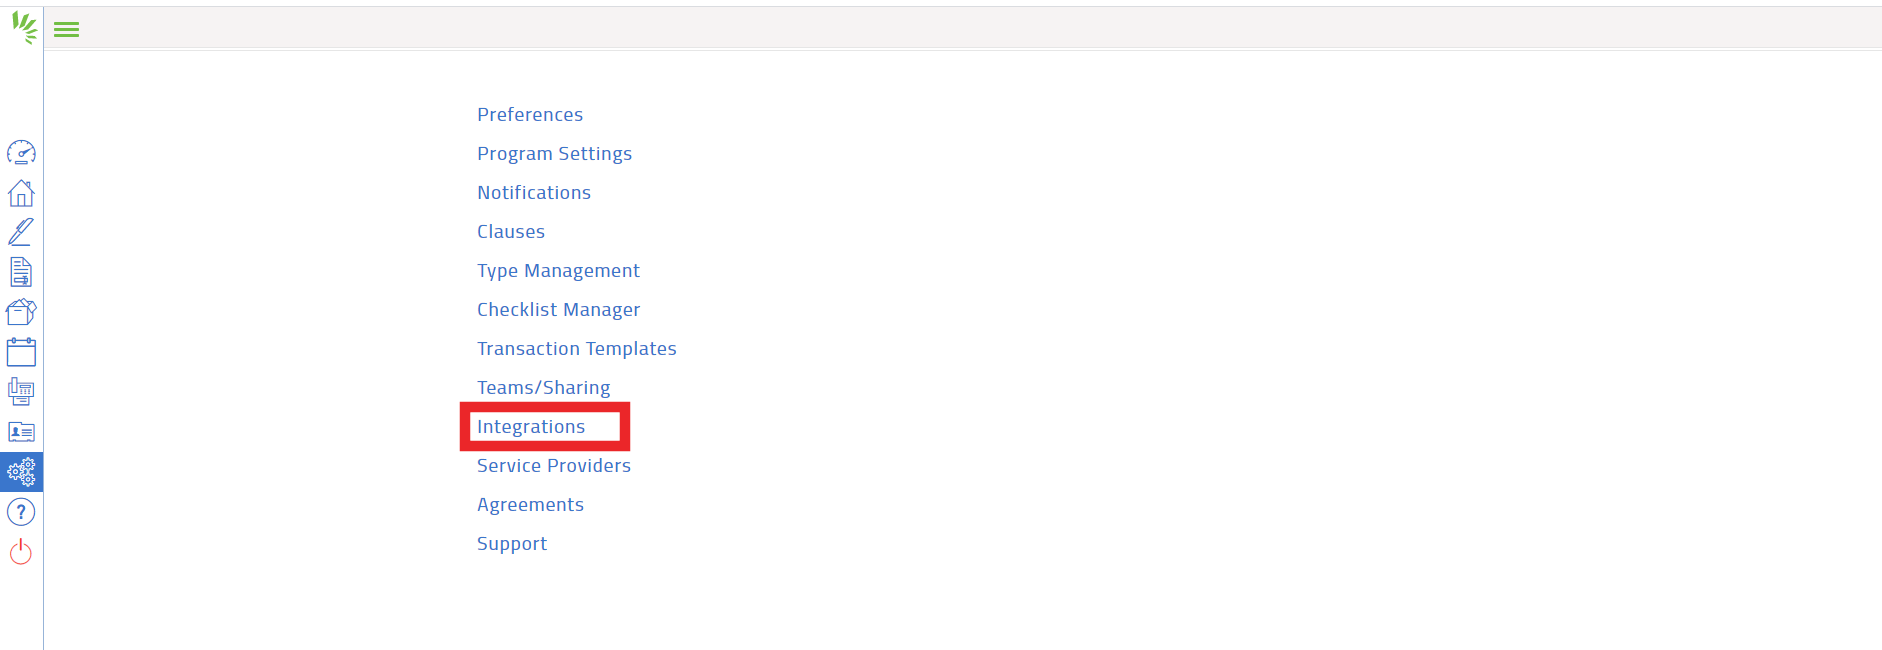
Select Integrations
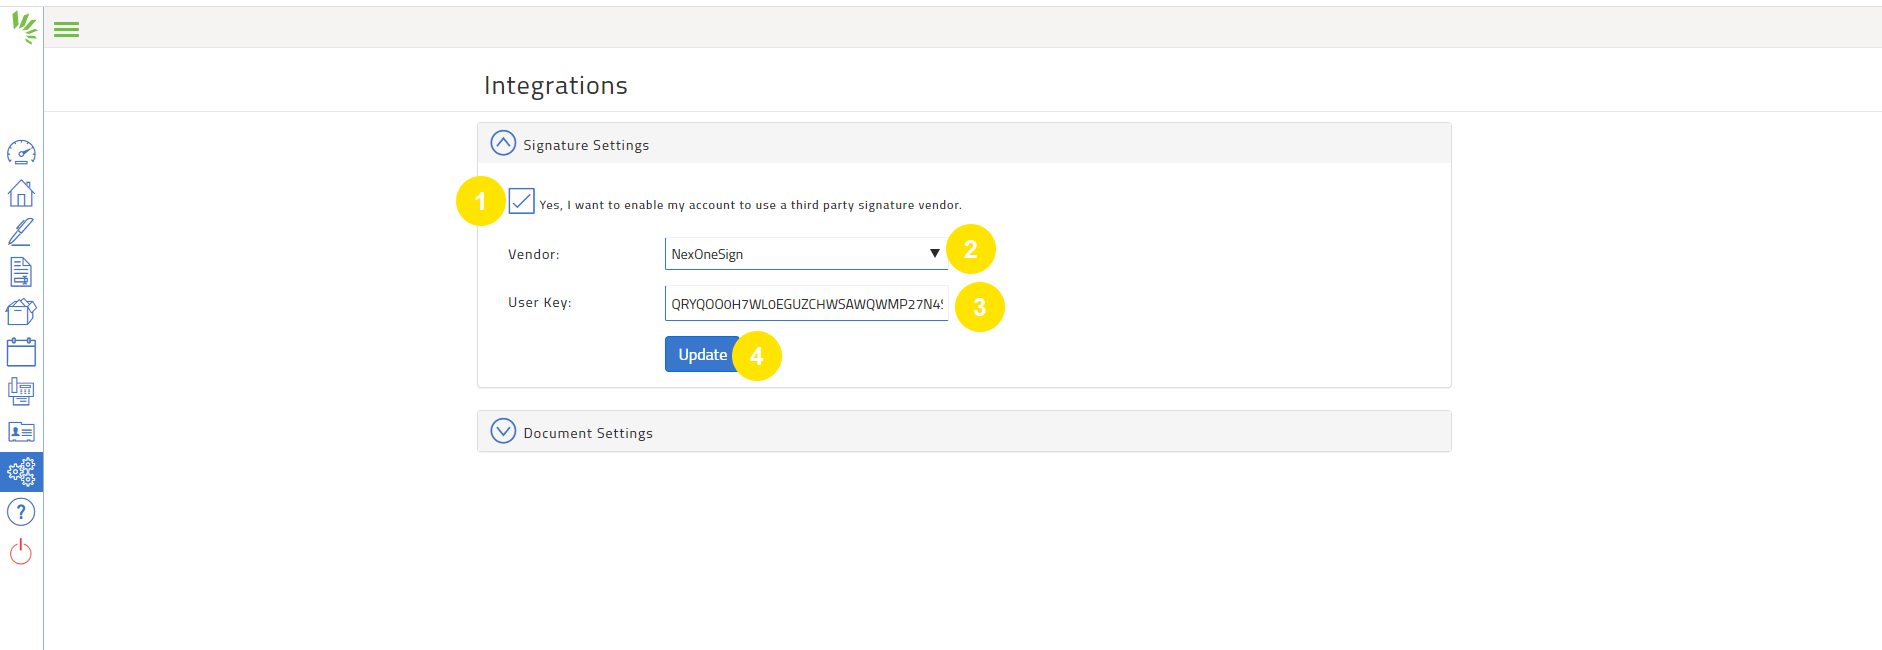
Under Signature Settings select: Yes, I want to enable my account to use a third party signature vendor.
Vendor: Select NexOne Sign
User Key: Paste the Security Key you copied in NexOne Office
Click Update
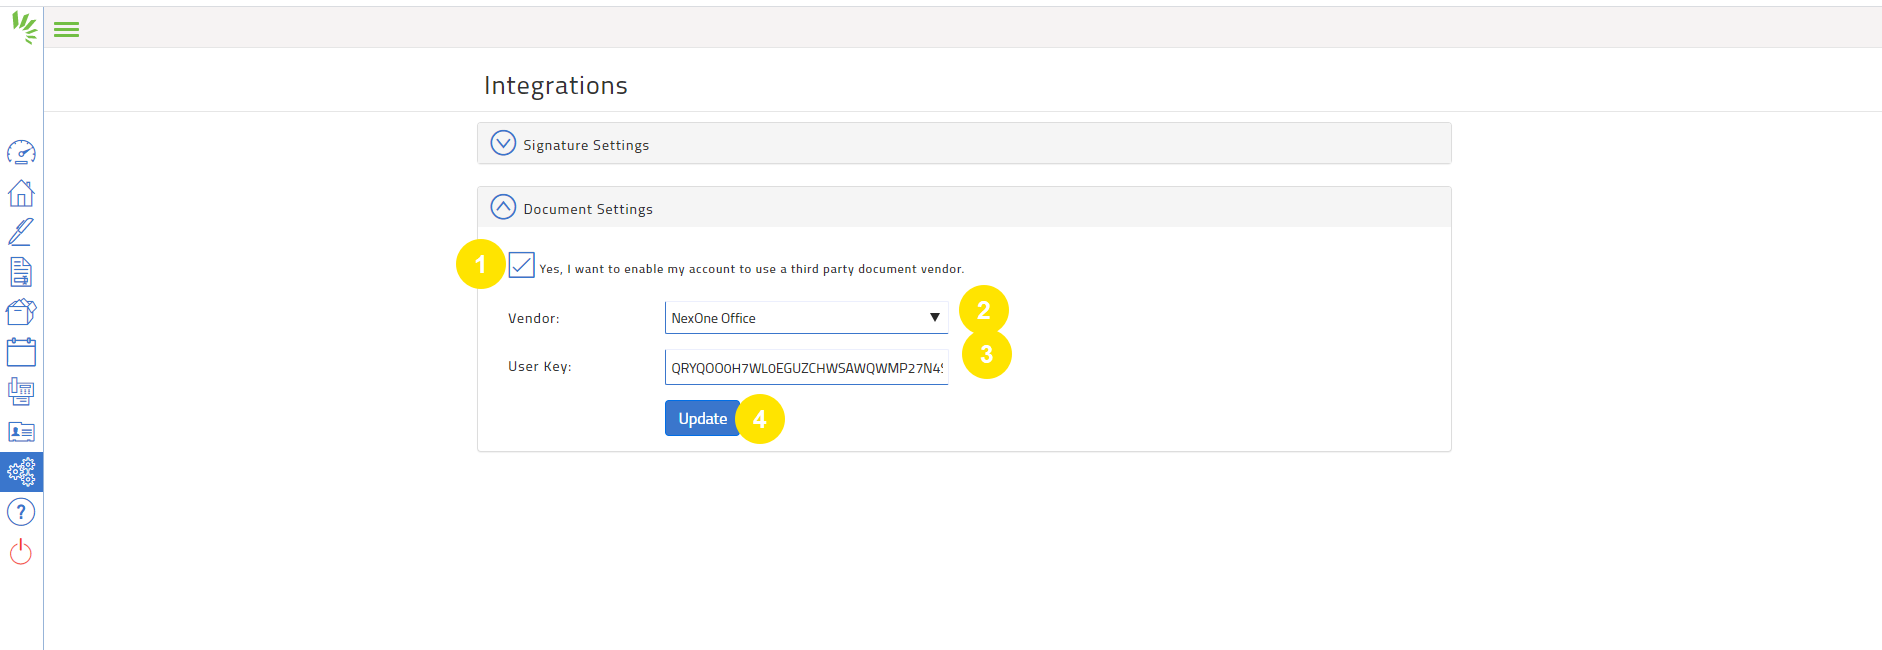
Under Document Settings select: Yes, I want to enable my account to use a third party document vendor.
Vendor: Select NexOne Office
User Key: Paste the same Security Key
Click Update
| Info |
|---|
Once you have completed these steps, your NexOne Office account will be linked with your Instanet account. |
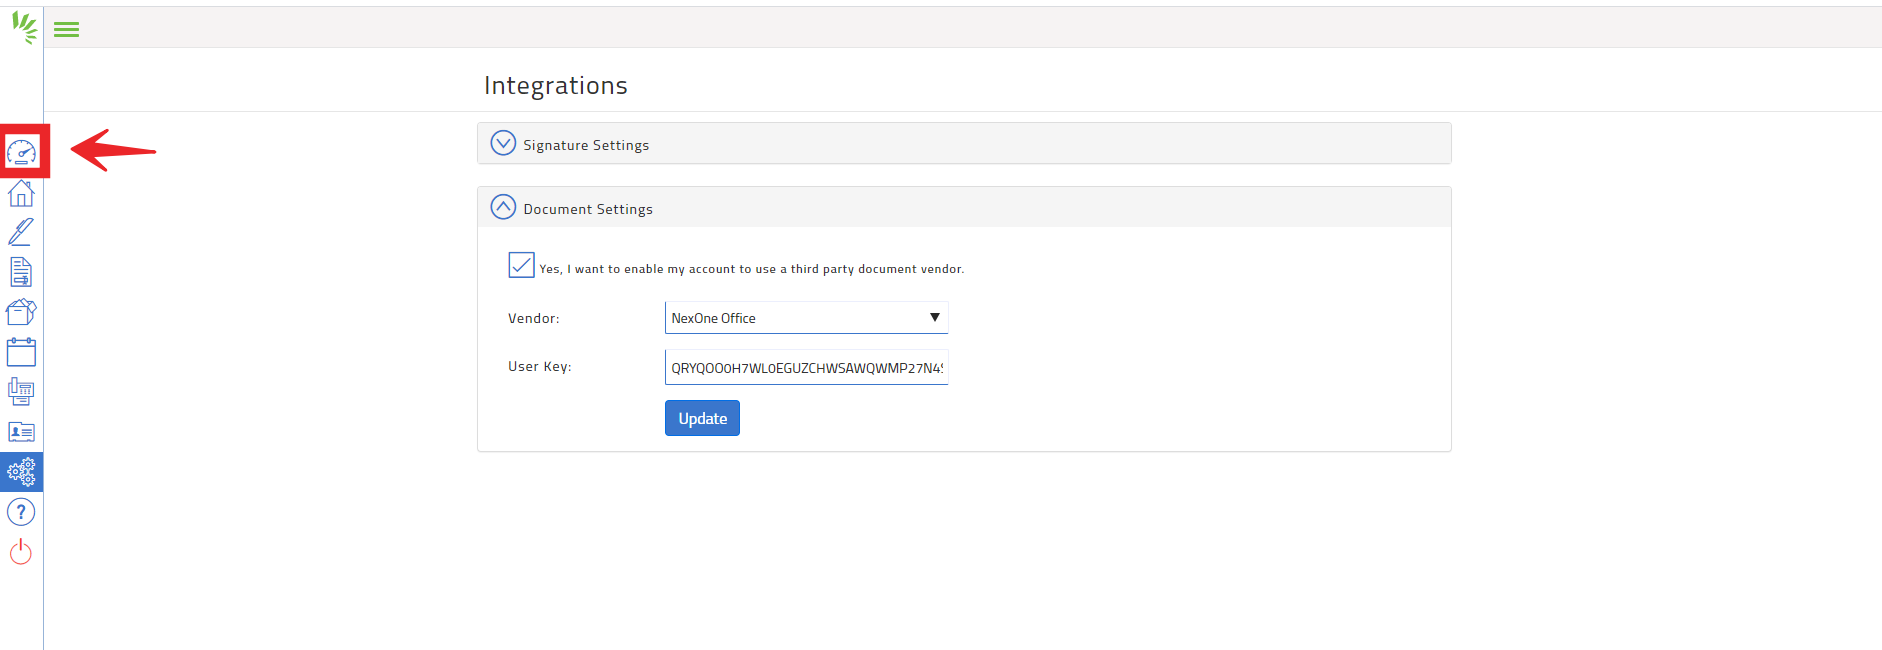
7. Click on Dashboard to return to the main page.
Sending from Instanet to NexOne
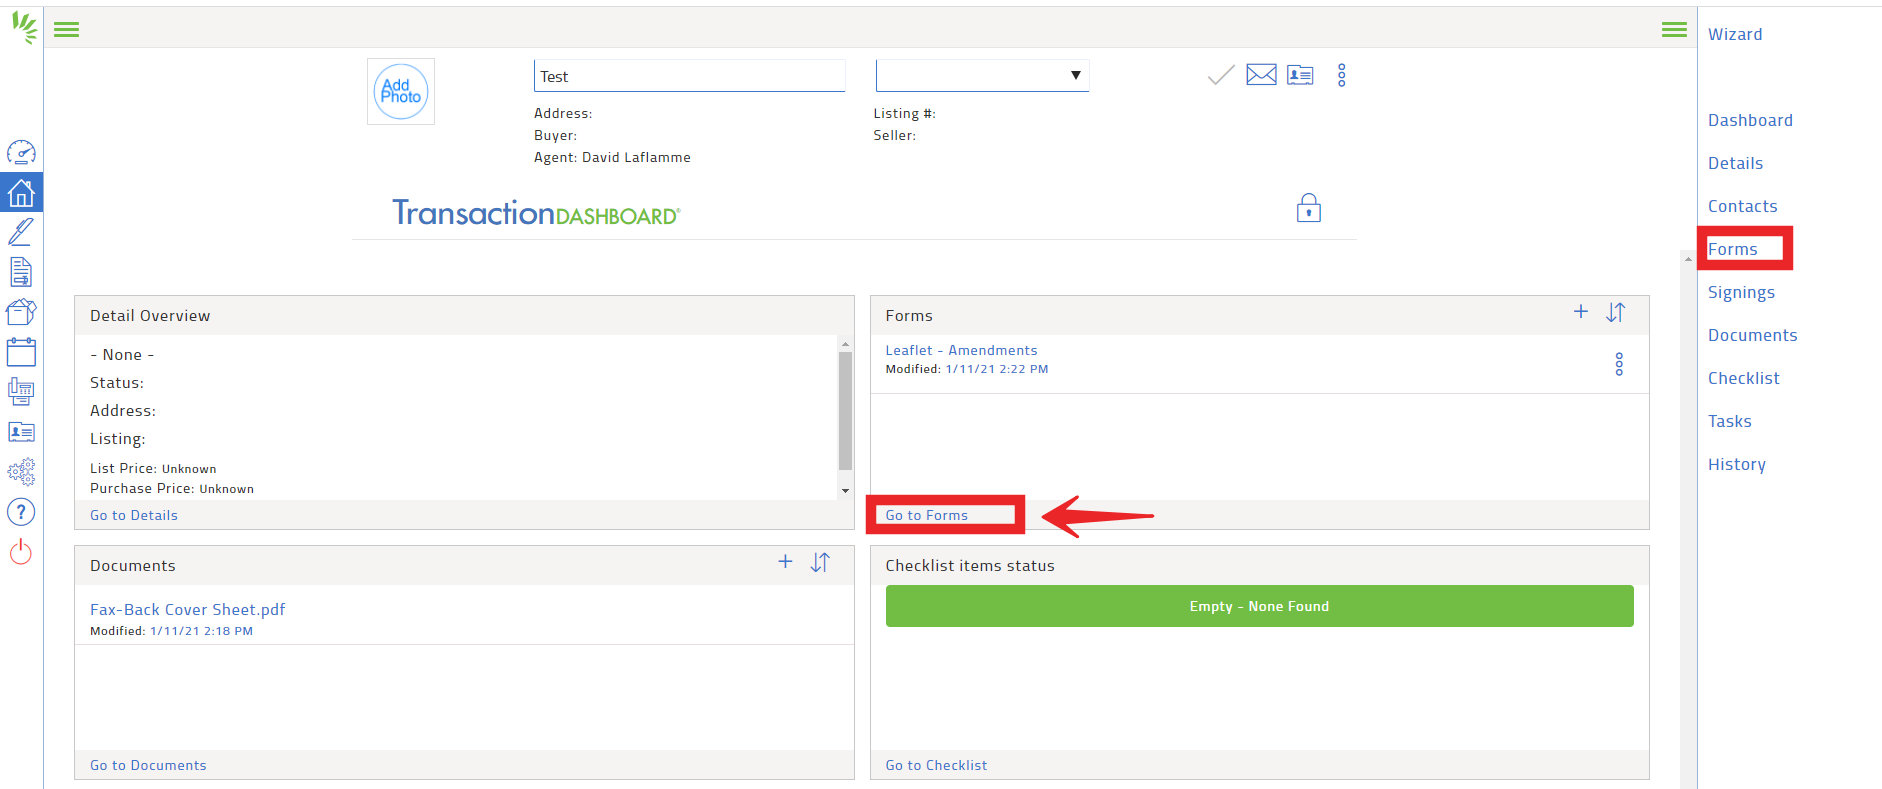
Select the transaction for which you want to send documents in NexOne Office.

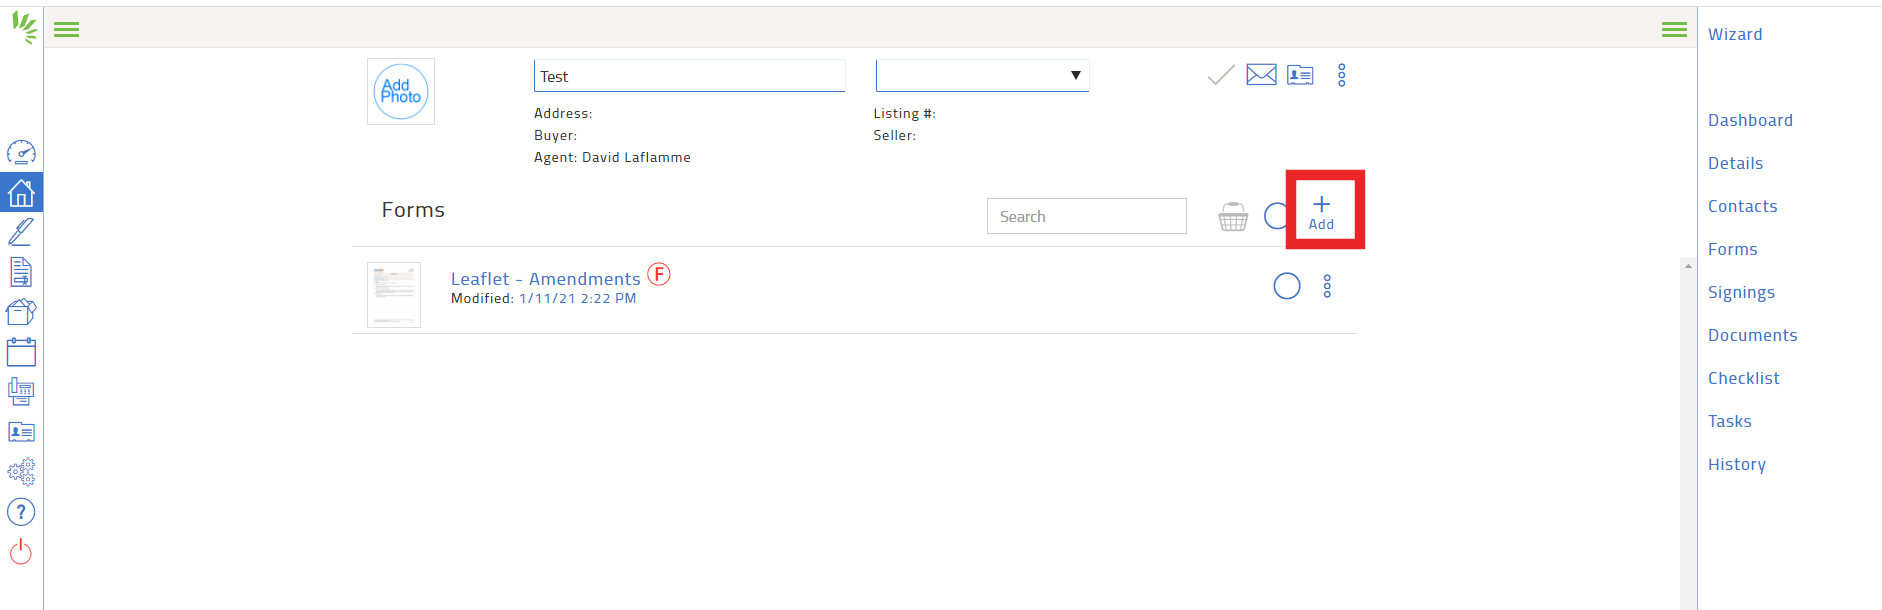
Click on Go to Forms or Forms (left side)
Click on +ADD and select the forms you wish to include.
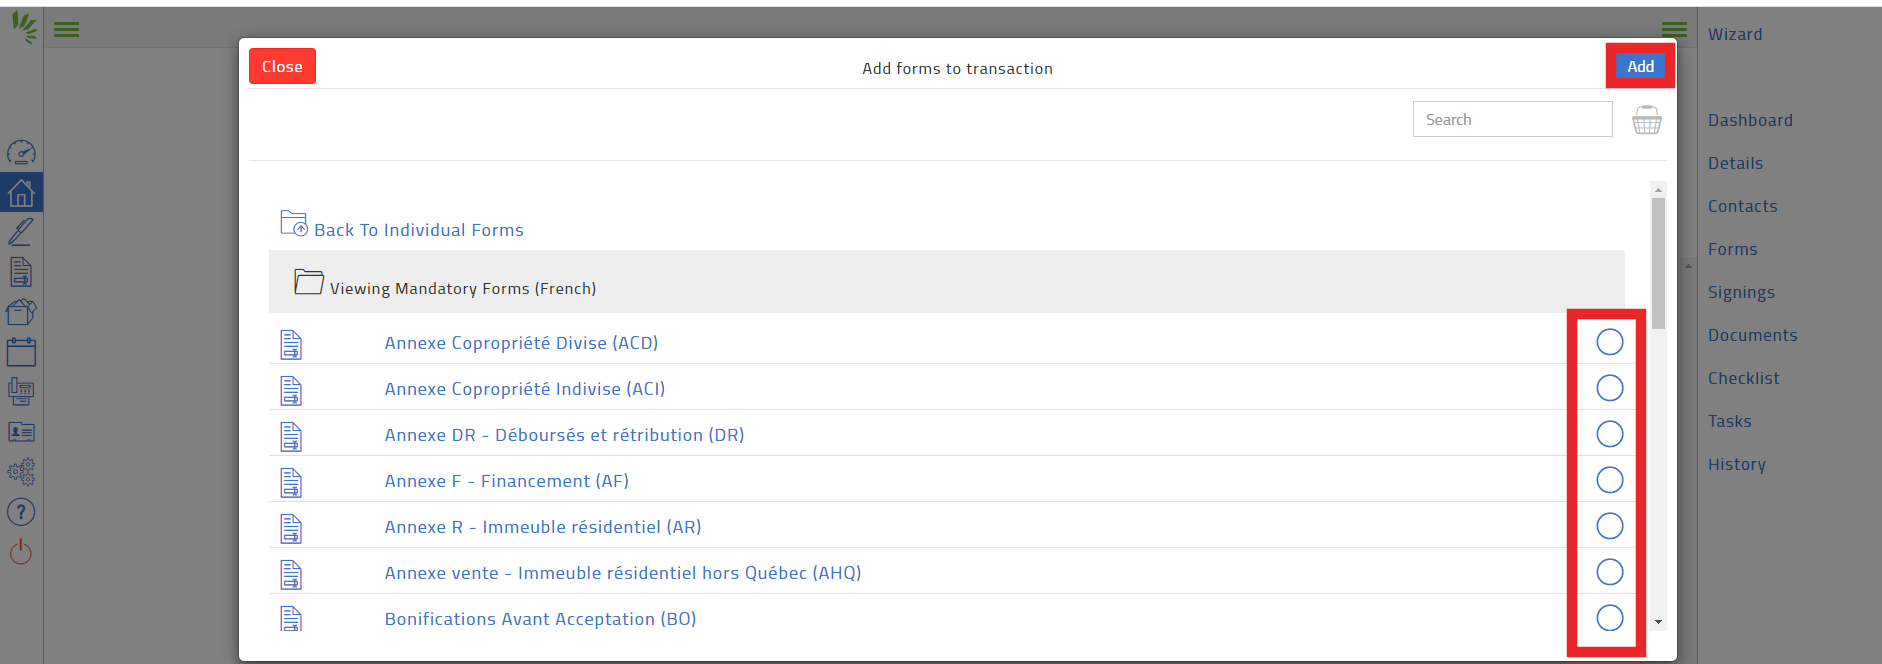
Select the documents by clicking in the circle then click on ADD
Complete your forms by clicking on the name of the form to open it and fill the fields.
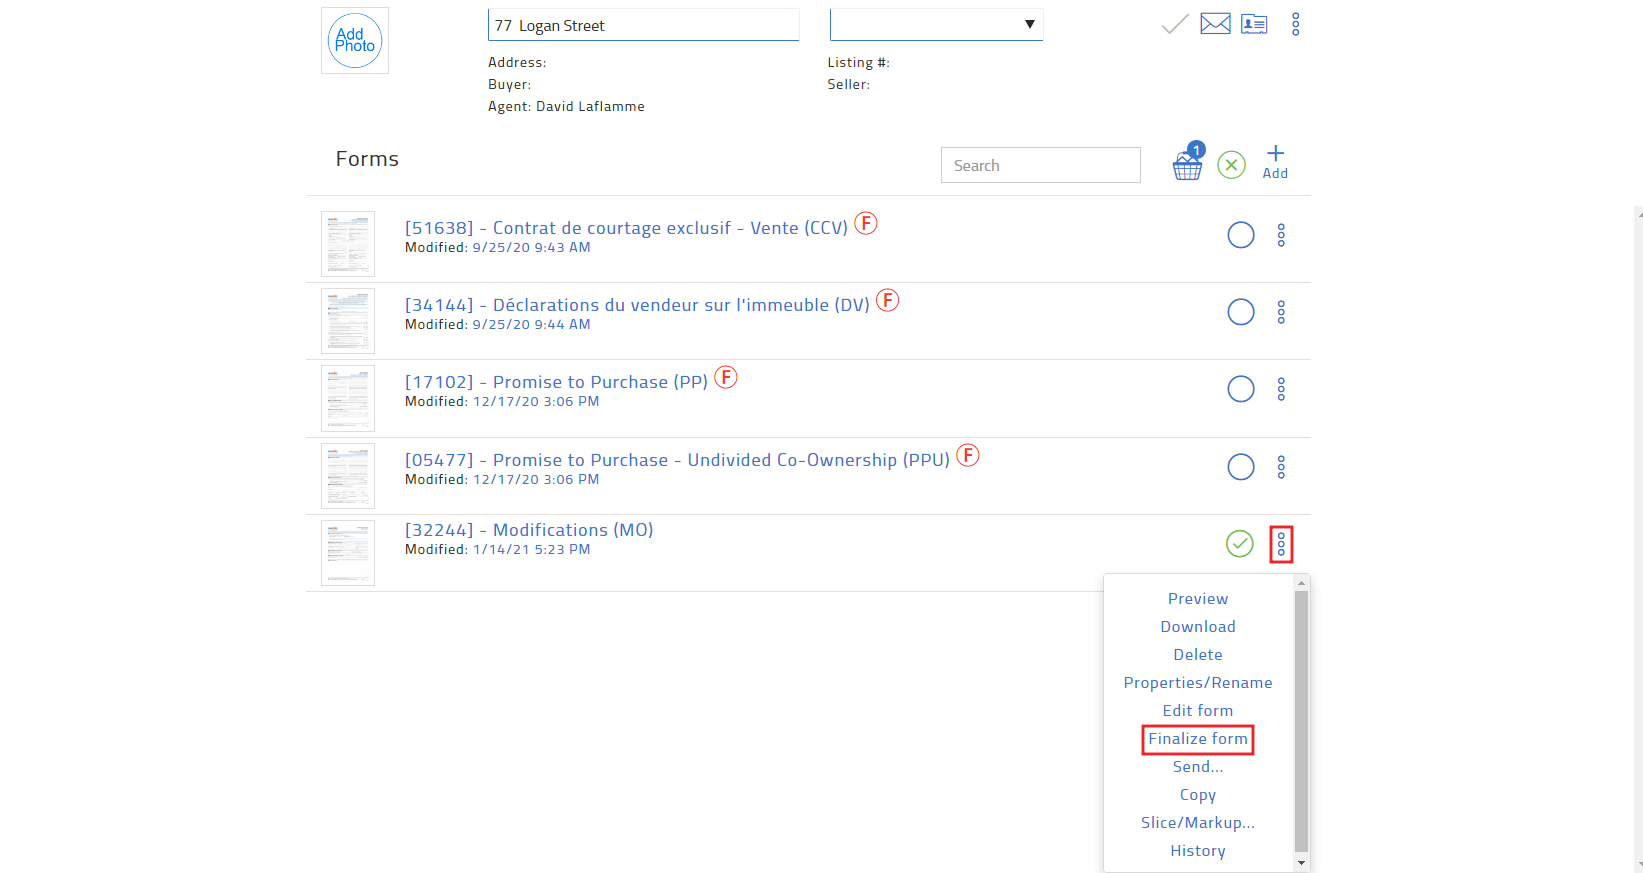
Finalize your form by clicking on the 3 dots beside the form or select more one or more forms and click on the basket and on F to finalize all of the forms.
| Note |
|---|
It is important to finalize the documents before sending them into NexOne Office. If you forgo this step, the system will not allow you to proceed. |
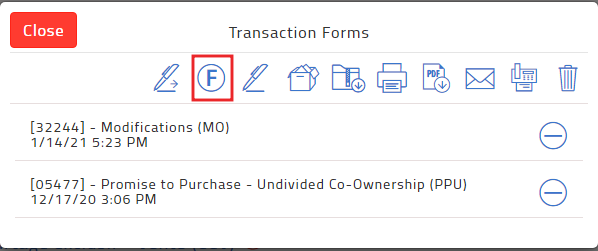
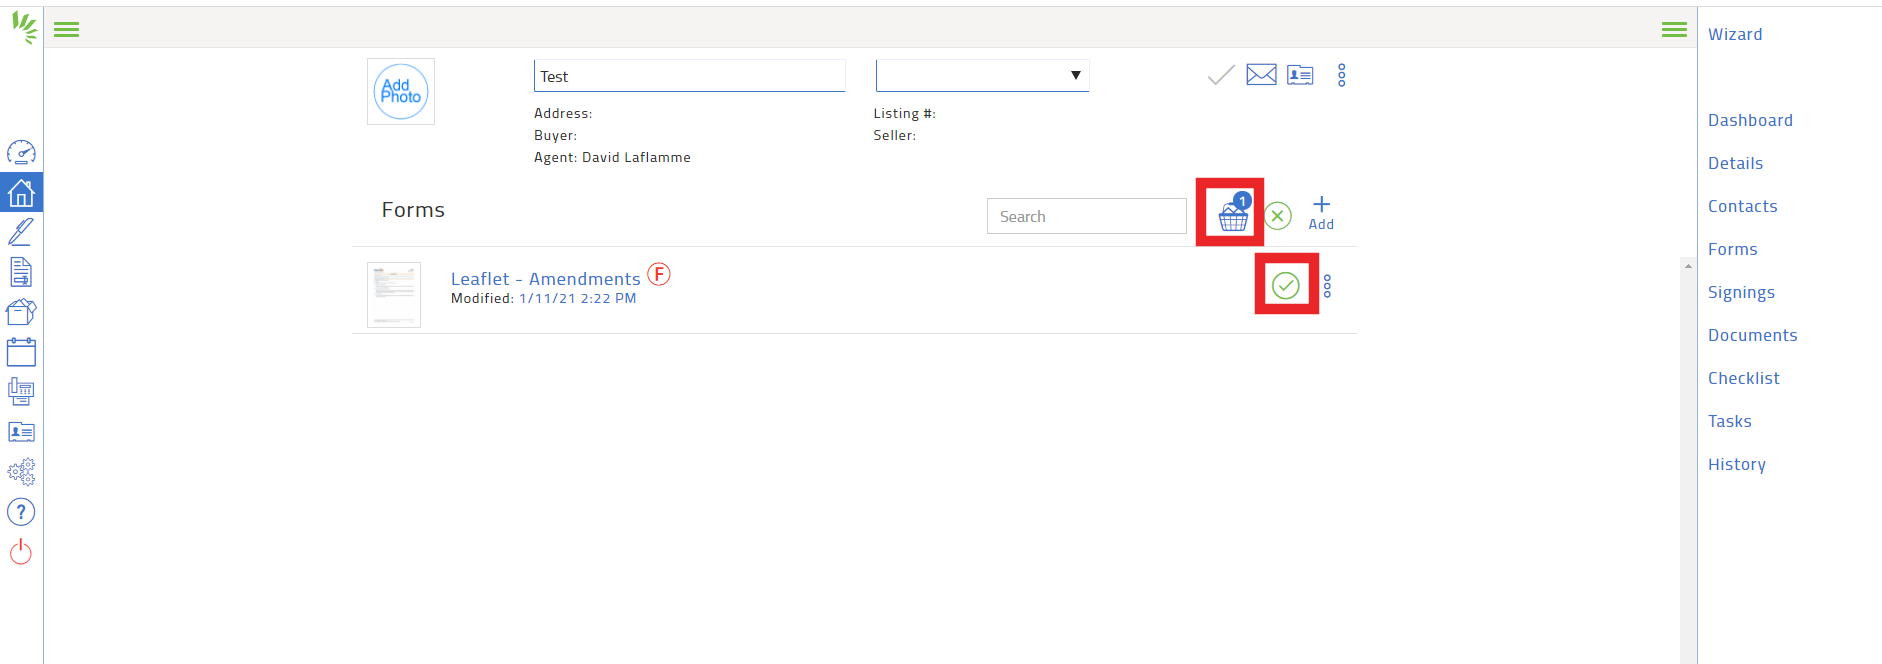
7. Once they are ready, click on the circle to select the documents, followed by the shopping cart.
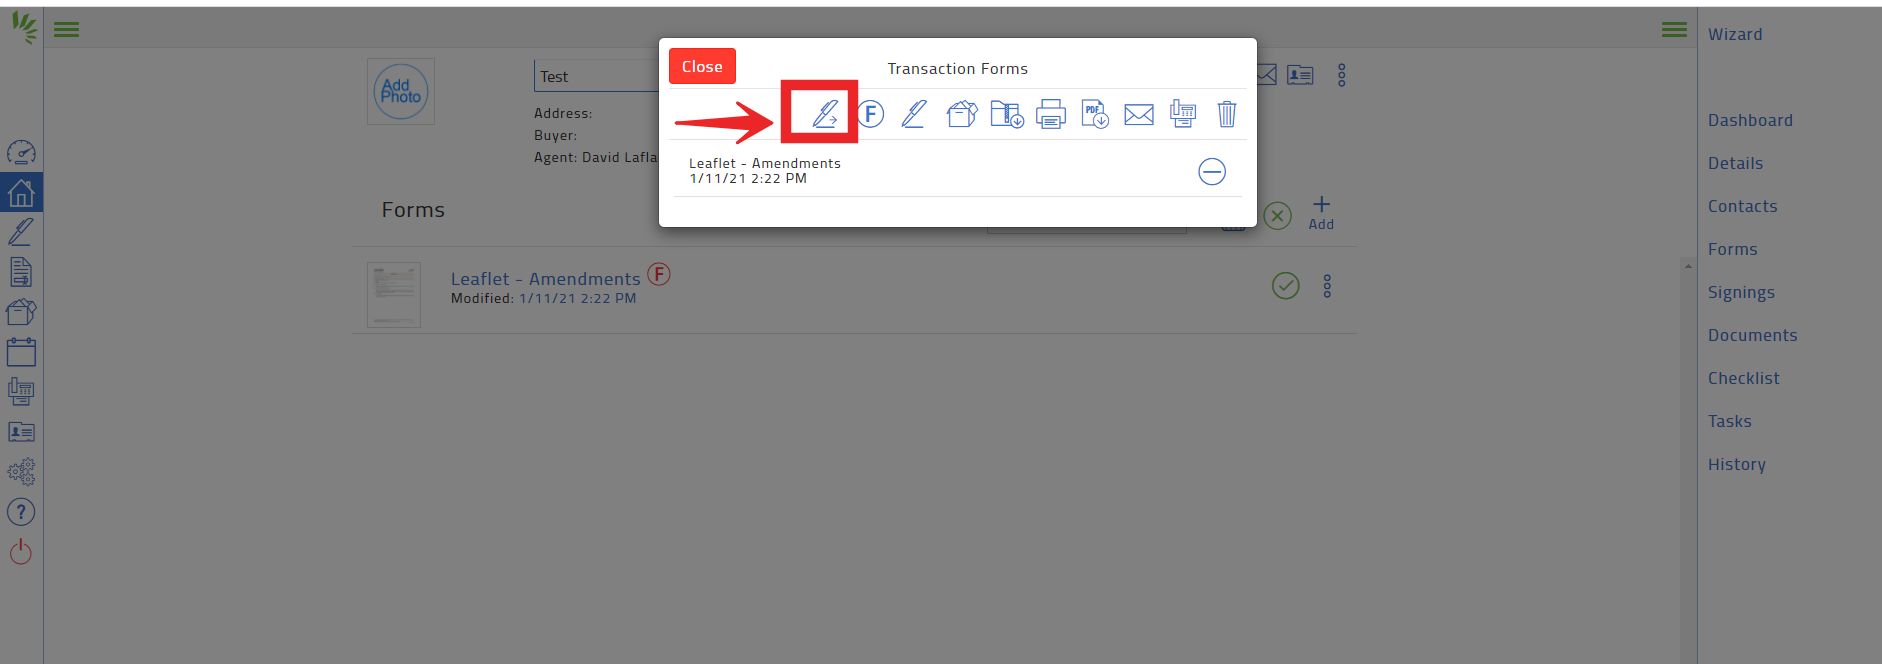
8. A new window will appear. Click on the pen to send all documents into NexOne Office.
| Note |
|---|
If NexOne office account don’t open, take a look to the pop-up blocker. |
9. Your NexOne Office account will open, select a folder to add your documents.
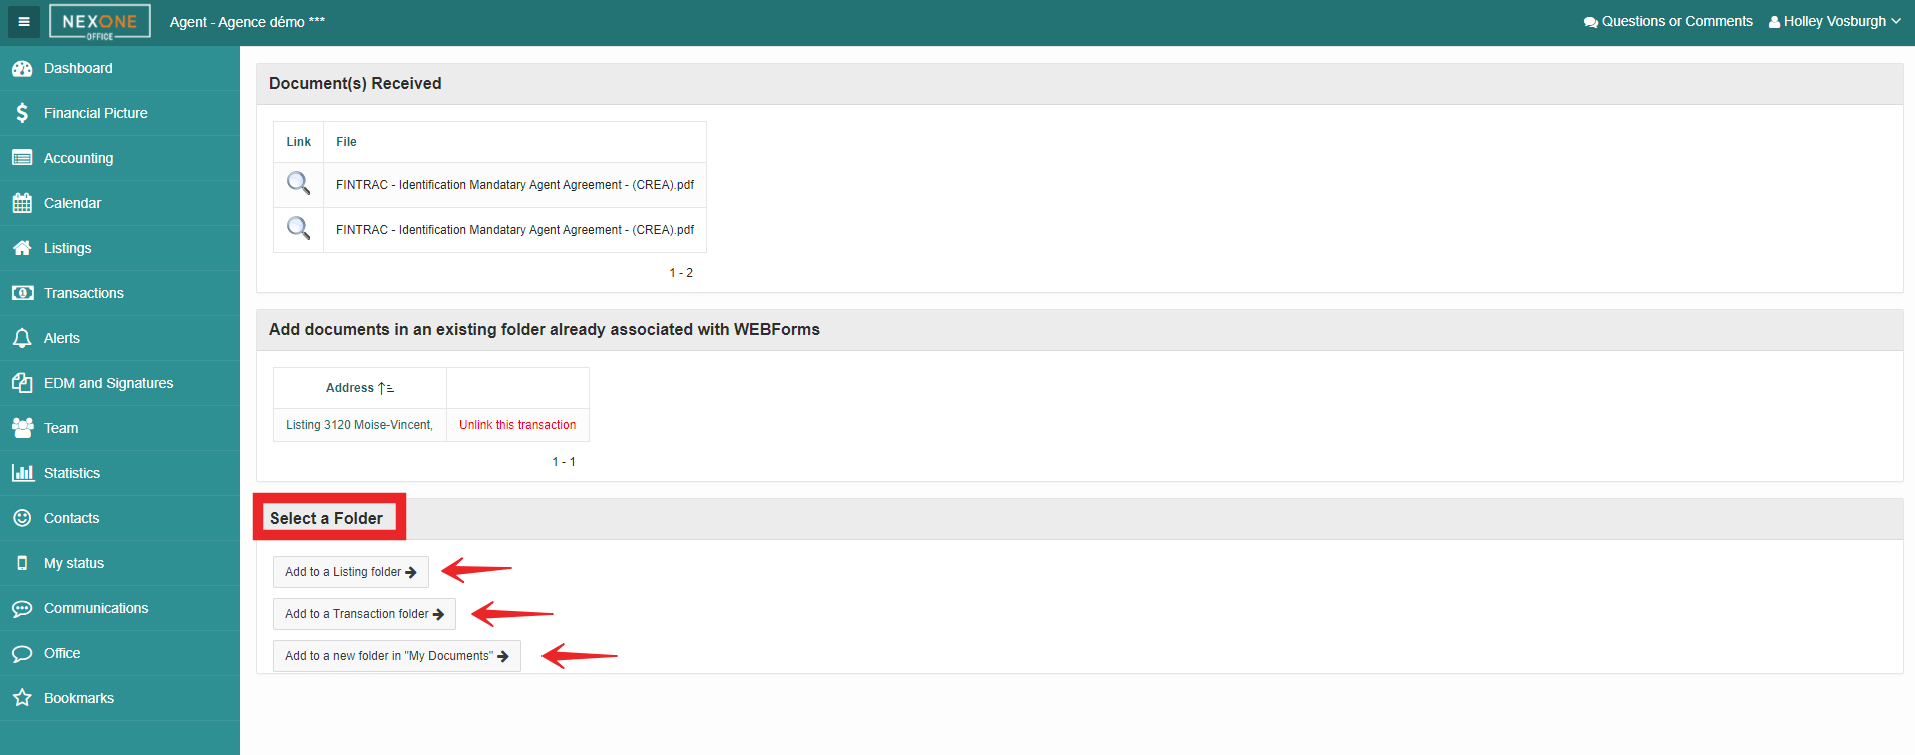
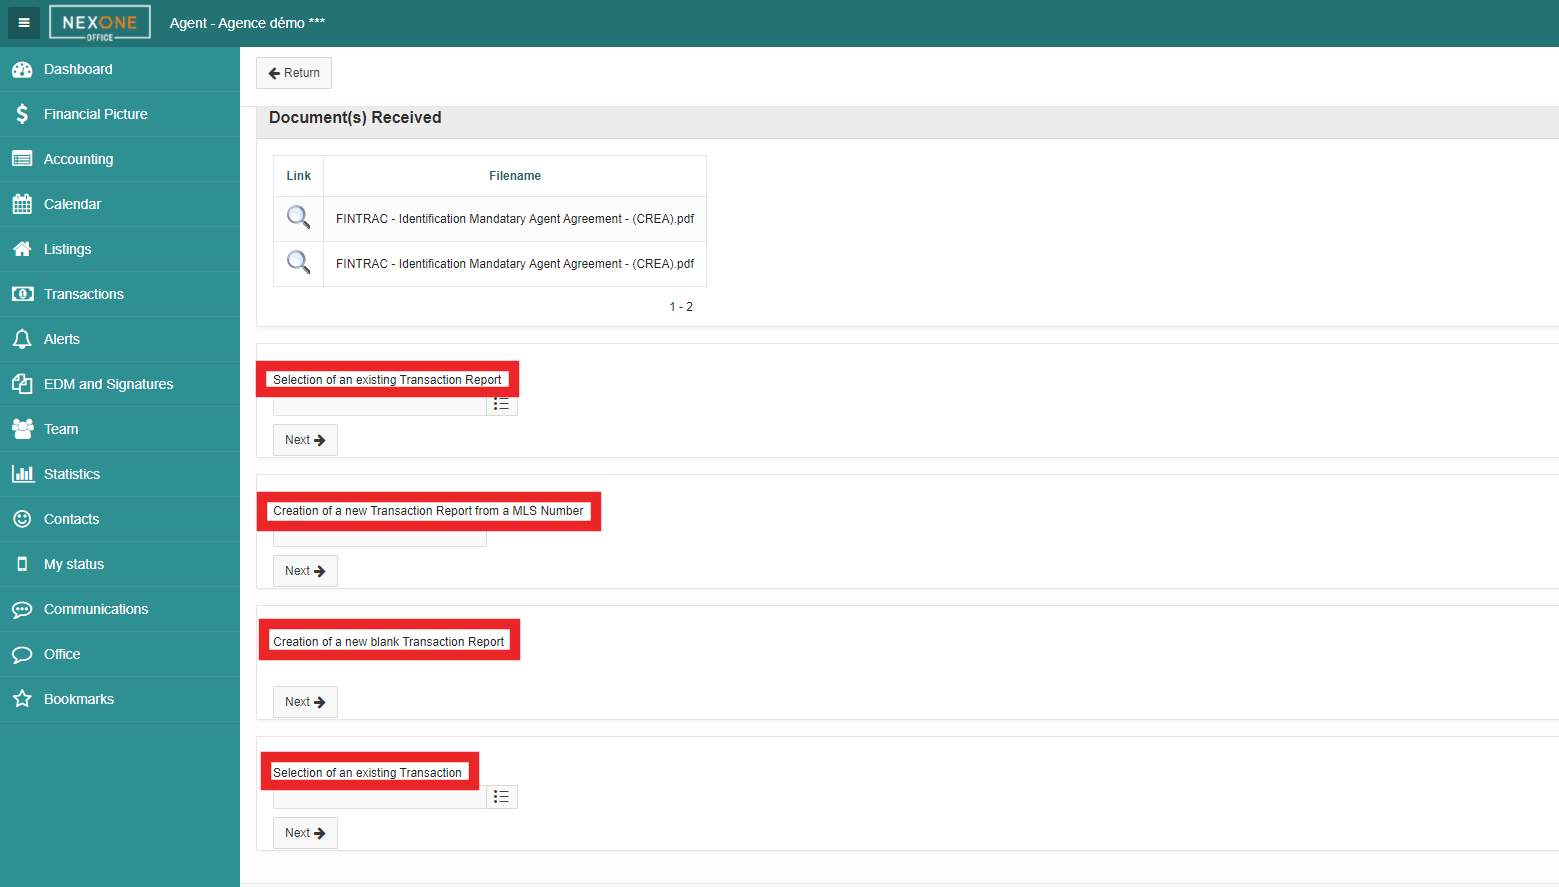
10. If you select:
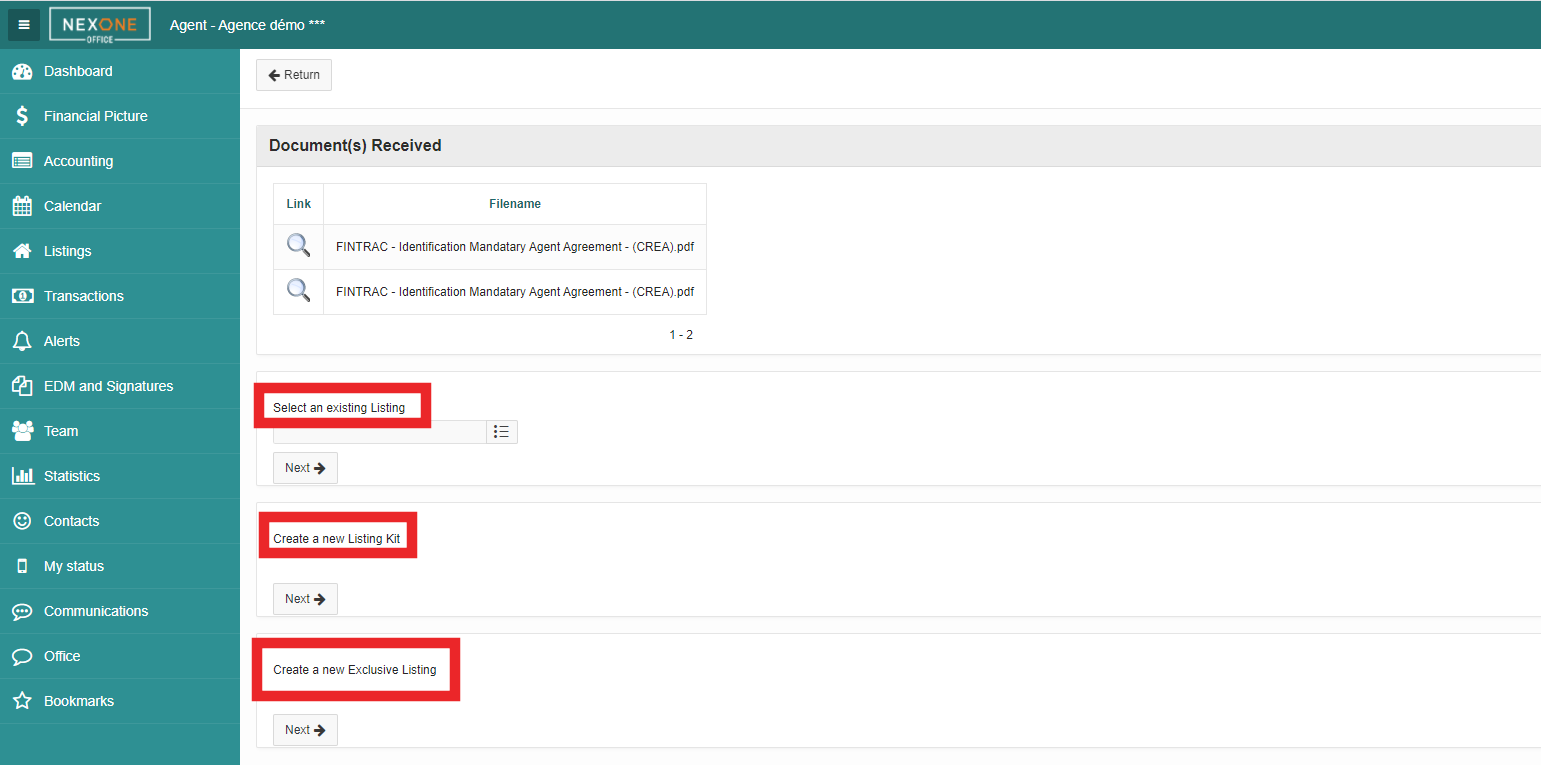
Add to a listing folder: you can choose an existing listing, create a new listing kit or create a new exclusive listing.
Add to a transaction folder: you can choose an existing transaction report, create a new transaction report from an MLS Number, create a new blank transaction report, or select an existing transaction.
Add to a new folder in “My Documents”: you can complete the necessary fields and save these documents in a specific folder.
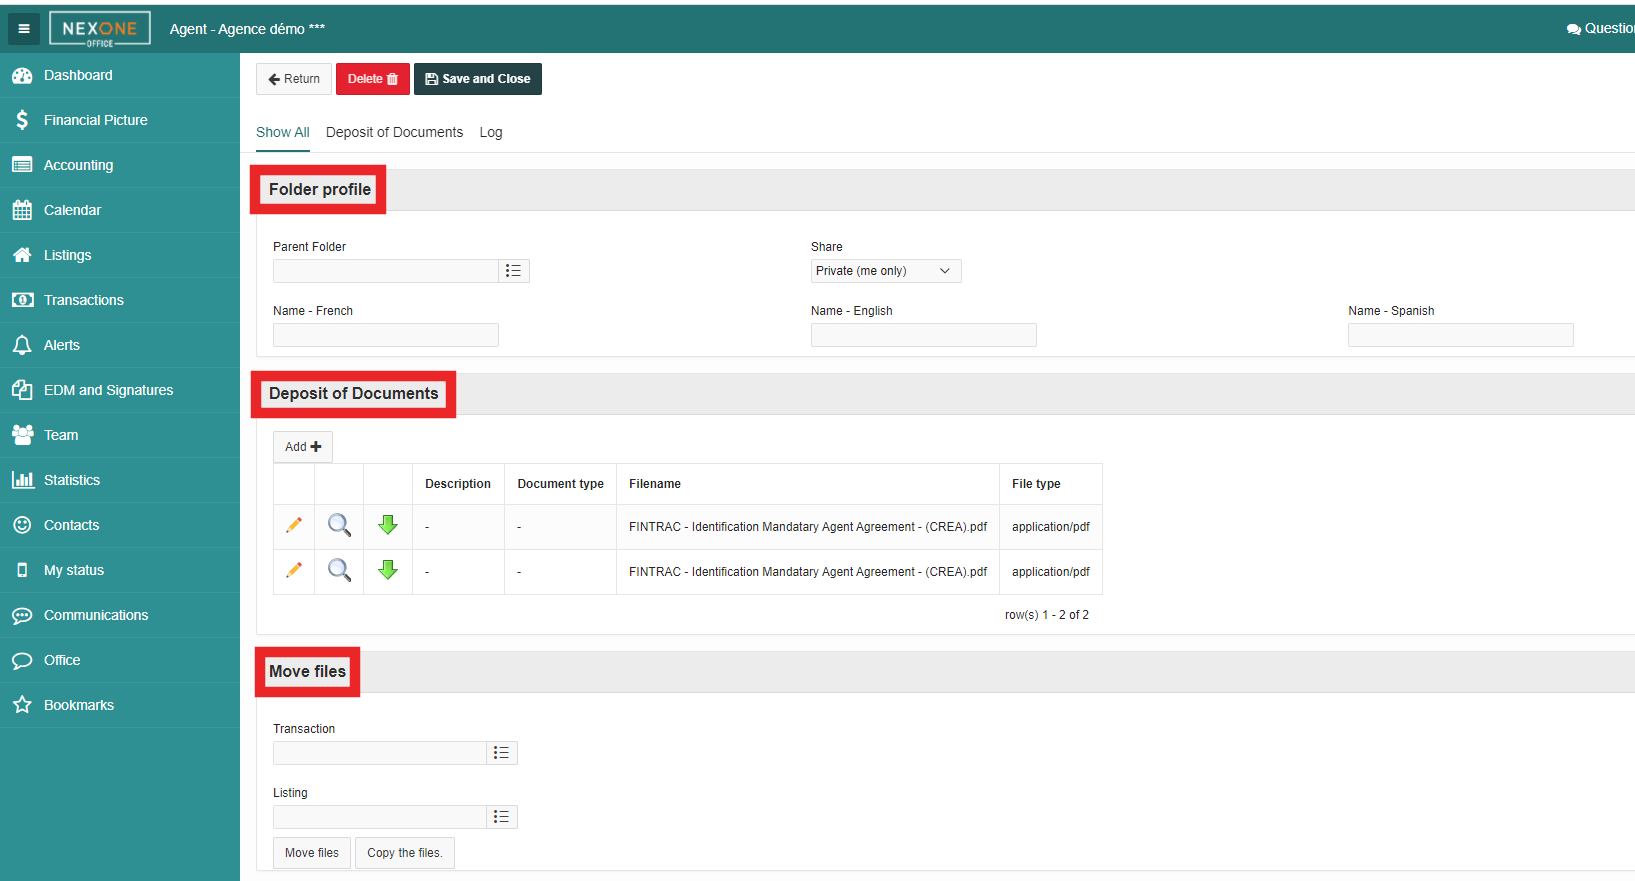
All documents sent from Instanet will then be deposited into your EDM.
| Tip |
|---|
Completed! |