| Info |
|---|
It is possible for the Main Office account to modify the required documents for Listings, Client's Files and Transactions. In the Client and Listing tab, you can select if you want a document to be required or not, and you can also add a reminder for the office to be notified if the required document has not been submitted. In the Transaction tab, in addition to those two options, you can also modify which side is able to see certain documents (listing,selling or both). You can also select if you want that document to show once the transaction has been linked to a Client’s file or Listing. |
Add a Required Document
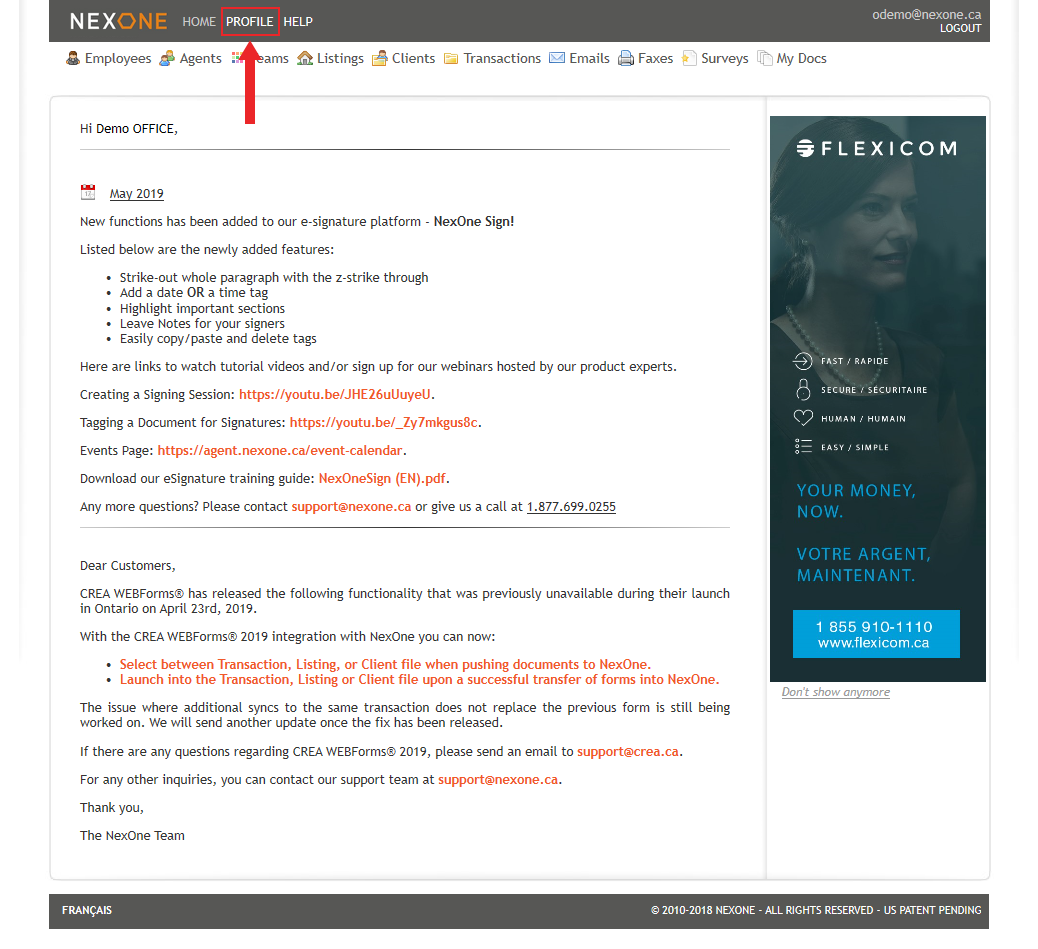
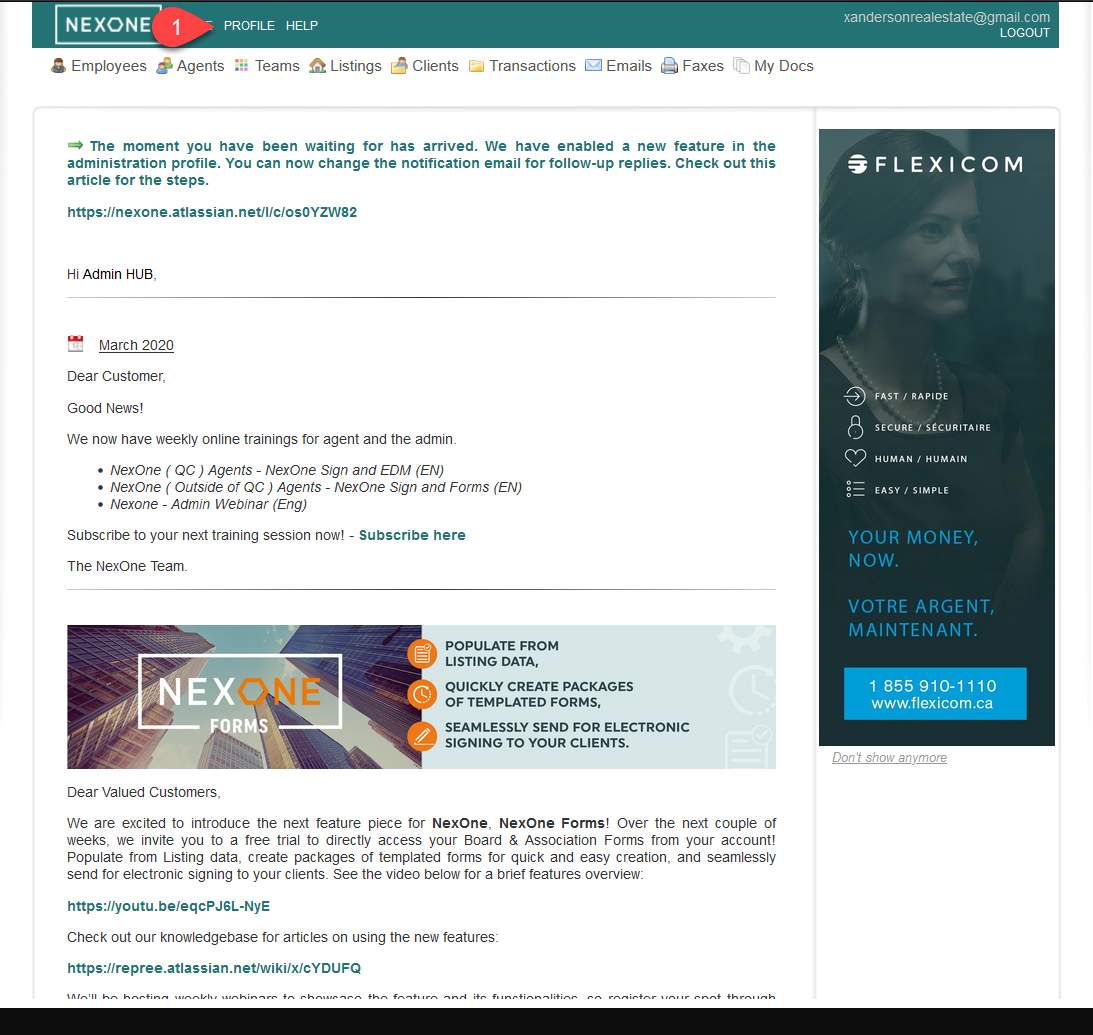
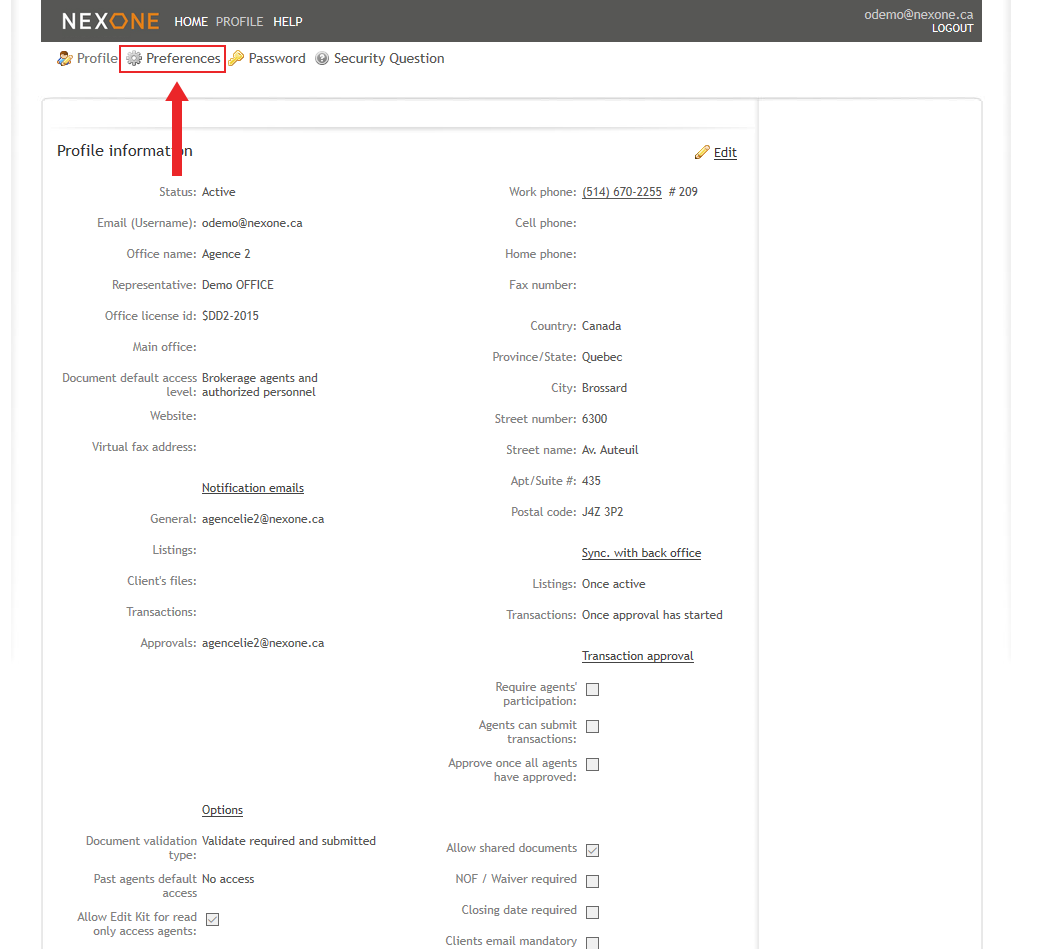
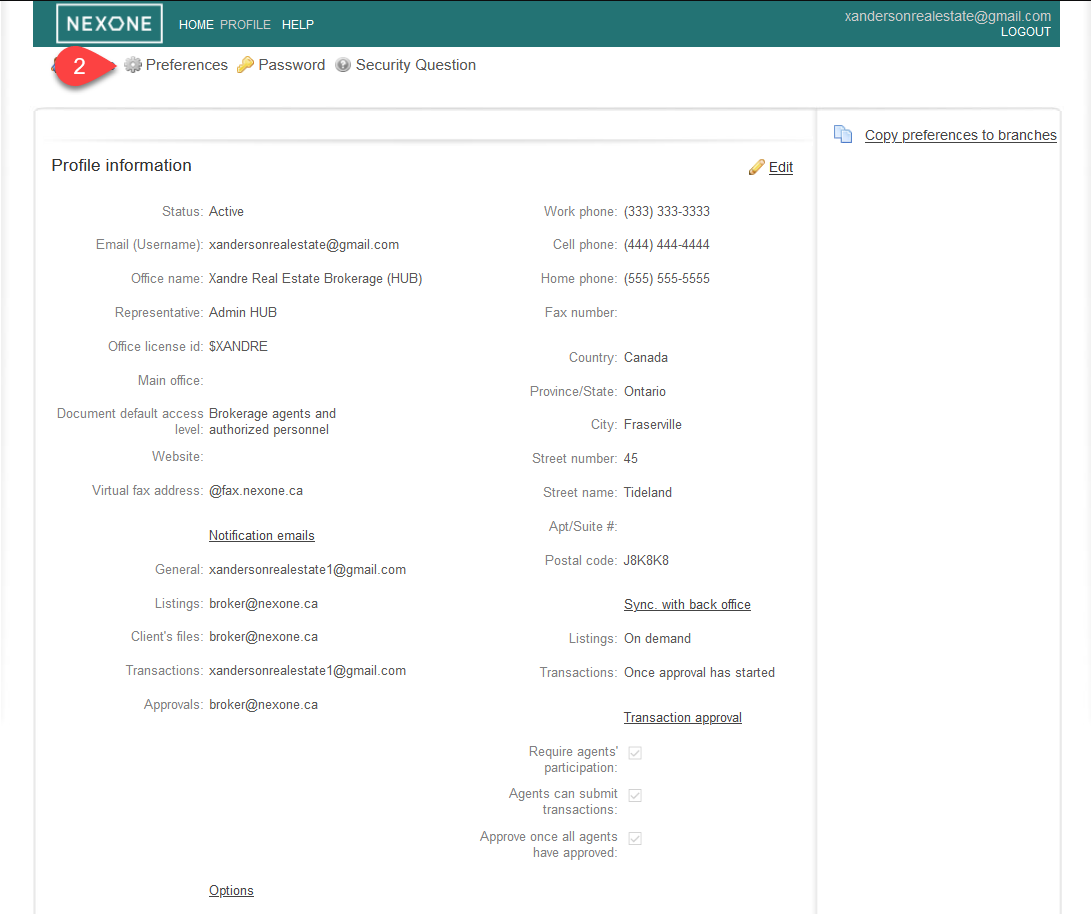
1. Go to the Profile tab
2. Select the Preferences option
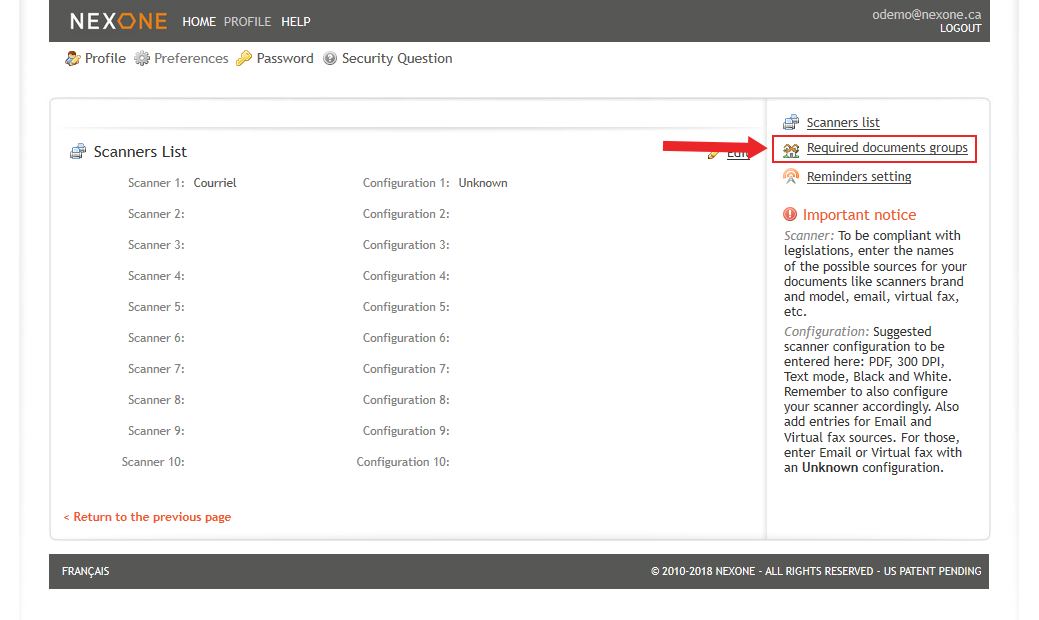
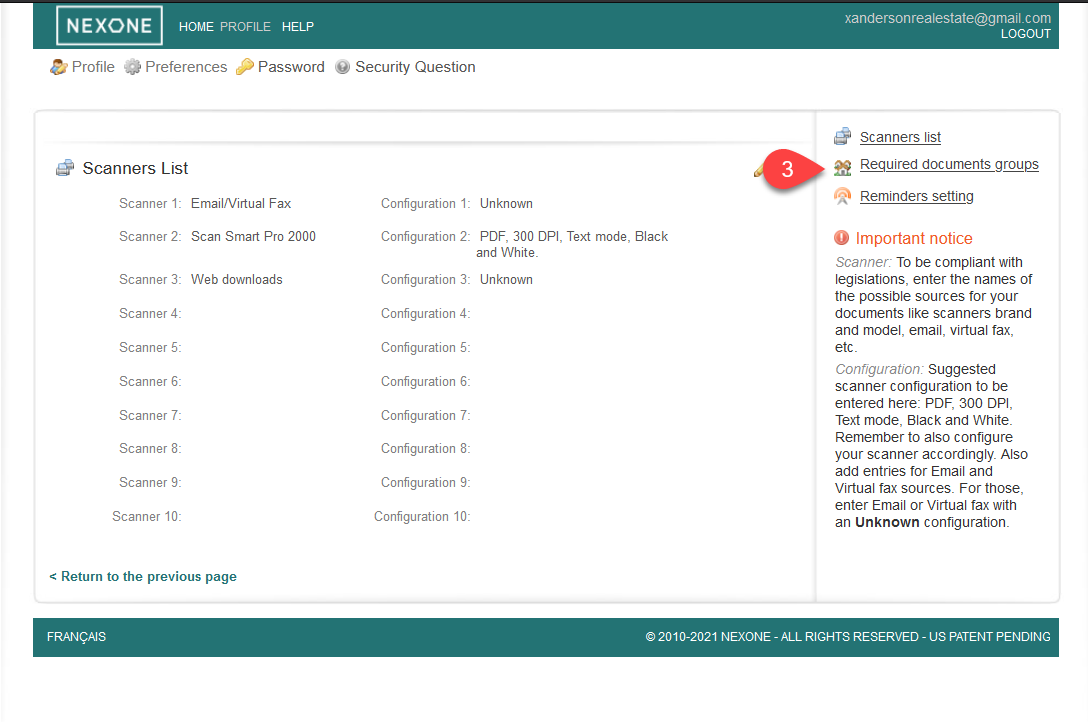
3. Click on the Required Documents Groups on the right hand side
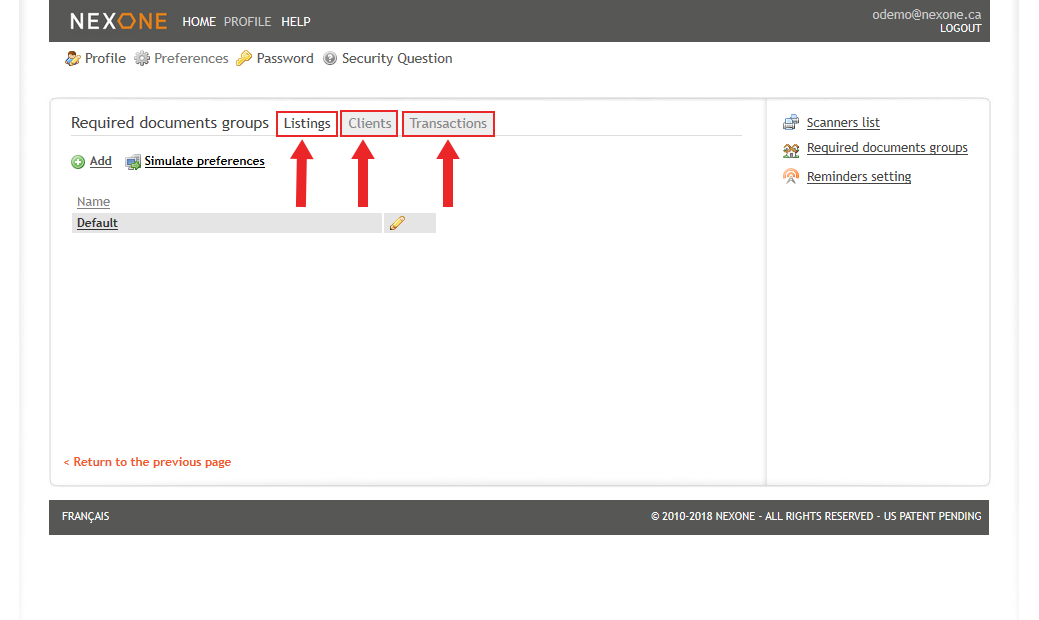
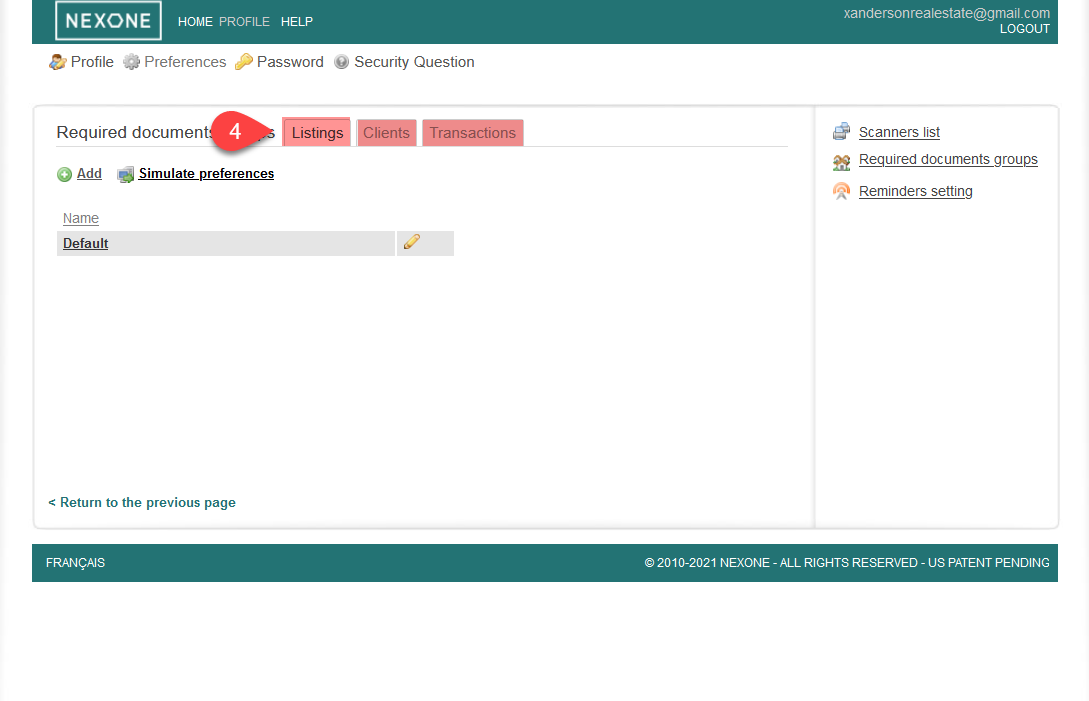
4. Select the section where you want to add the Required Document
...
The divided sections are based on the different files currently in NexOne Legacy: Listings, Transactions and Client’s Files.
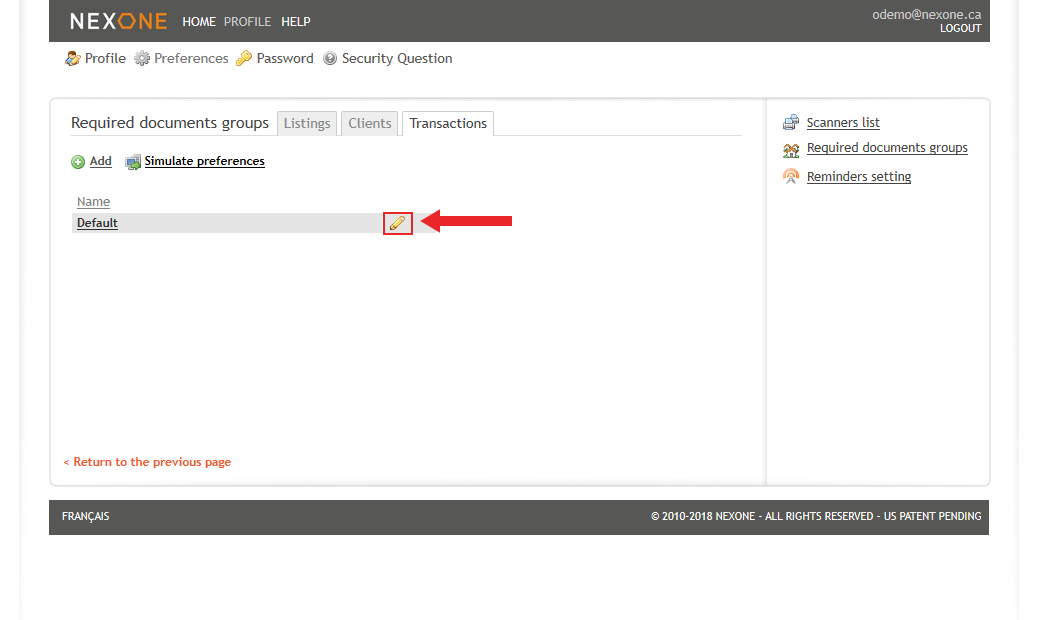
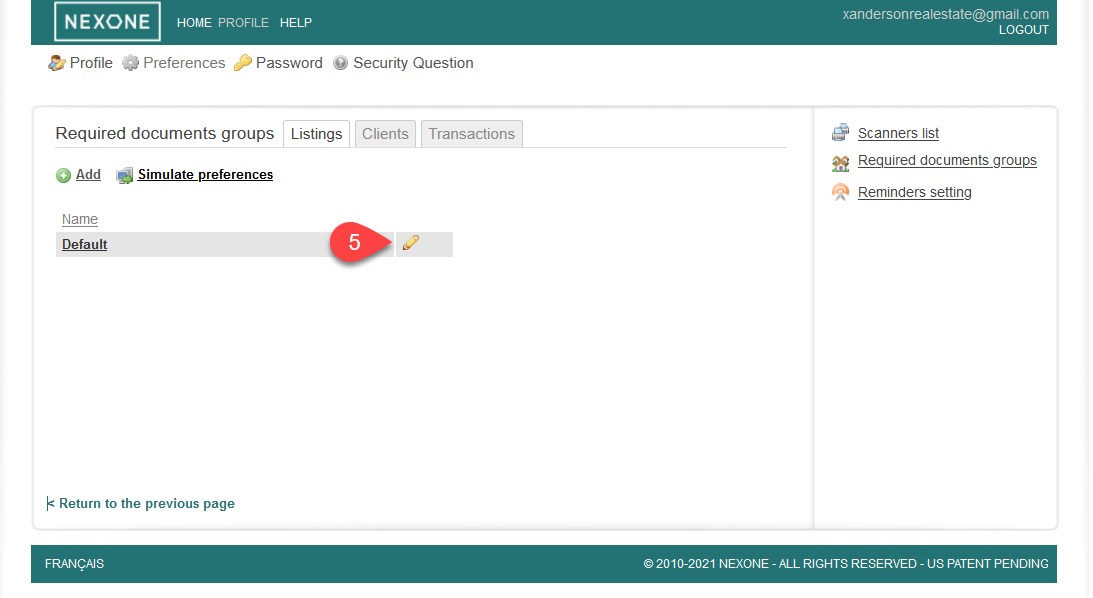
5. To add/remove/modify a Required Document, click on the pencil icon next to the Default name
...
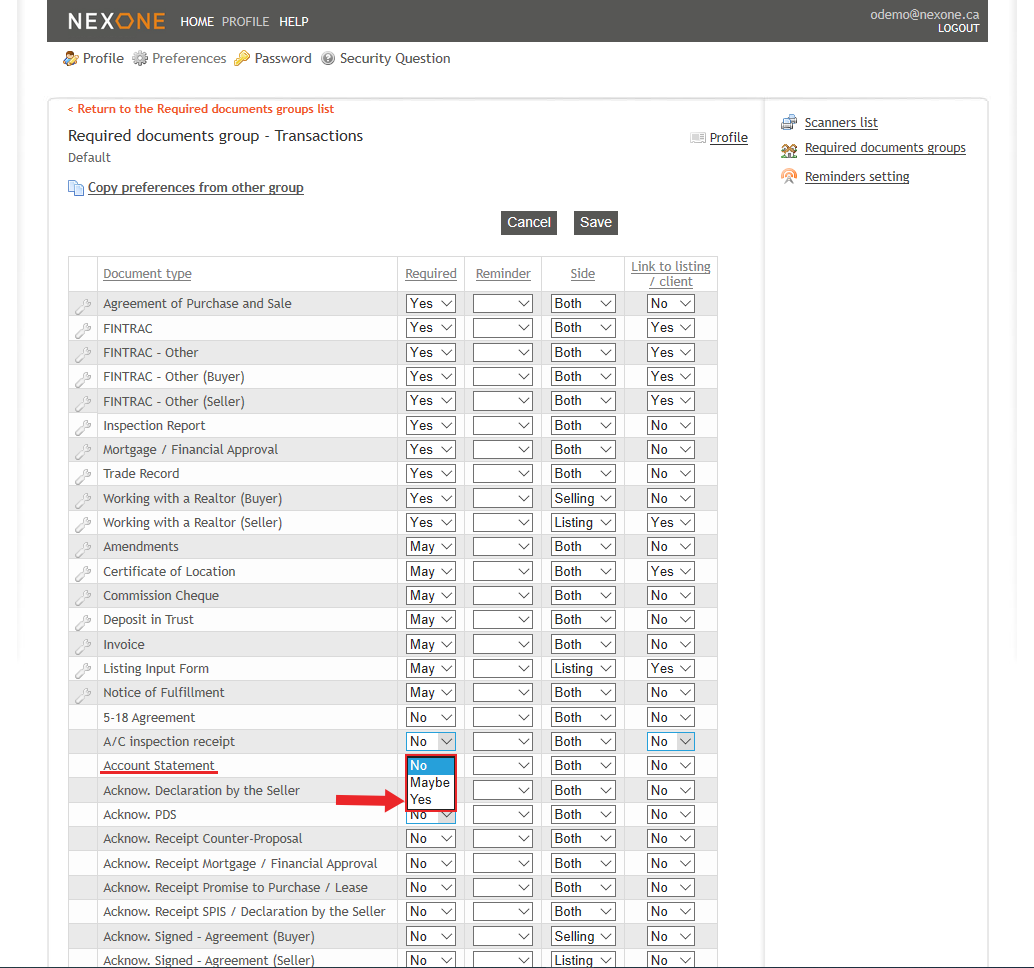
In this example, we have selected the Transaction section for training purposes.
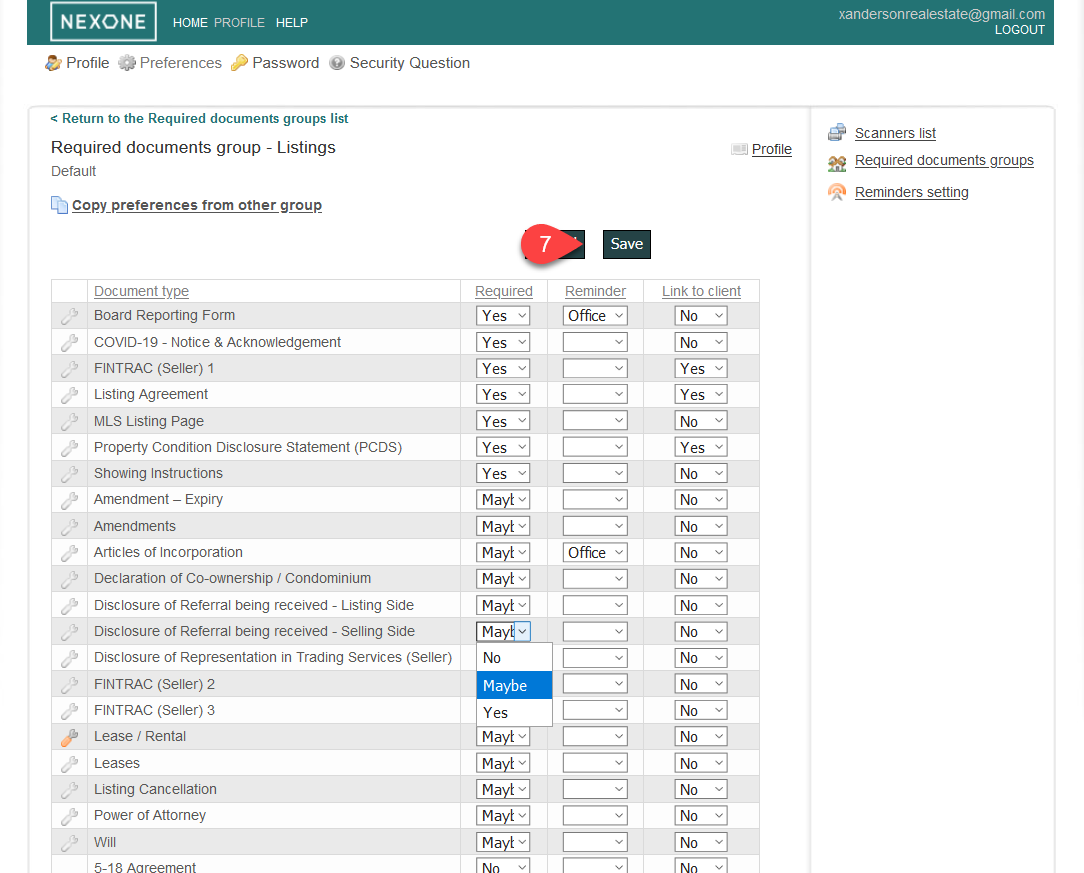
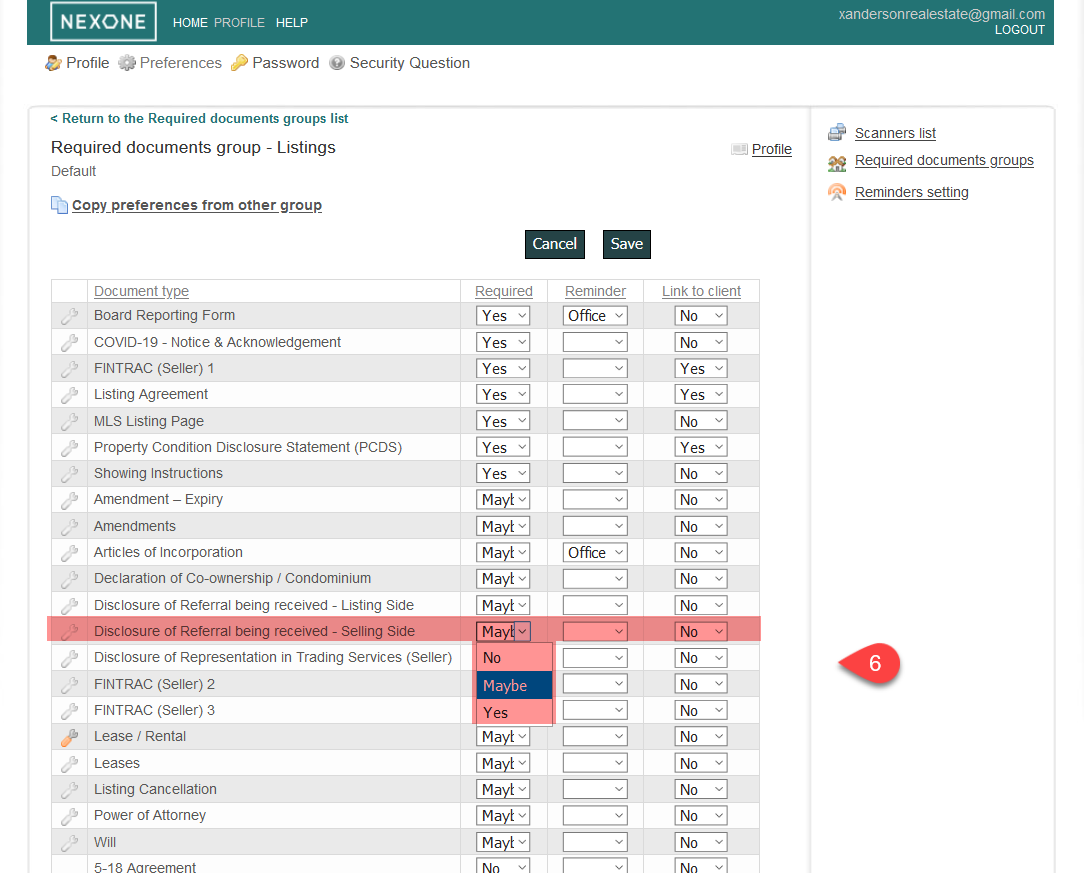
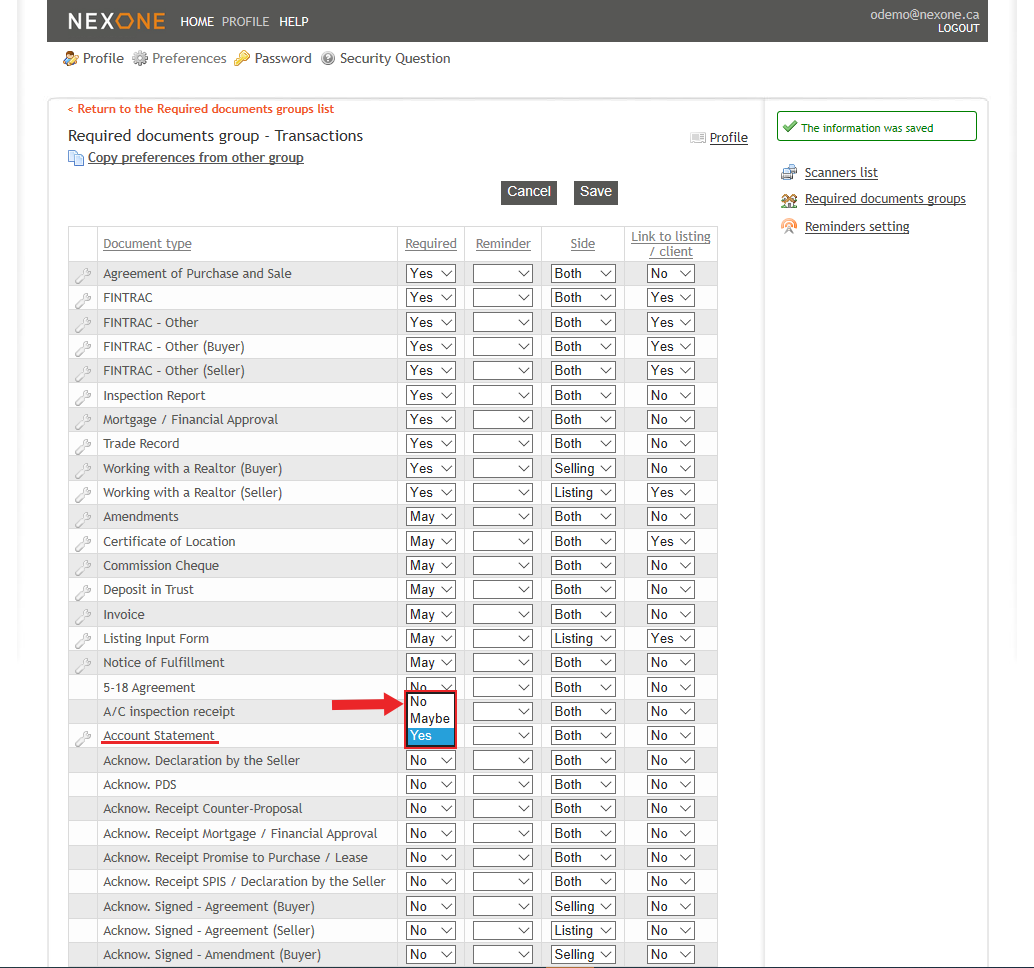
6. Find the document you want to add to your Required Documents and click on the drop down menu under the required section to the right of the document type and Select Yes
| Note |
|---|
Please note that this will affect all transaction types: Purchase/sale, Lease/Rental, Builder and Other. If you want your document to be required for a single transaction type, you would need to add a rule. |
...
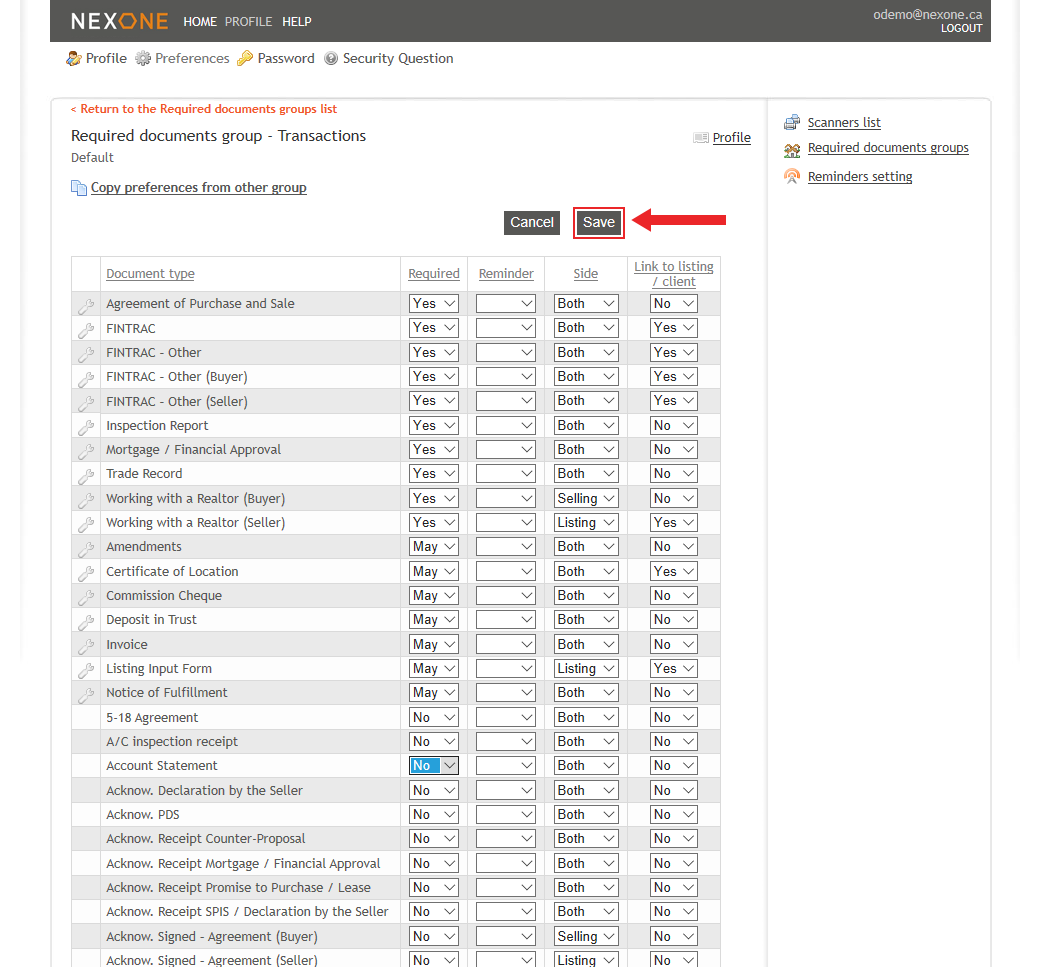
7. It is also possible to add an Office reminder for that new required document and in this case, since we are adding it in the transaction section, it is also possible to modify which side is able to see that particular document type and if it would be visible after linking the transaction with a listing or client file
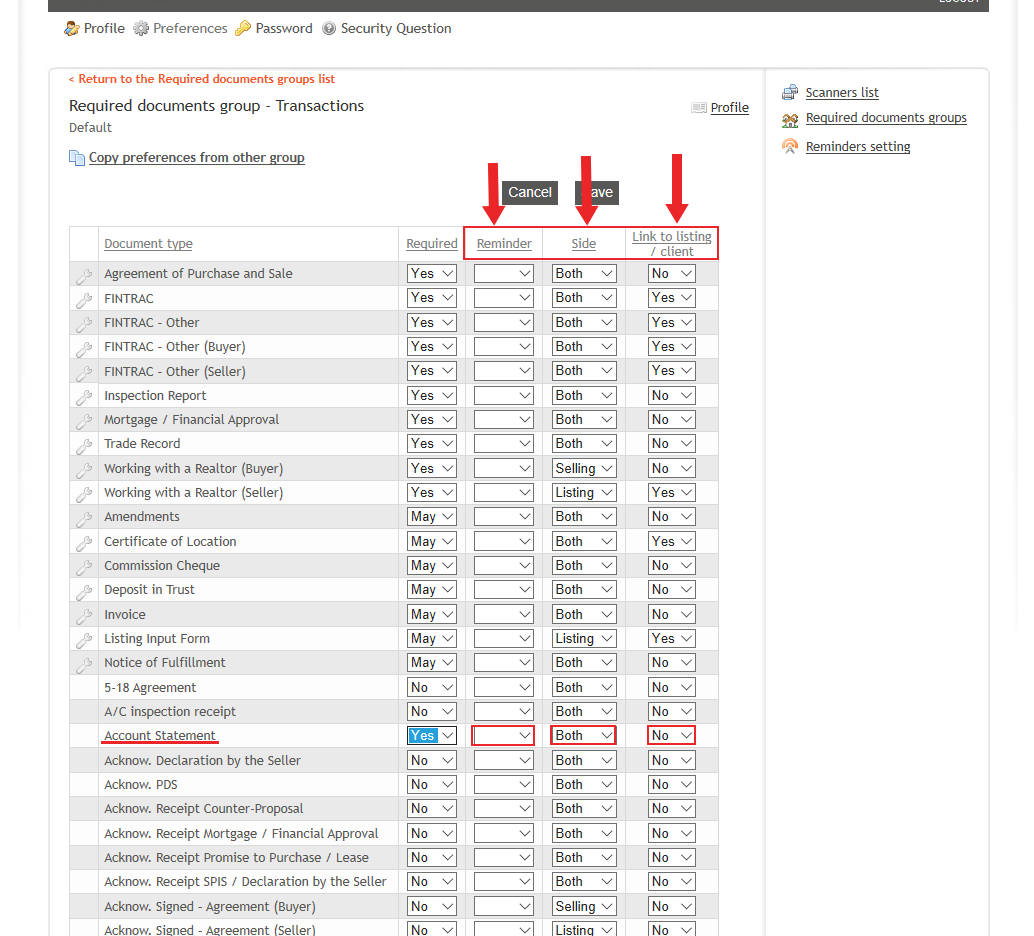
8. Click on the Save button located above the document's list

Remove a Required Document
1. Follow the steps 1 to 5 from the guide above
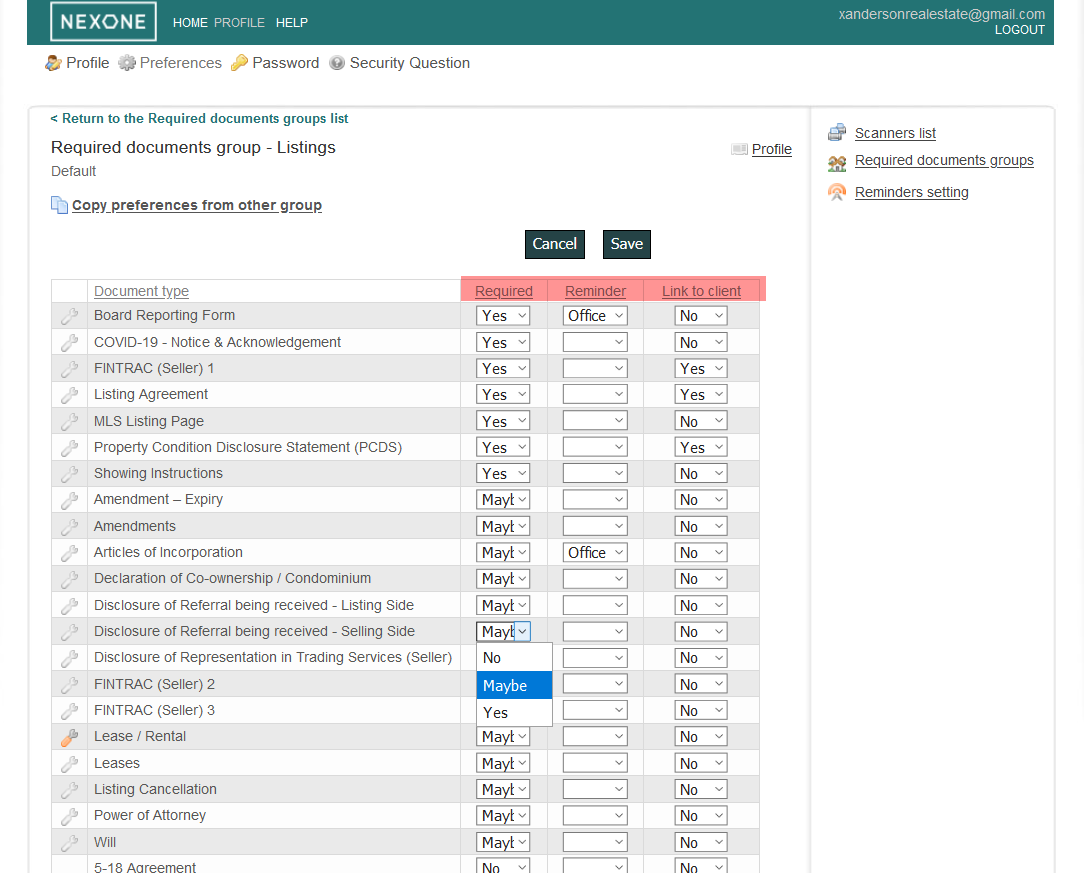
2. Find the Required Document you want to remove and click on the drop down menu under the required section to the right of the document type. Then, Select No
3. Click on the Save button located above the document’s list