...
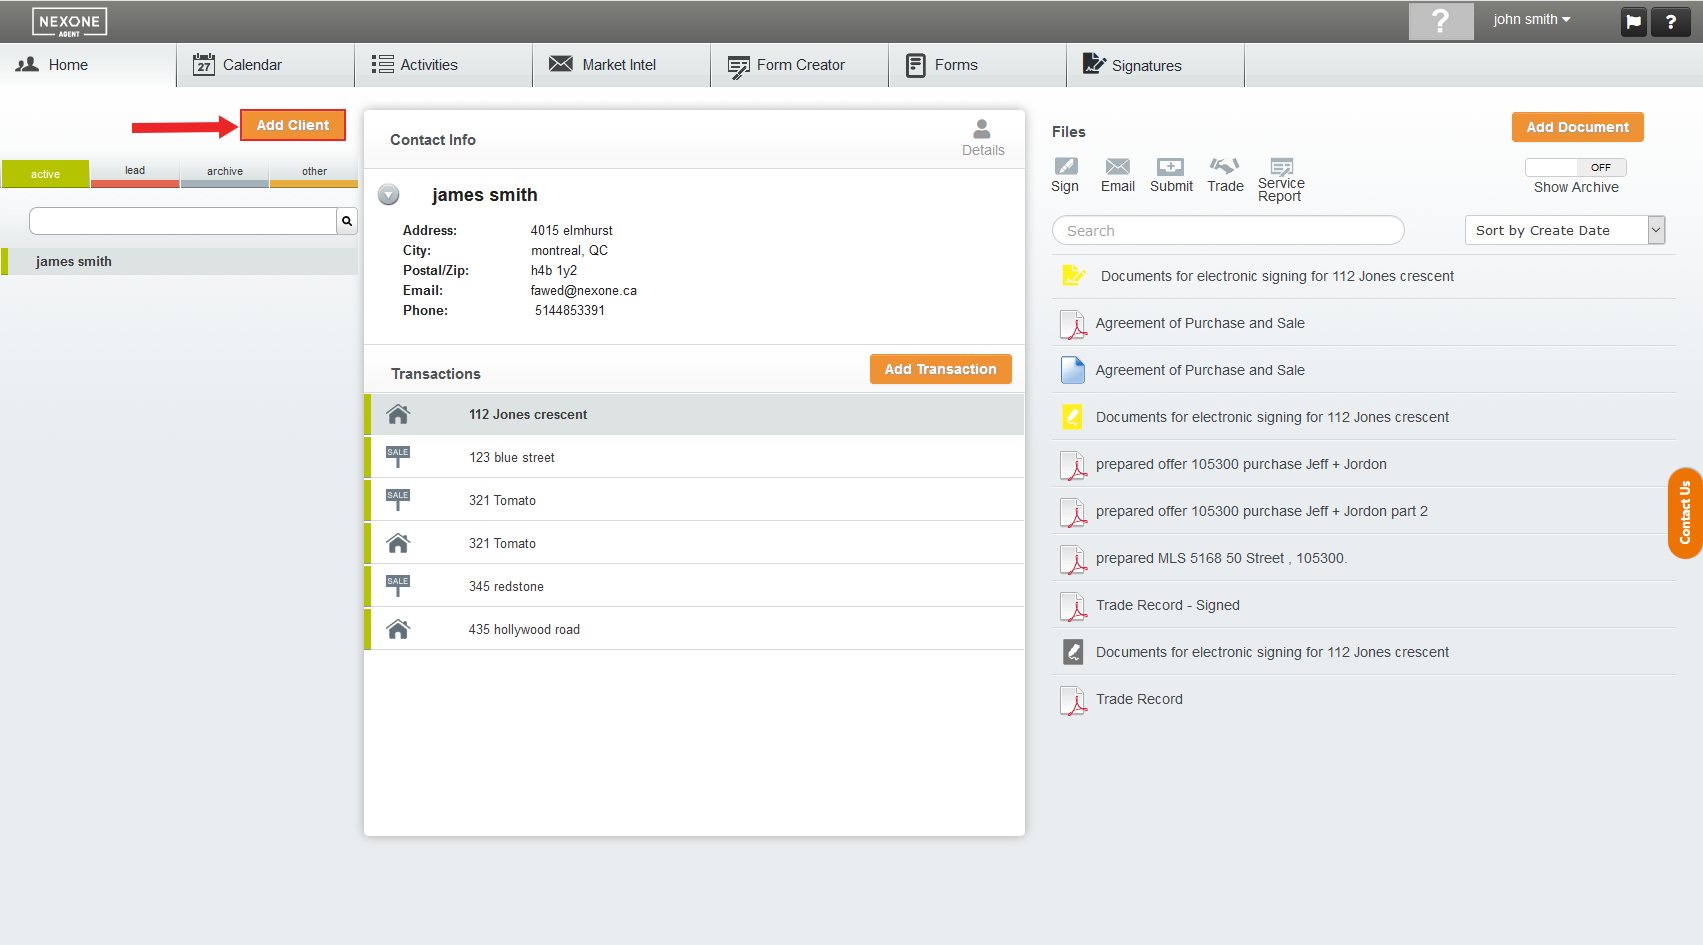
1. After logging in your NexOne Agent account, select the Add a client at the left hand side of the page.

2. Fill in the required fields, then select Save all contact information.
...
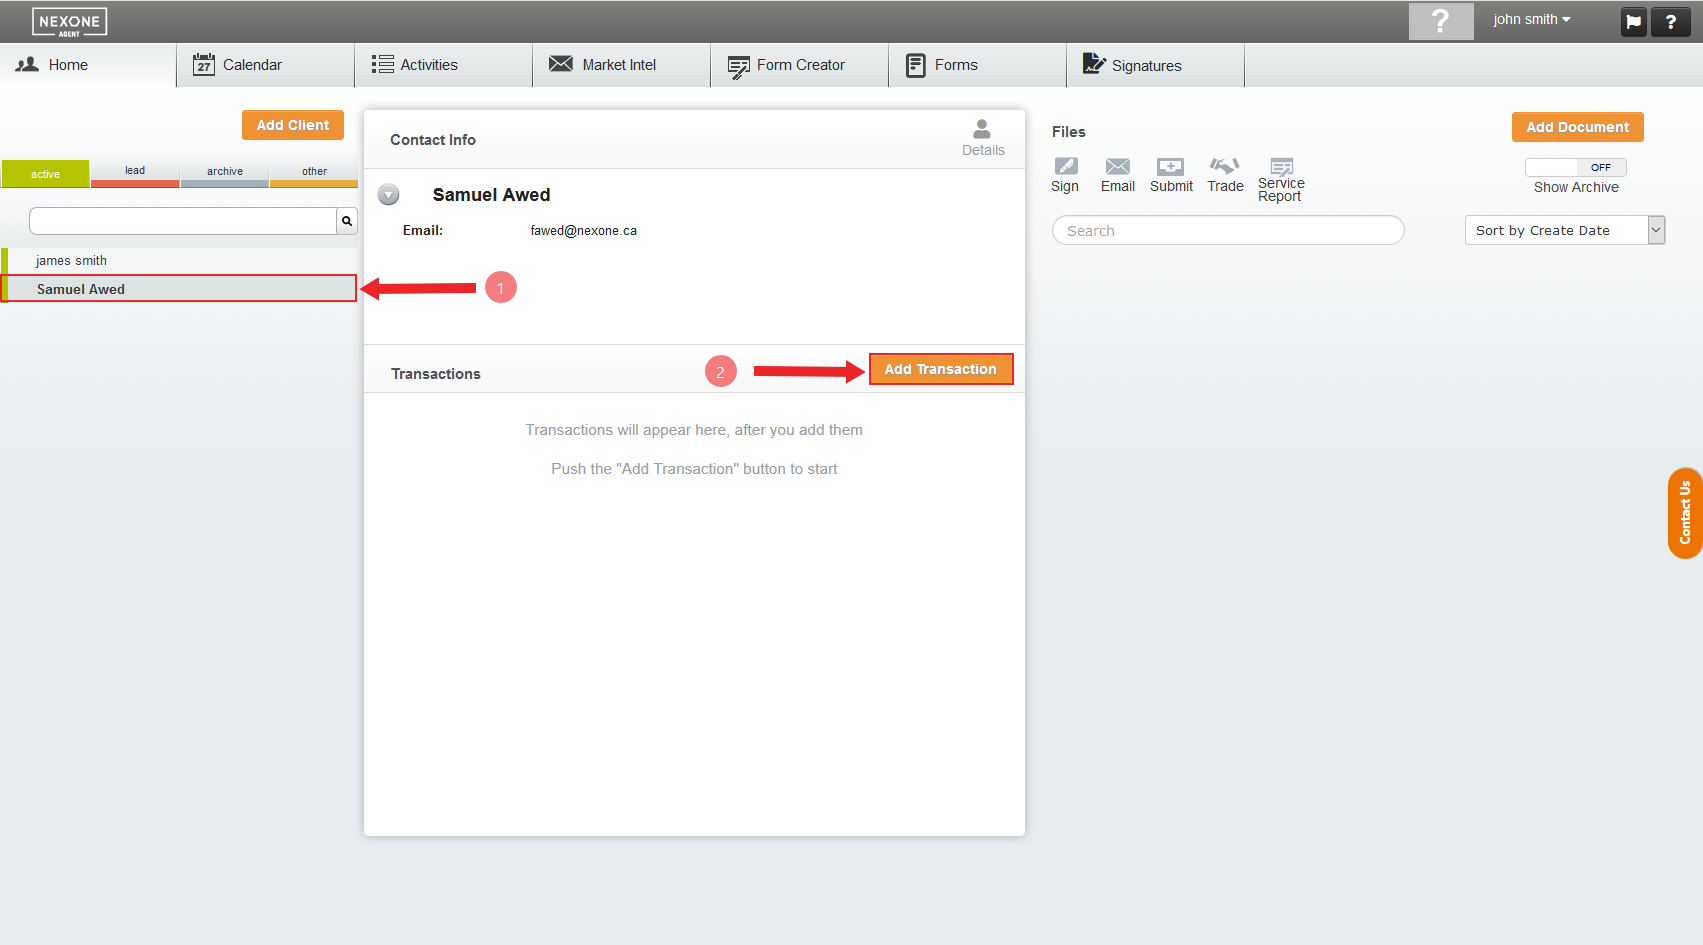
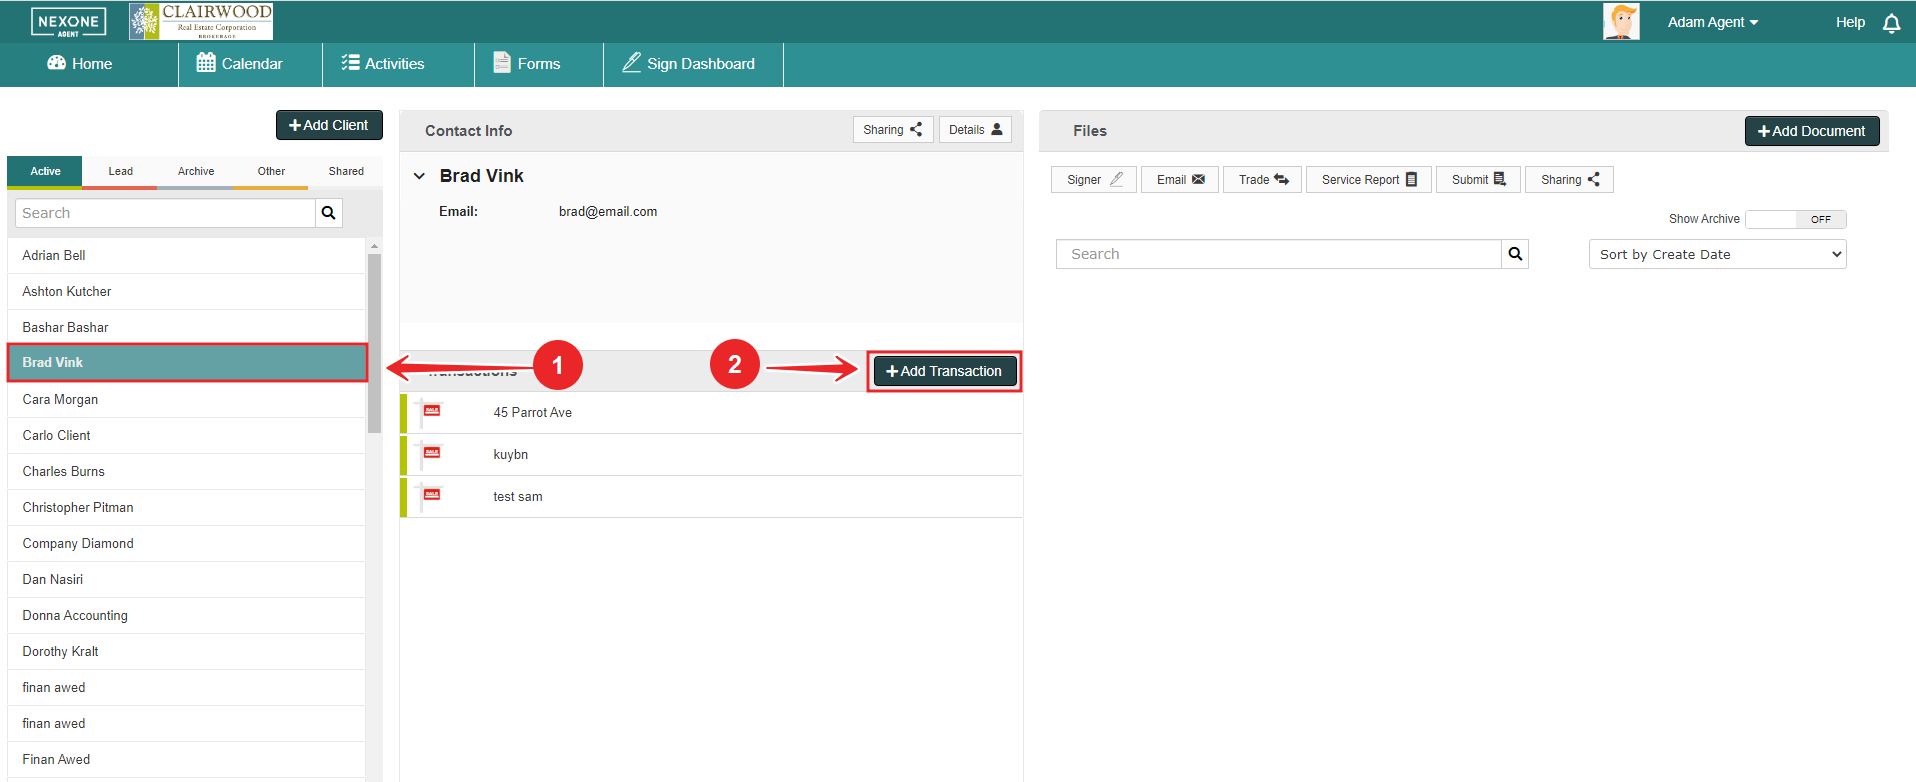
3. Select the client you added and click on the option “Add a Transaction” located under the client’s profile.
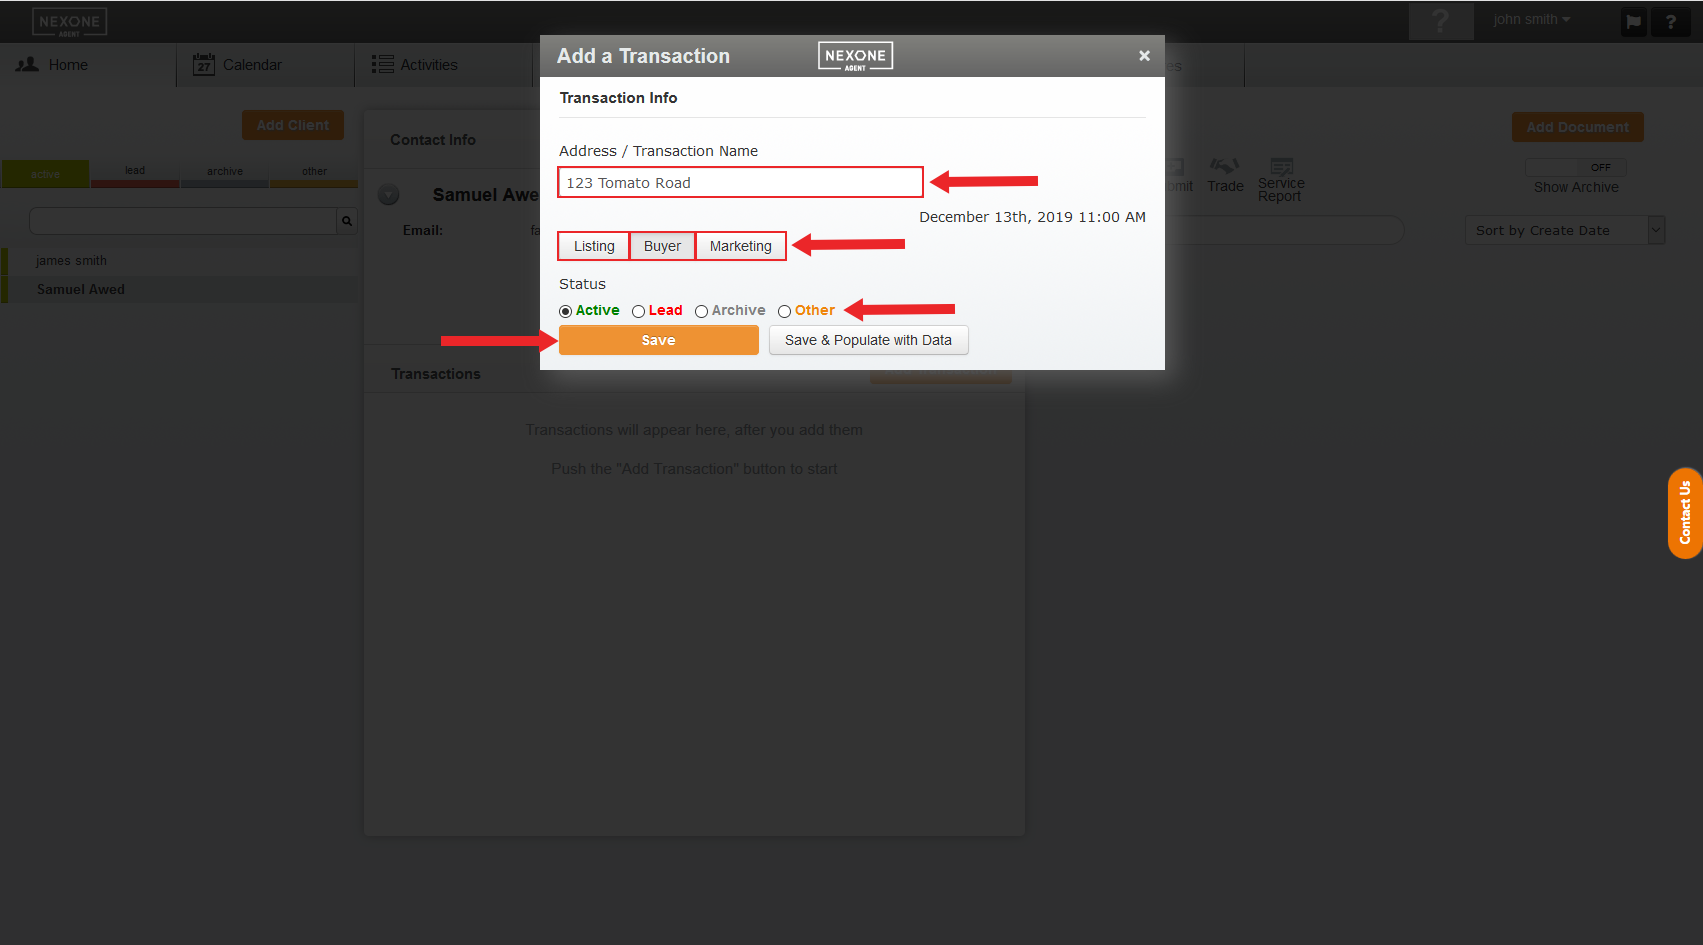
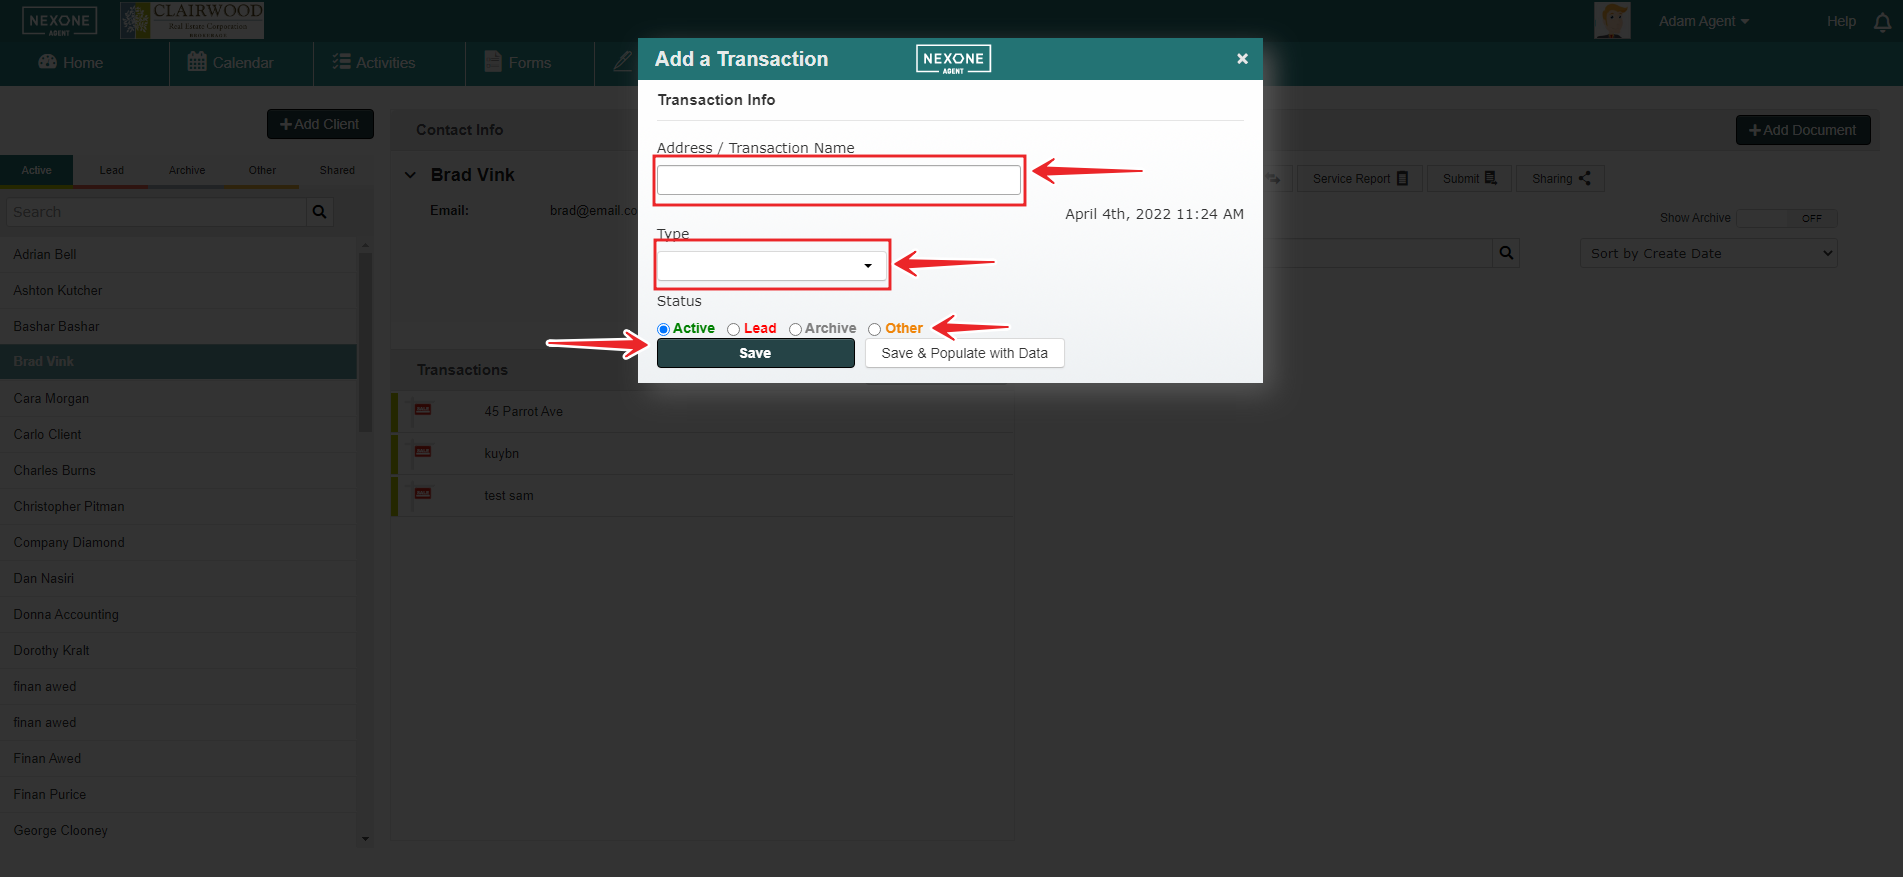
4. Enter the Transaction name/Transaction address select the Side Type of the transaction as well as the Transaction status. Then click on Save.
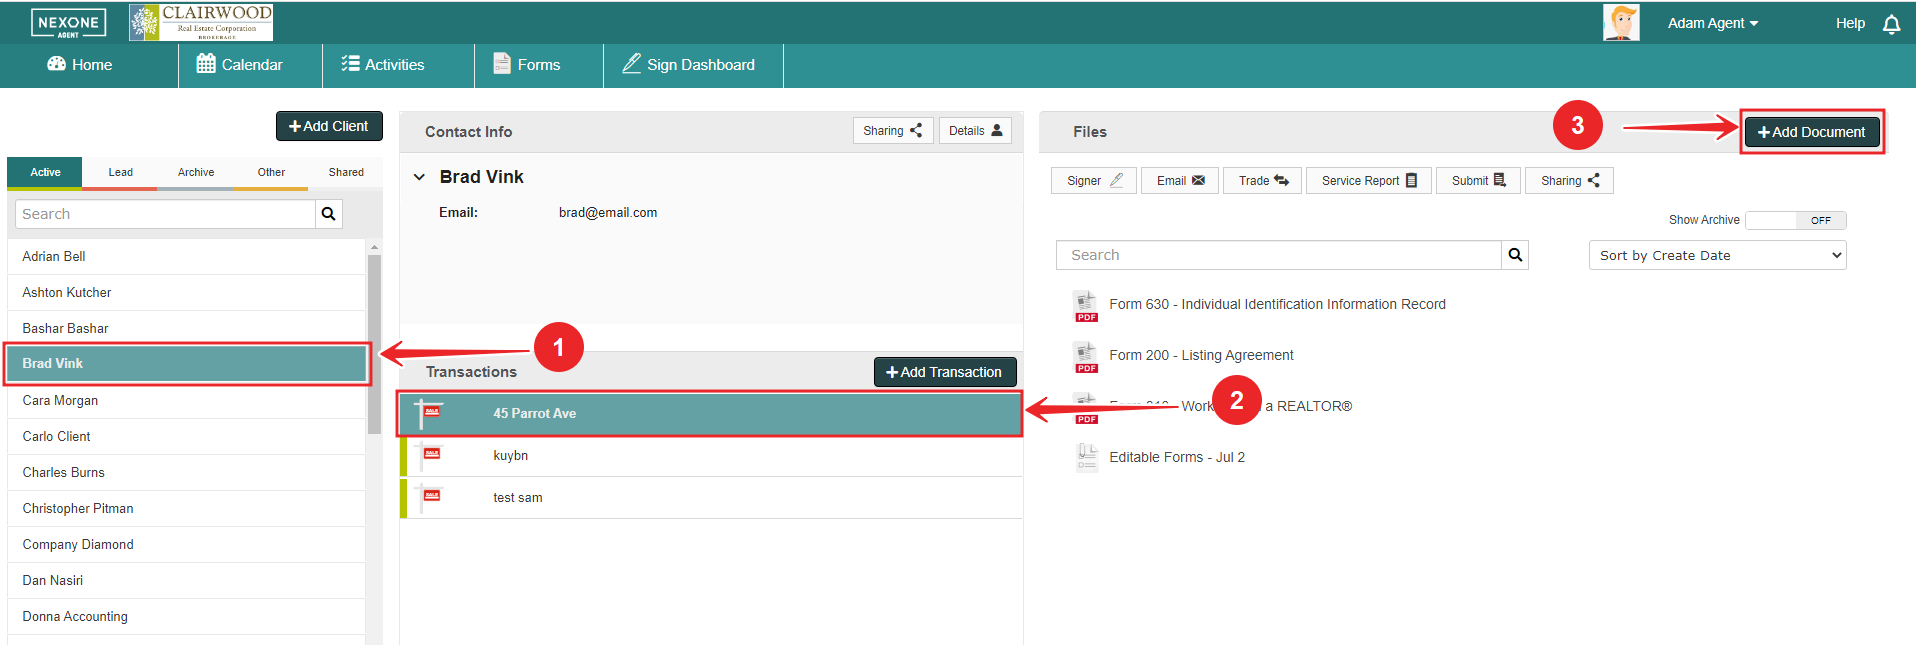
5. Click on Add a Document option located at the top right hand side of your screen after you Select your newly created Transaction.

6. Click on Launch Forms and Select the required Forms. Populate the forms and then Save them as pdfs in your Transaction. You will be redirected to your Transaction file.
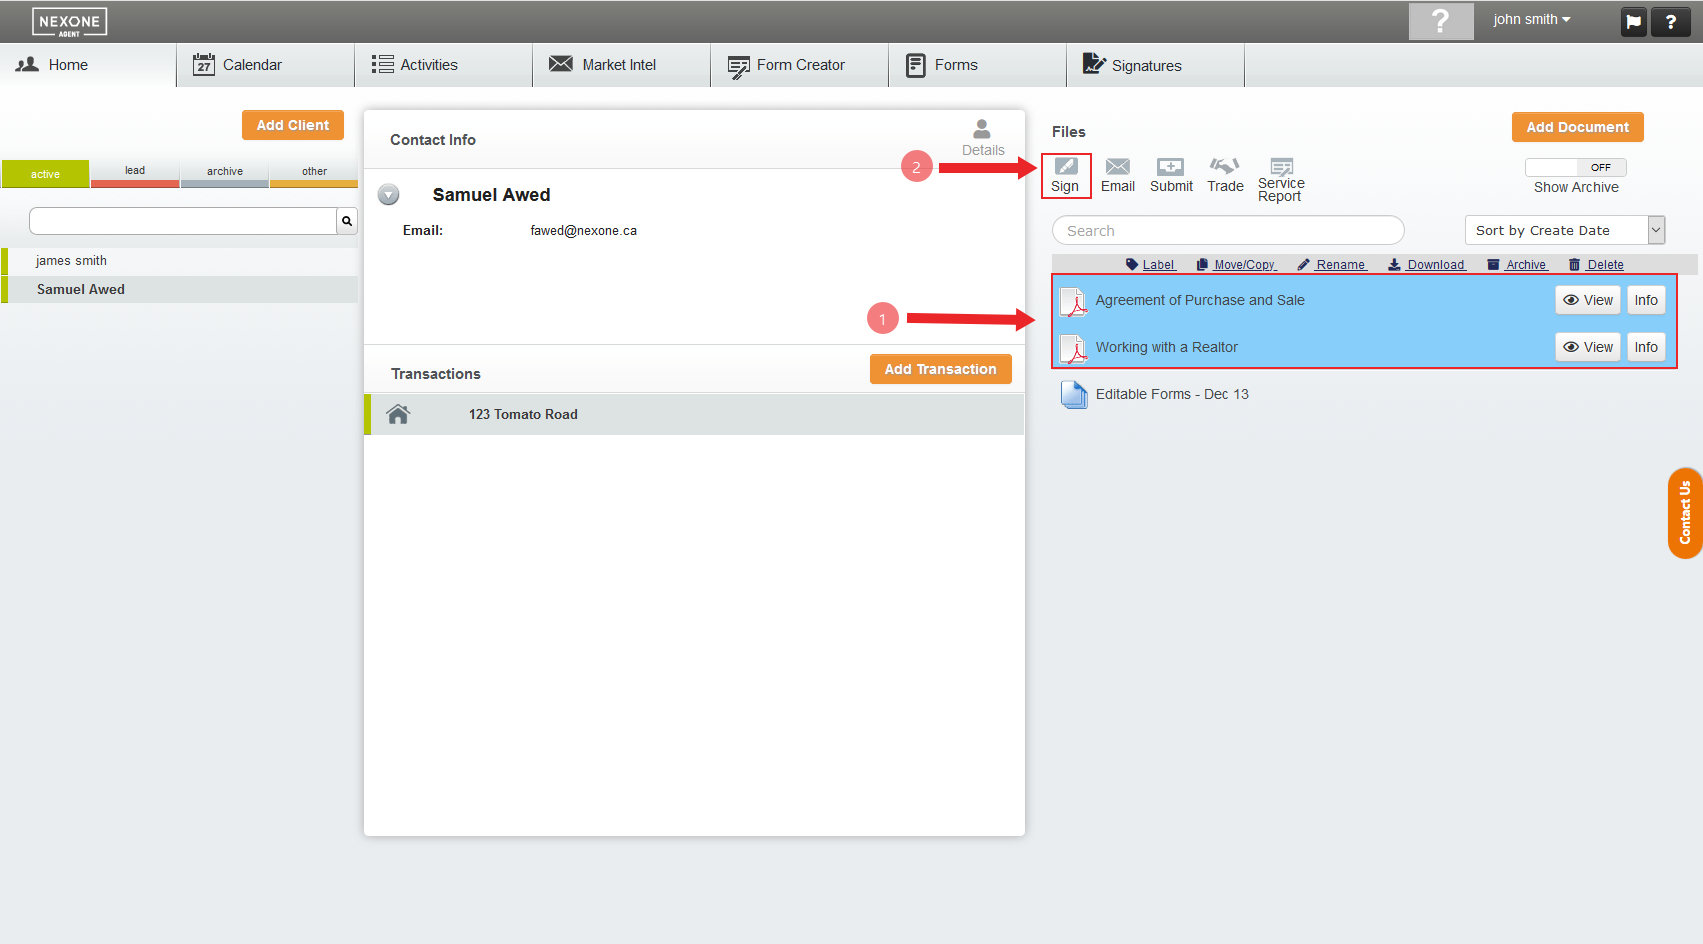
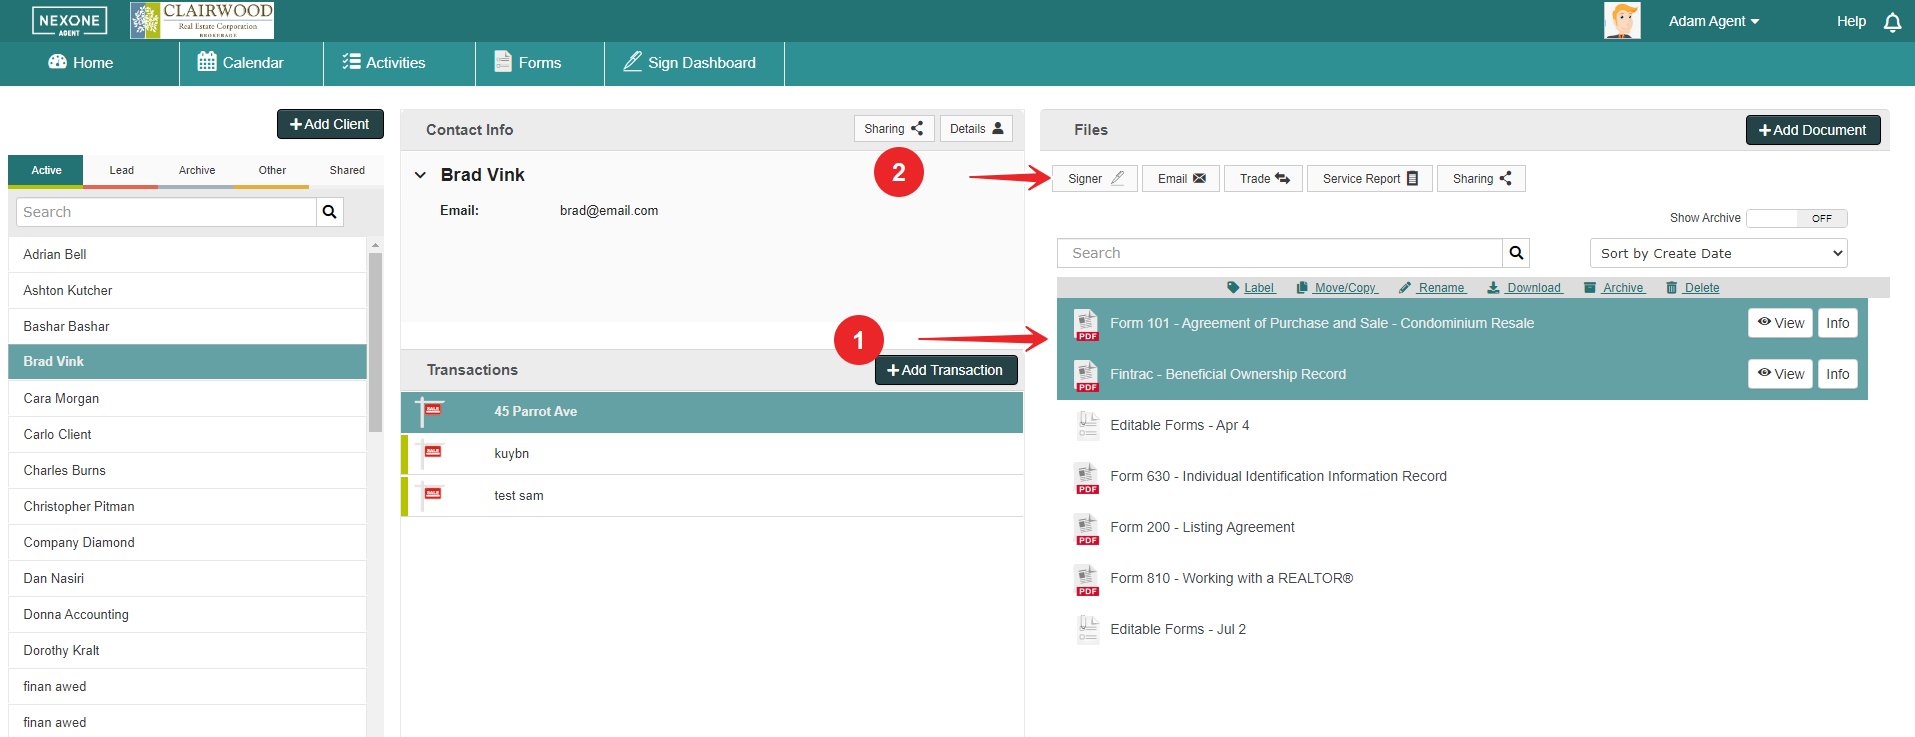
7. While in your Transaction files, Select the files you want to send for signing by clicking on them and then click on the Sign Signer option above.
8. Add or Select the signers, drag and drop the documents you want to send for signing and click on Tag Documents for Signatures.
...
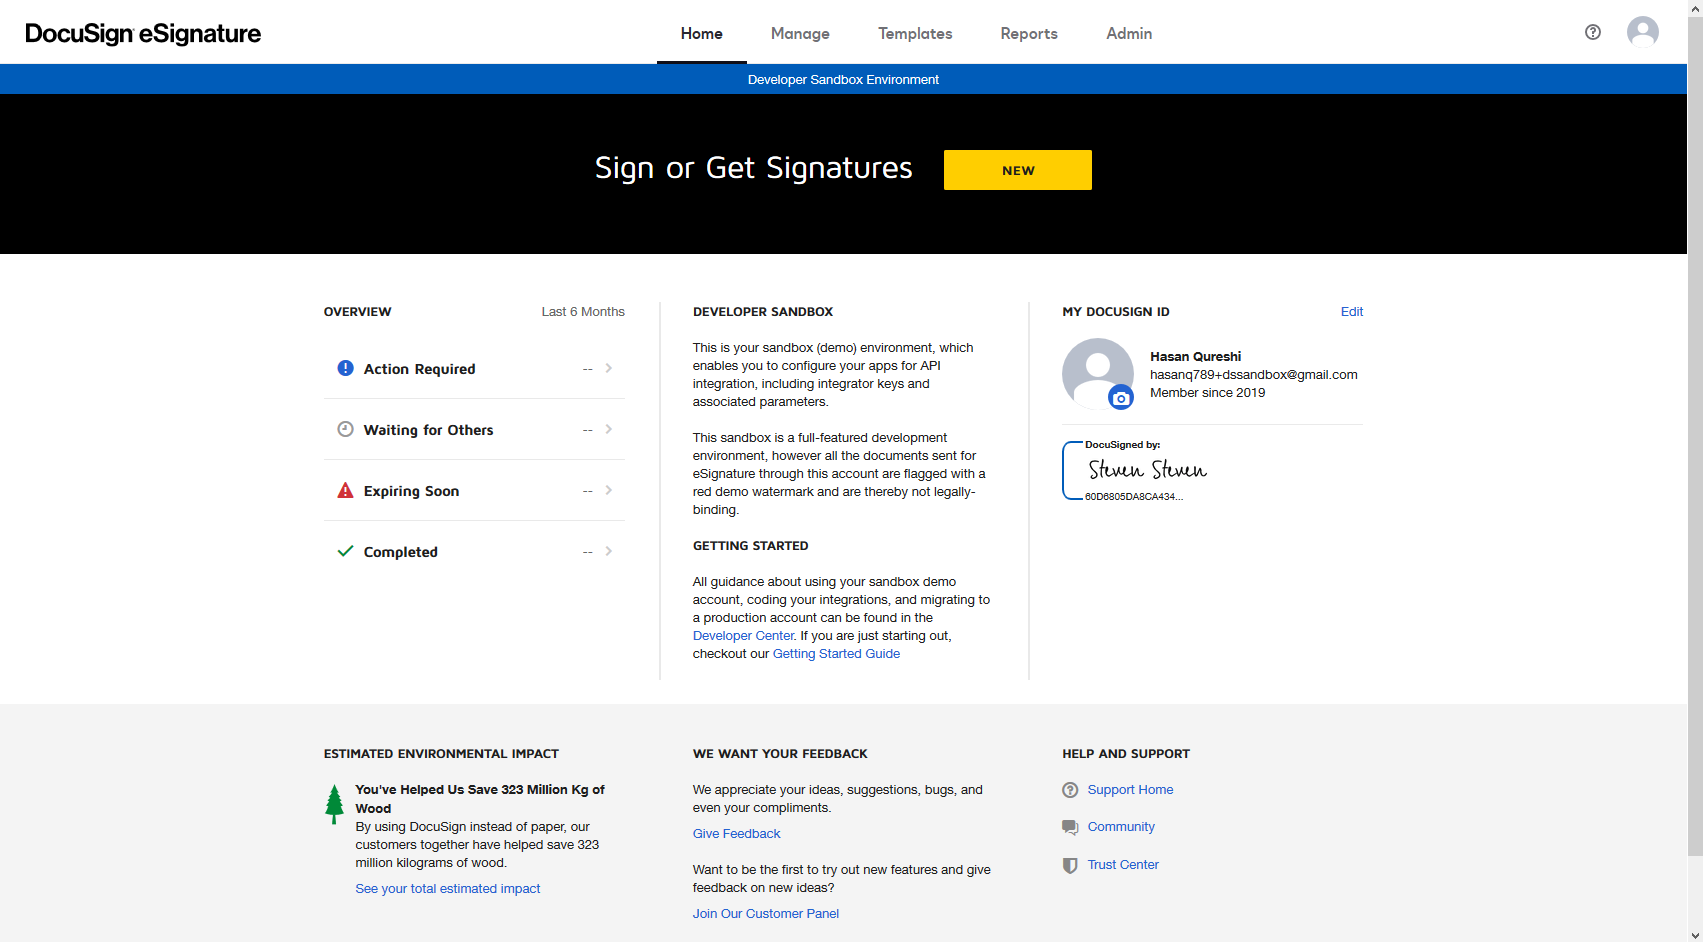
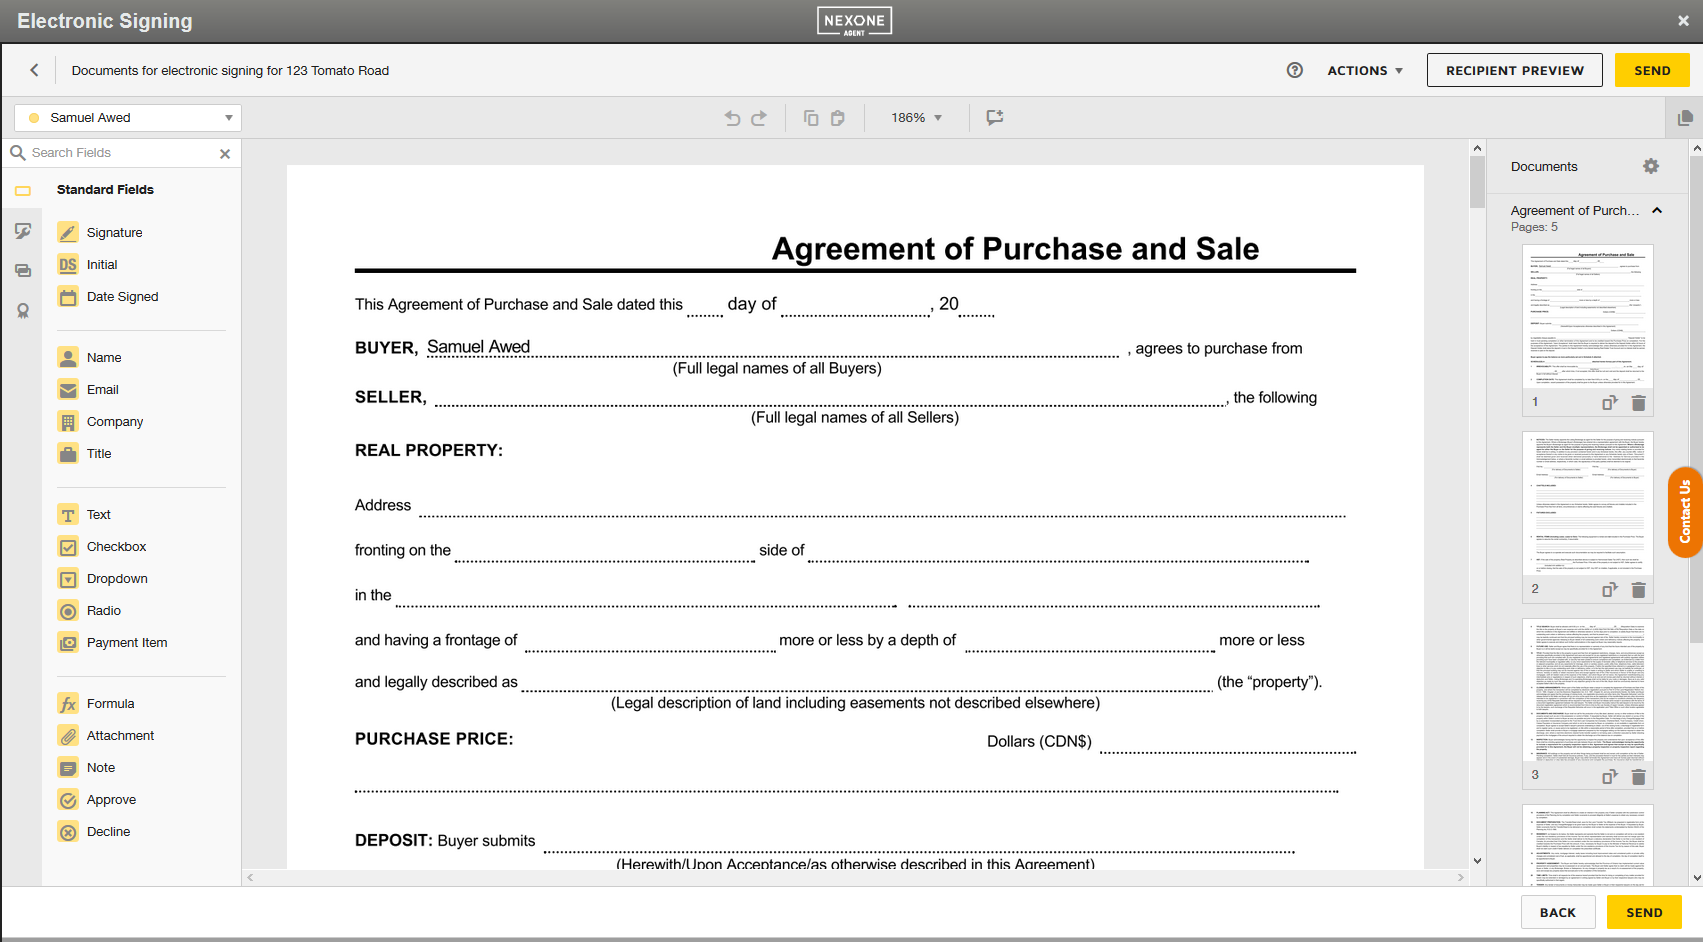
9. You should be redirected to DocuSign to send your documents for signing.

Quick-Access DocuSign from NexOne Agent
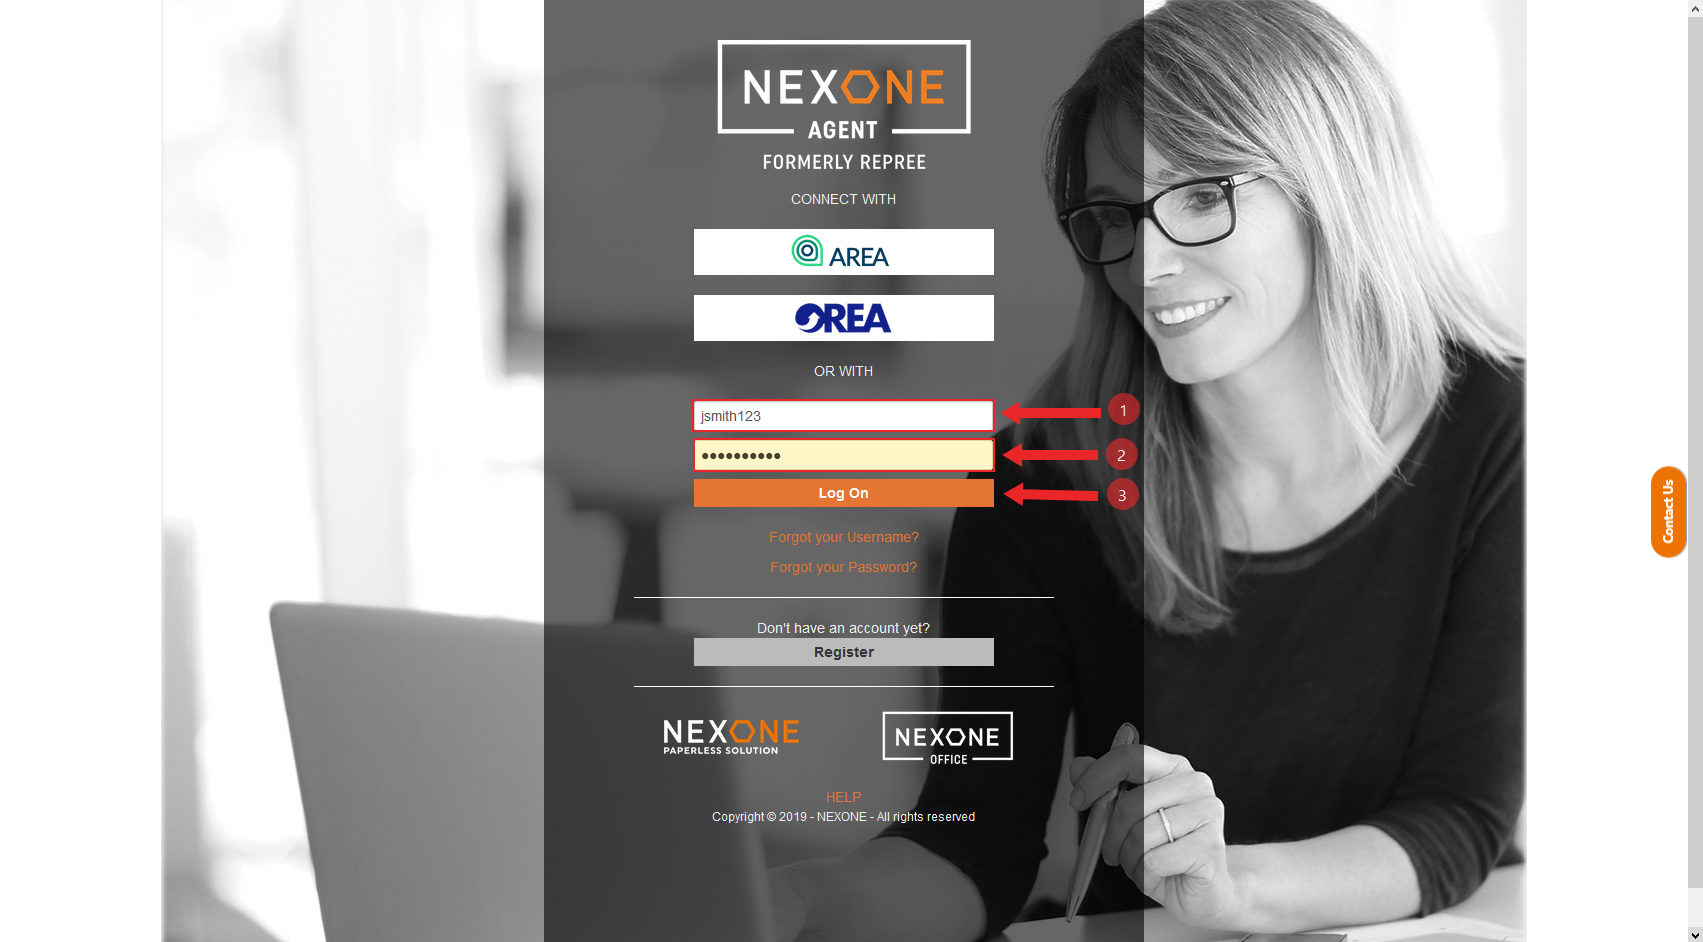
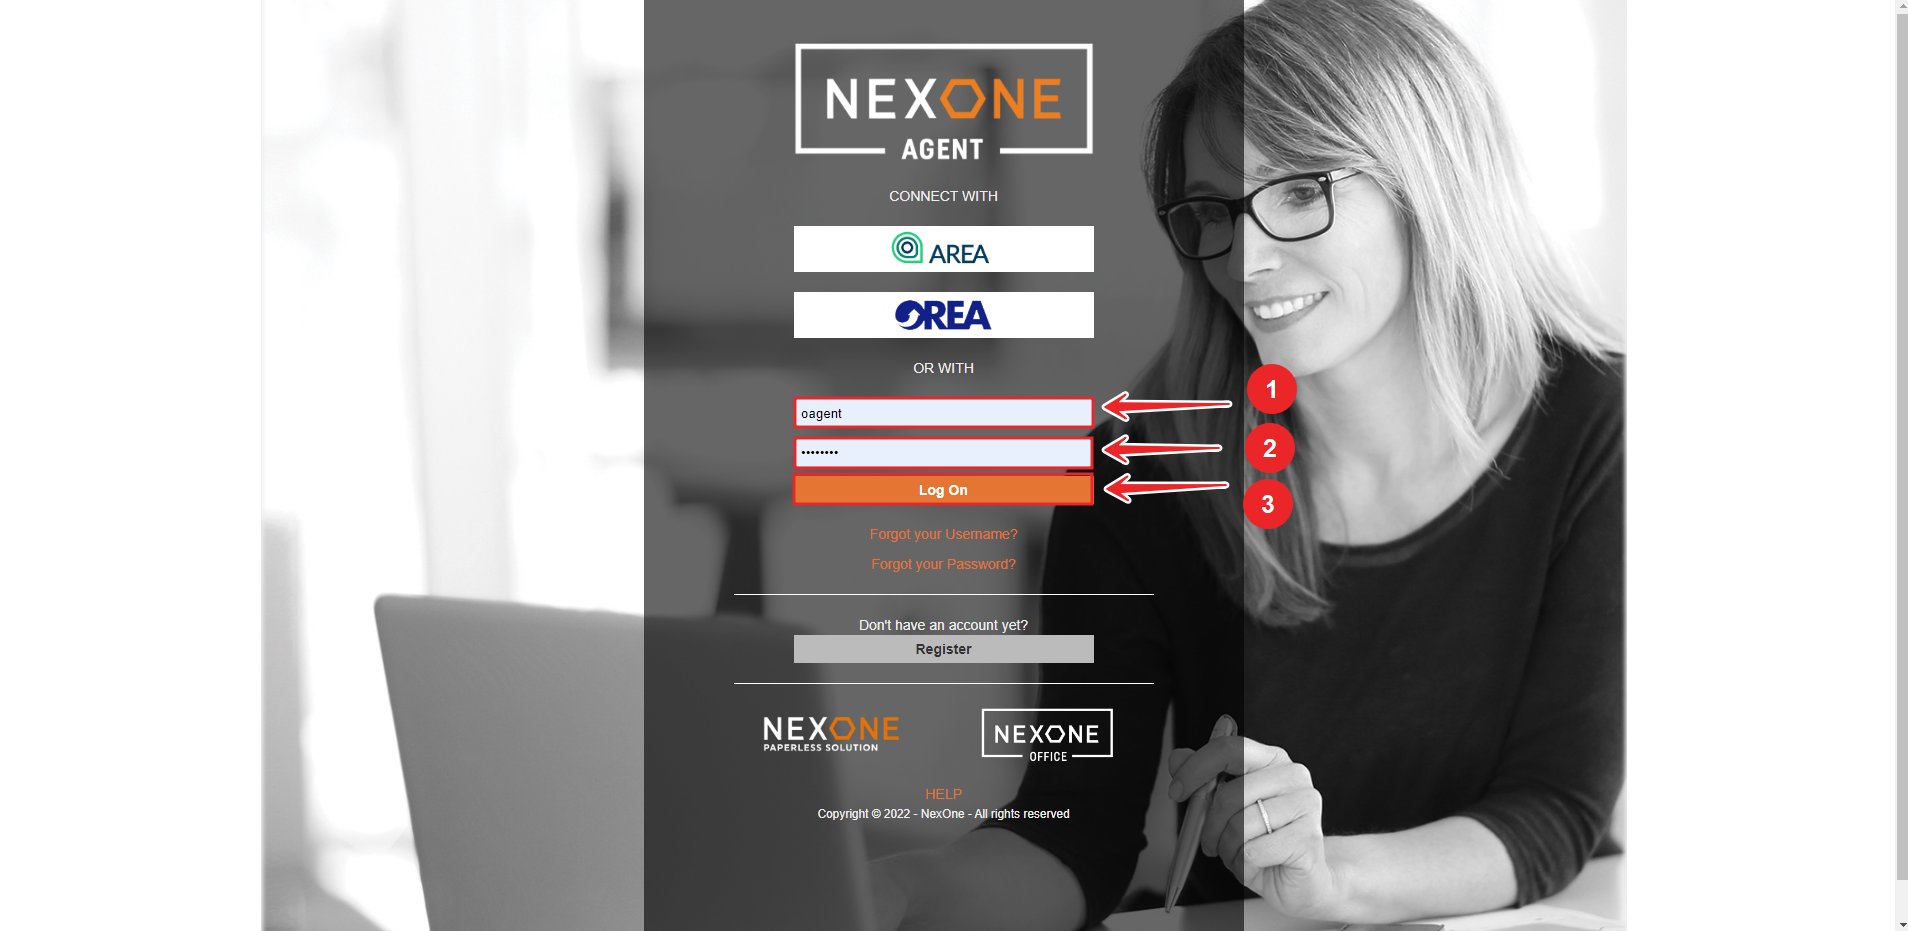
1. Log in NexOne agent.
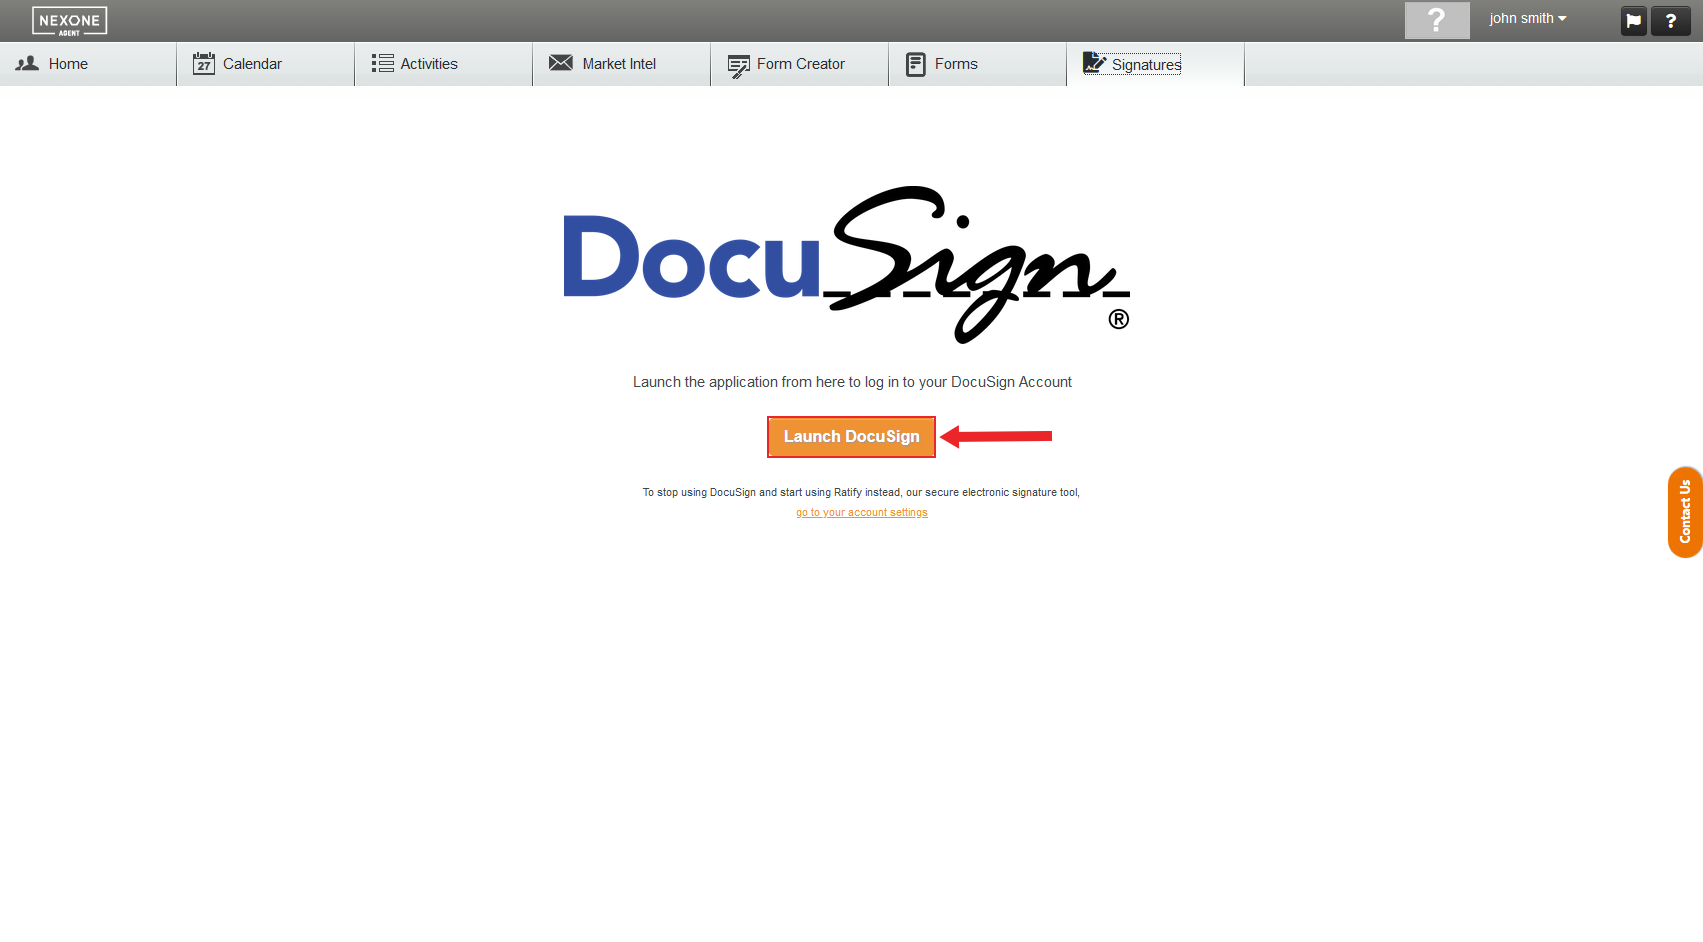
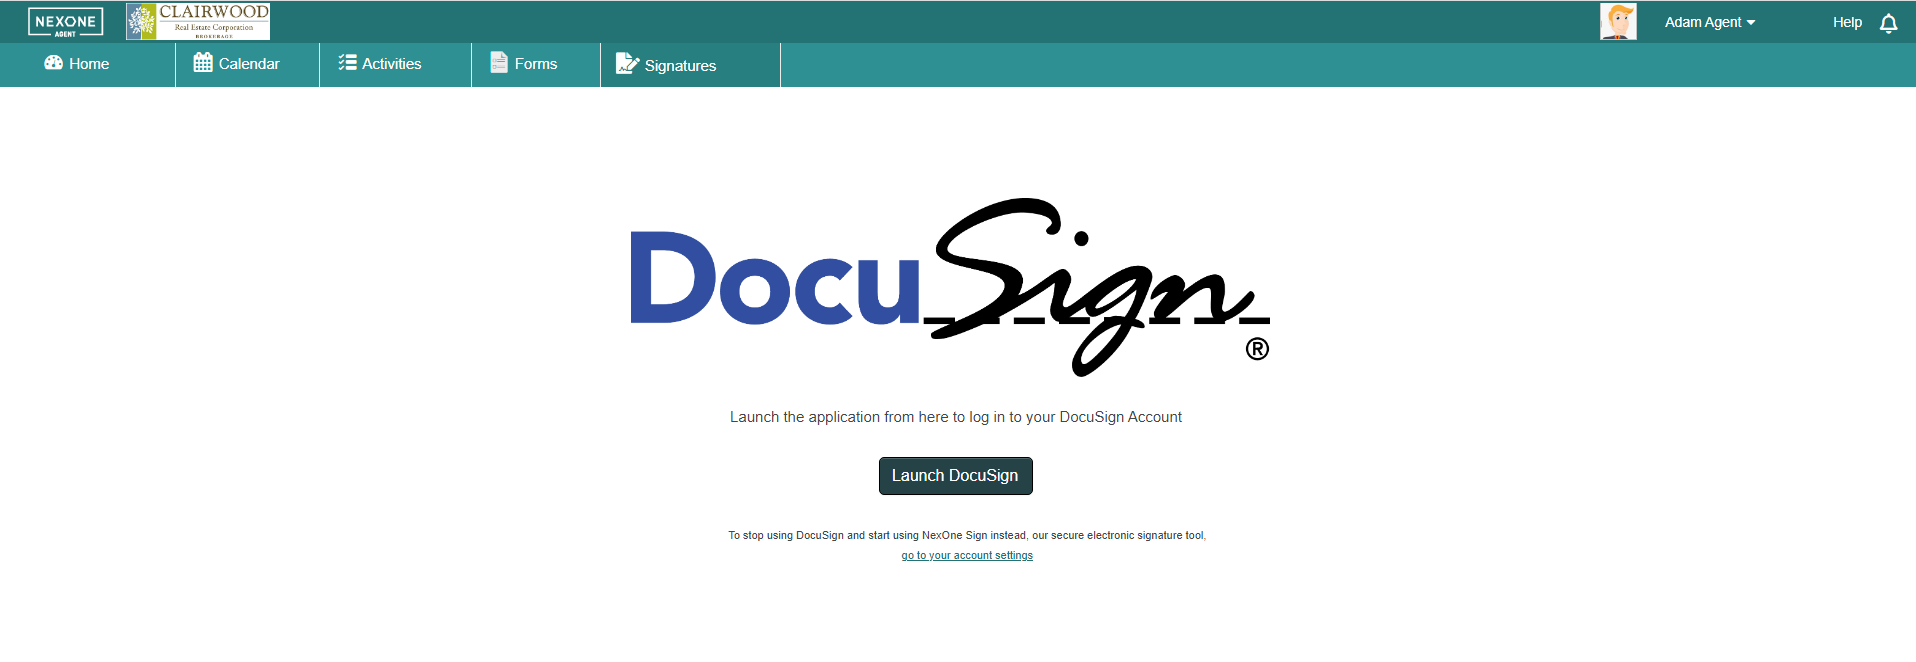
2. Go to the Signatures tab.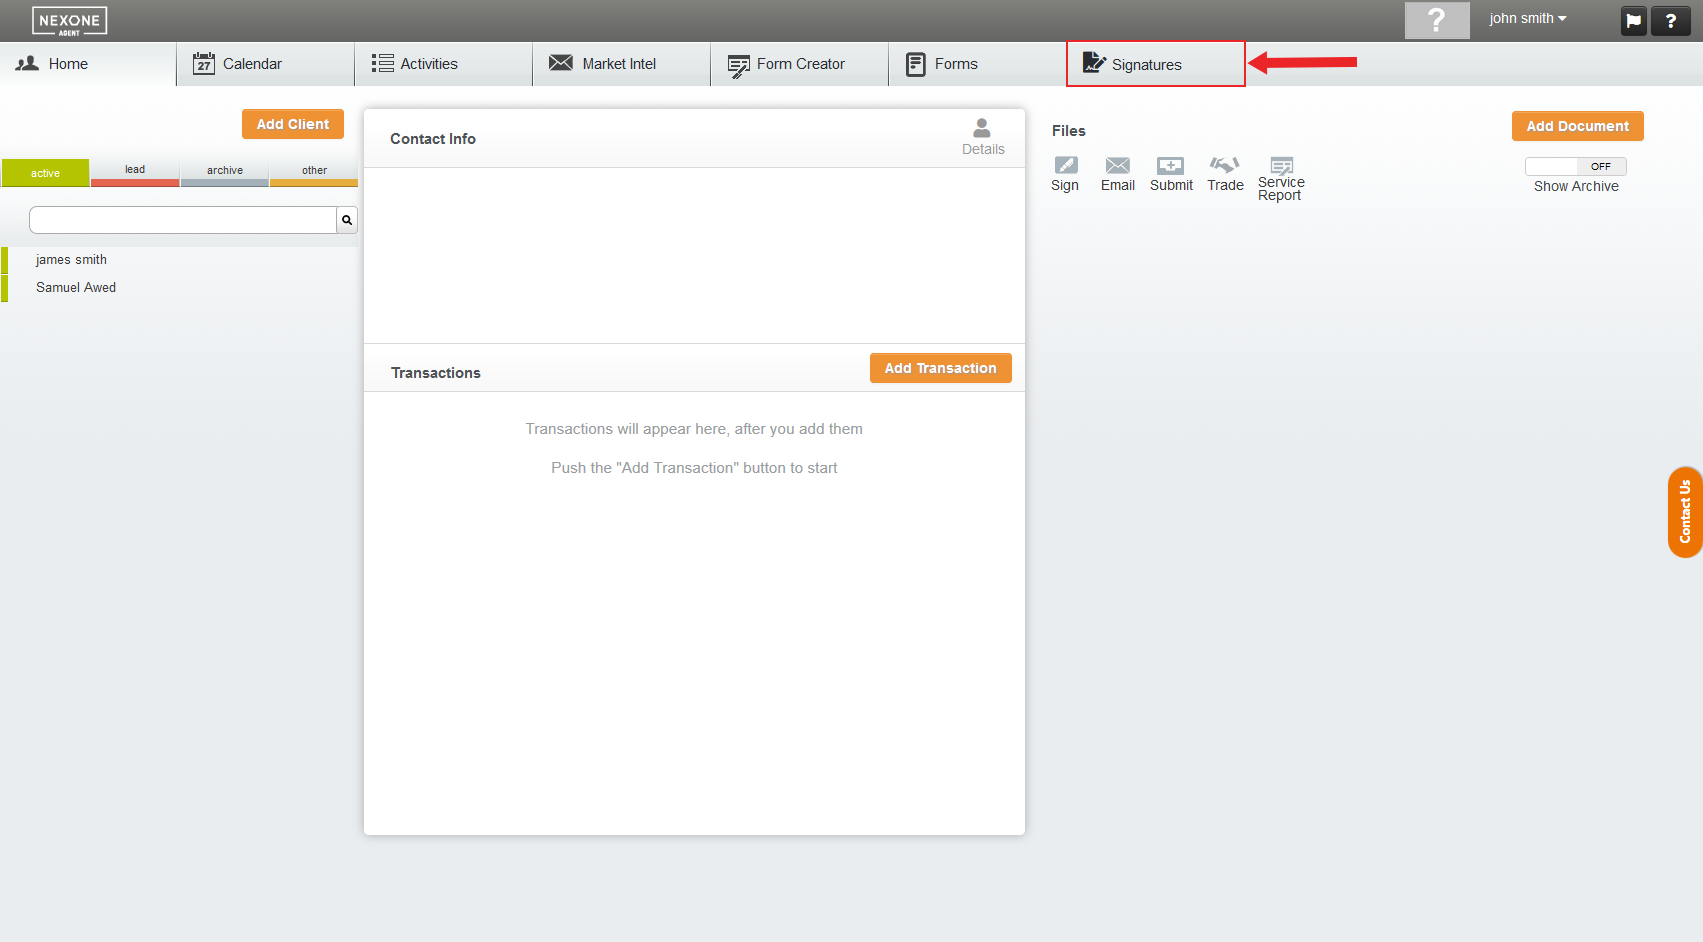
...
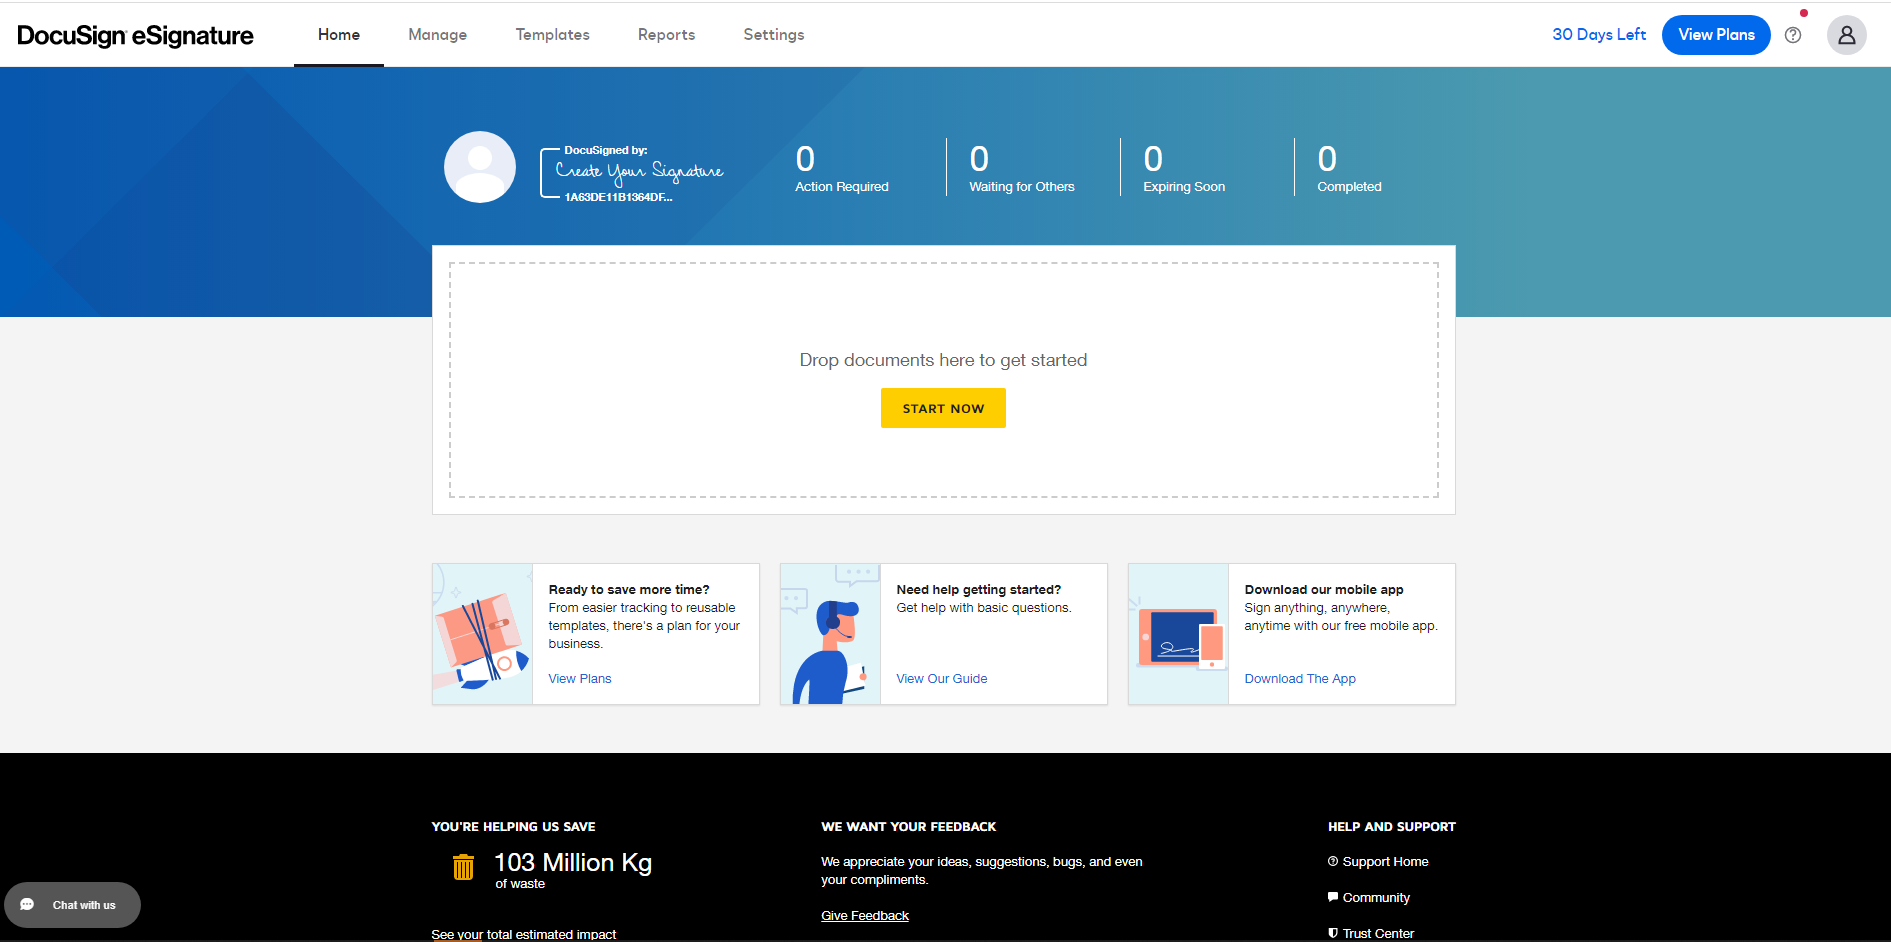
3. Click on Launch DocuSign.
4. Create your signing session from Docusign!