1. After selecting one of the Populating options, you will be redirected to the Editable Forms section.
There might be some fields already filled in depending on the population option selected before. In this case, none of the fields are filled in as I chose to continue without data for training purposes.
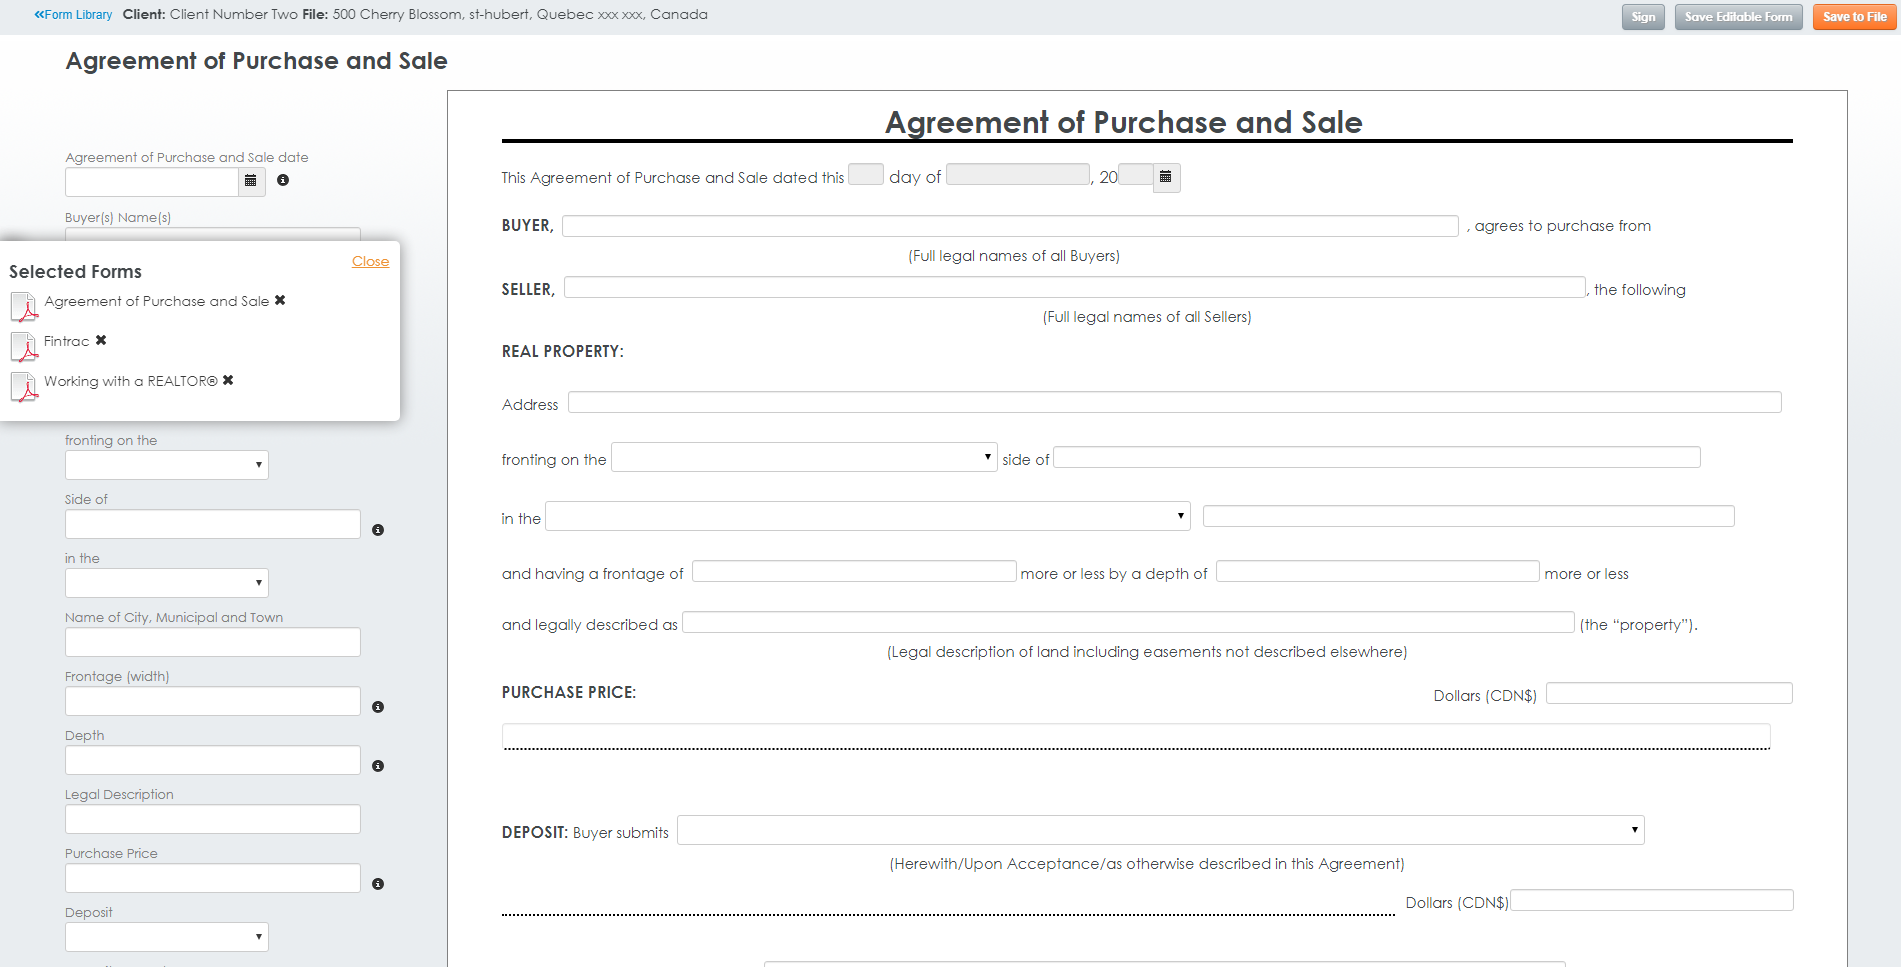
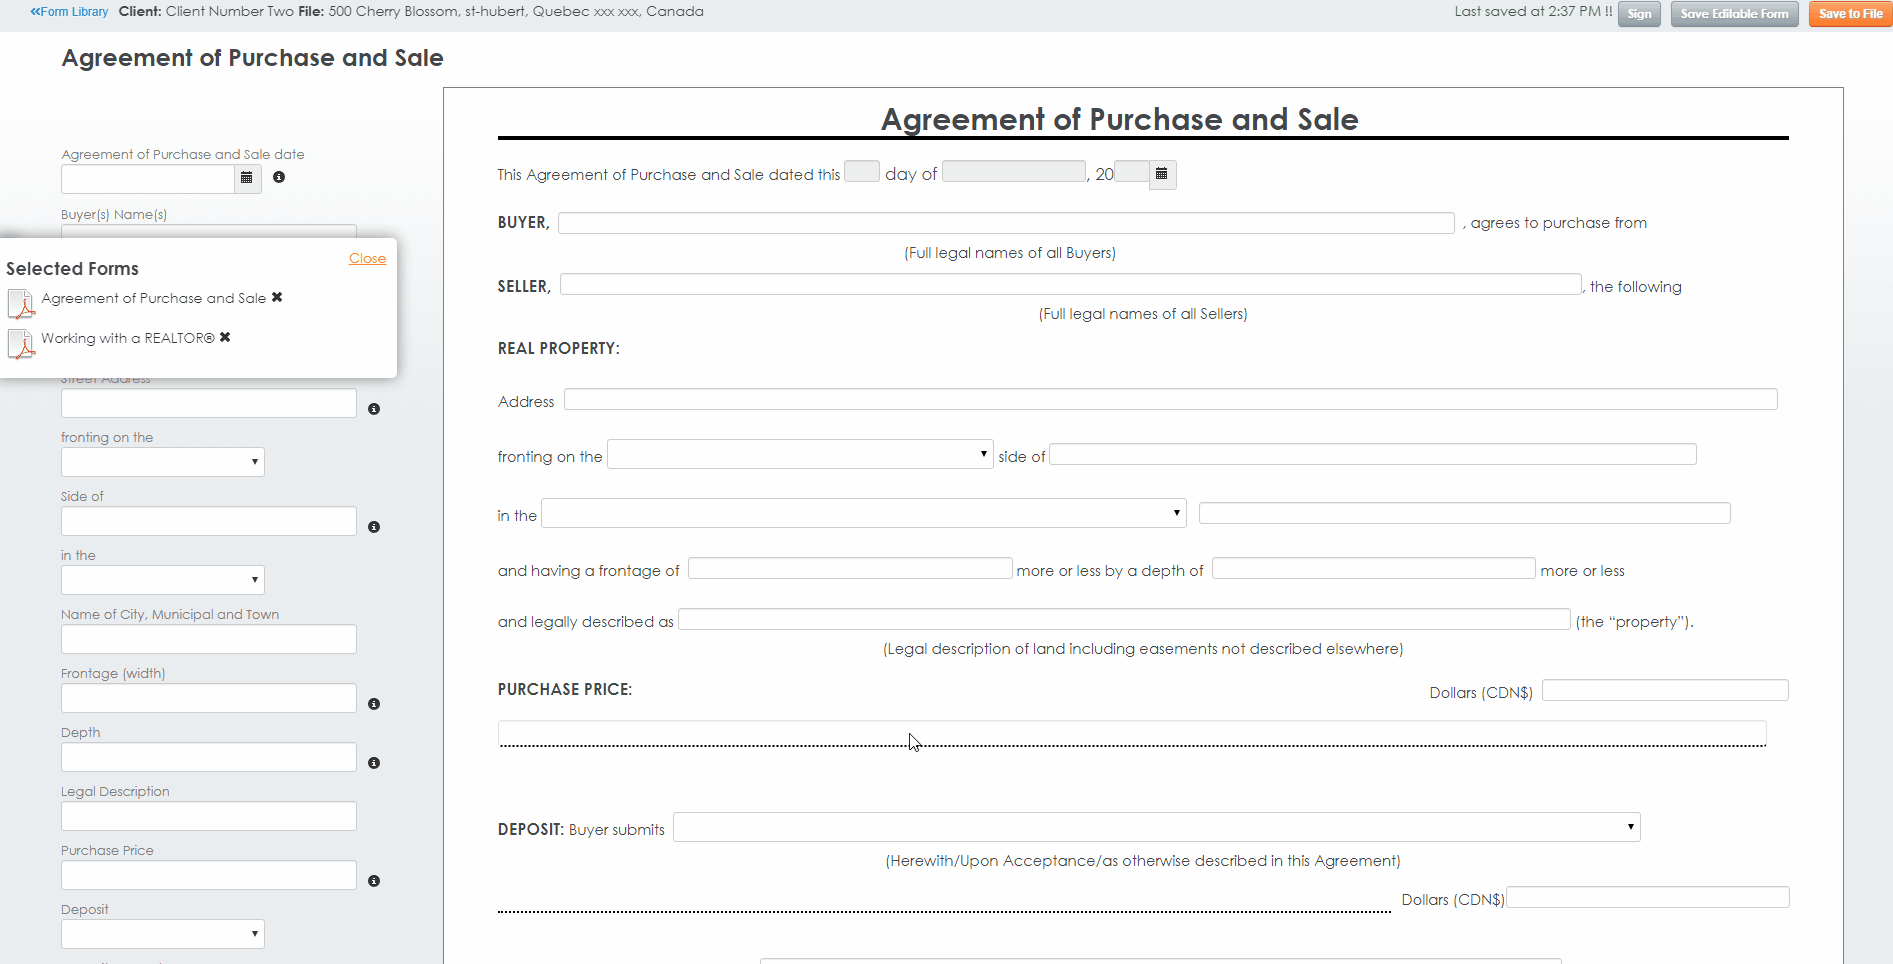
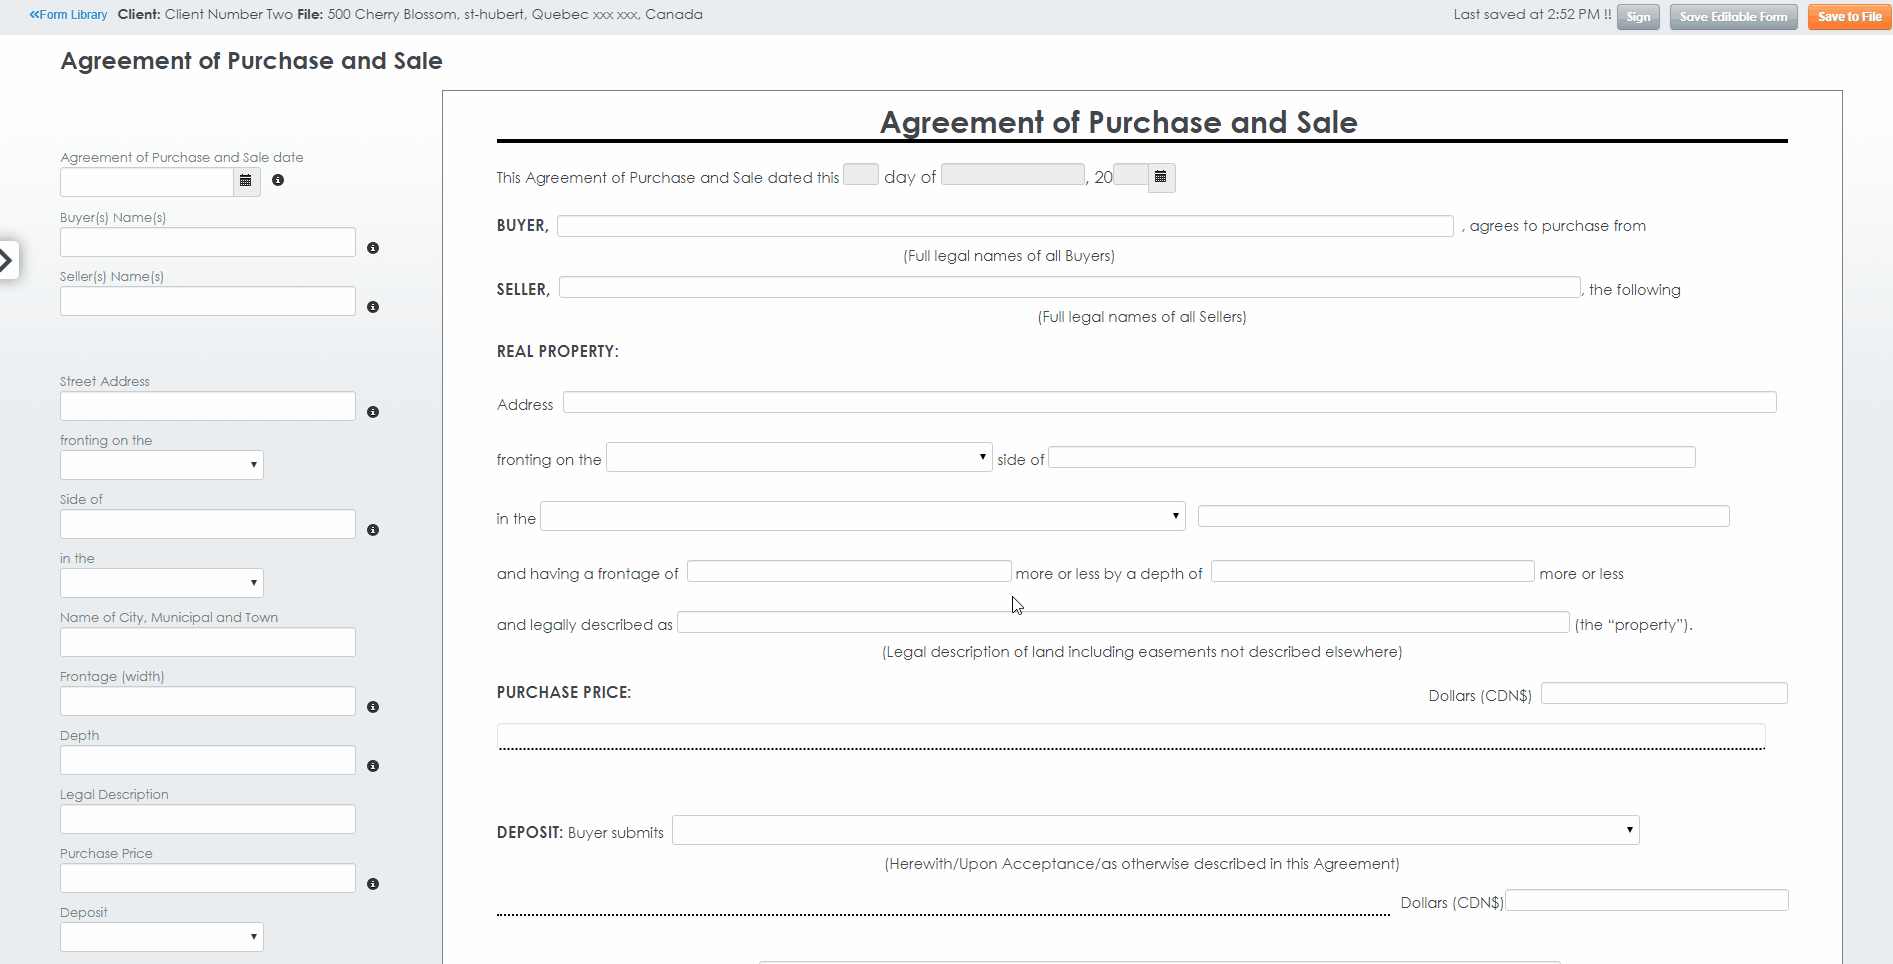
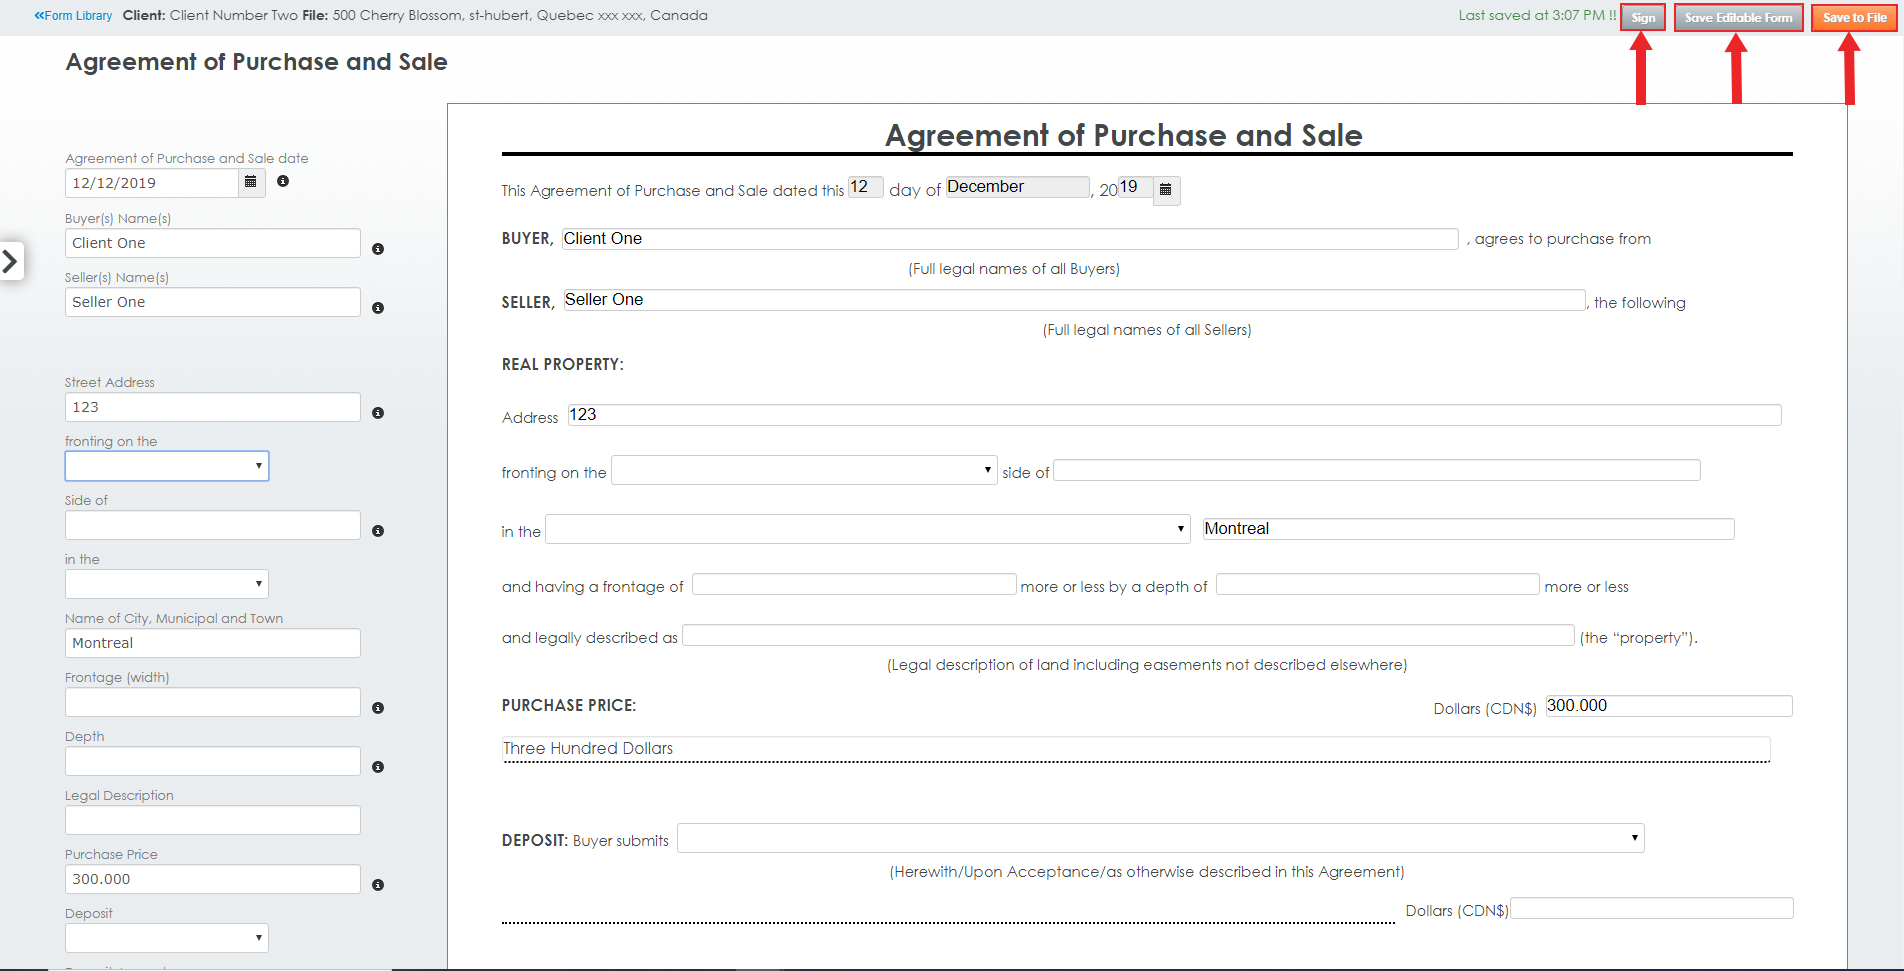
2. You can see the Selected forms to the left of your editable forms. You can Click the Close option for an easier form filling experience or Click on the Arrow to open the Selected forms menu again if you wish to navigate through your forms.
3. To Fill in the form’s fields, you have a couple of options. You can either Click on the fields located inside the form itself or you can Click on the fields located to the right of the form.
Please note that some of the fields will be filled in automatically after entering the information once. For example, if you enter the buyer’s name, it will automatically fill in all the buyer’s name fields in the selected forms.
4. Once all the required fields have been filled in, you can either Print, Save the Editable Form or Save file as a PDF in the document section.
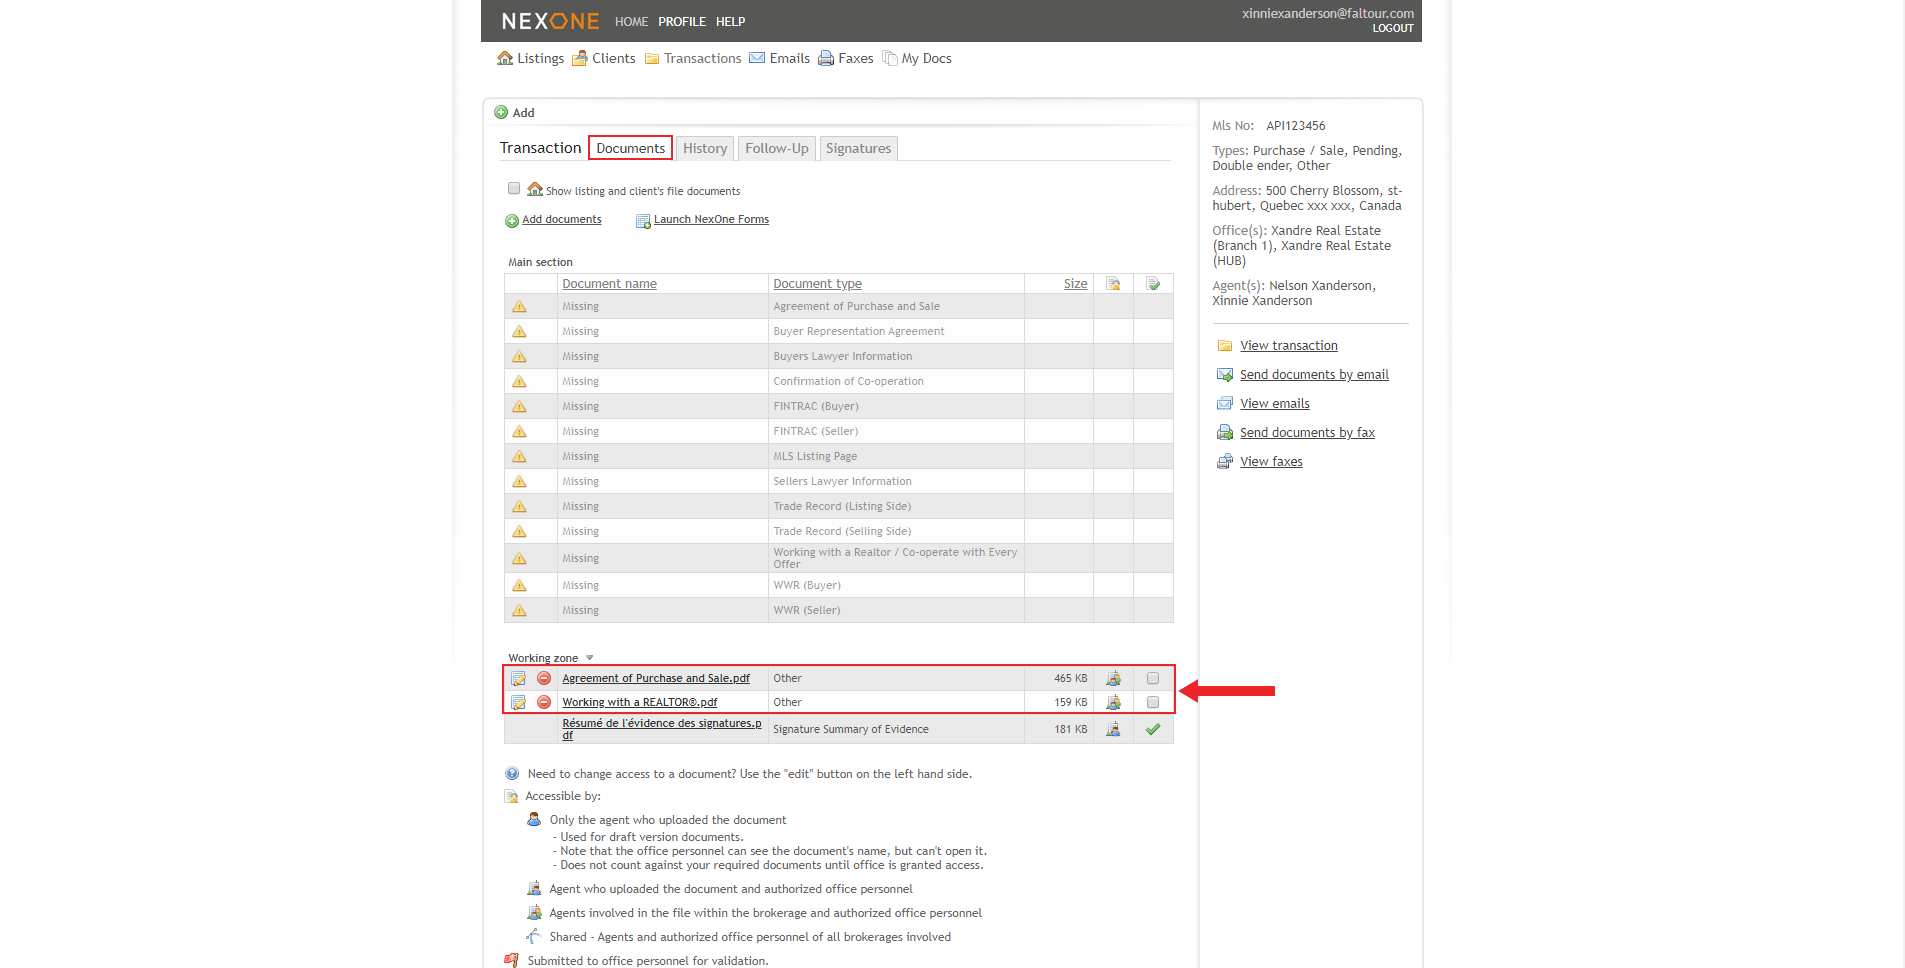
5. In this case I have selected the Save in file option. This will redirect you to the Document section of the selected transaction and Add the forms you just filled in.