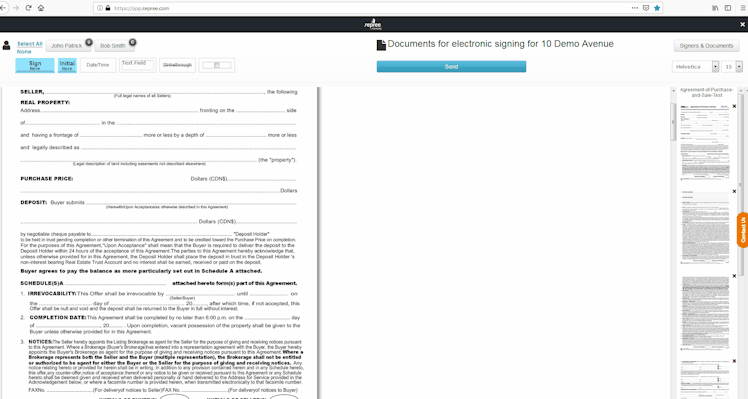
Tag documents for signatures
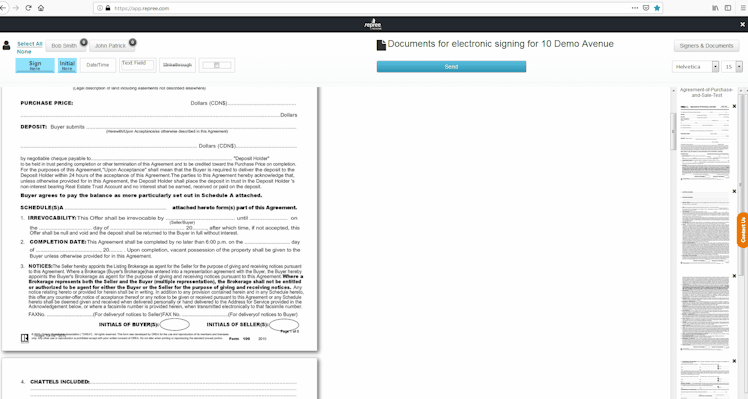
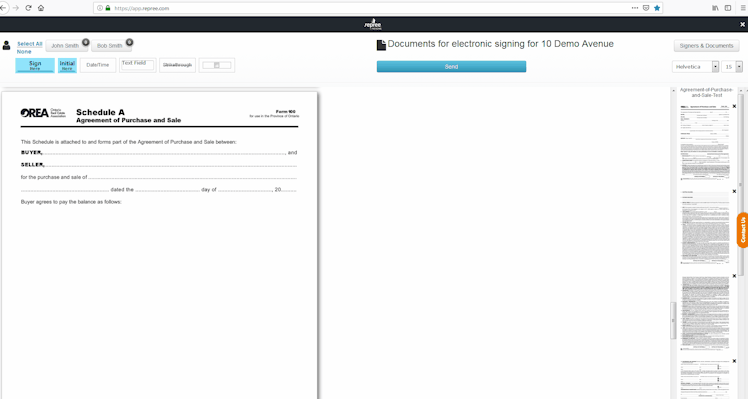
After clicking on Tag Documents for Signatures, you will be redirected to the Tagging Page. You will be able to edit your documents and place your signatures and/or initials for your clients to sign.
Edit your documents:
1. To strike-through text on your document, you must drag the strike-through box on the text you would like to change. To adjust your strike-through, drag the little white box to the right or left:
→ You also have the option to strike-through in a "Z" shape in order to easily strike-through a whole paragraph.

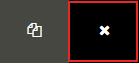
→ To remove a tag, you can drag and drop it out of the document or click on the ![]() .
.
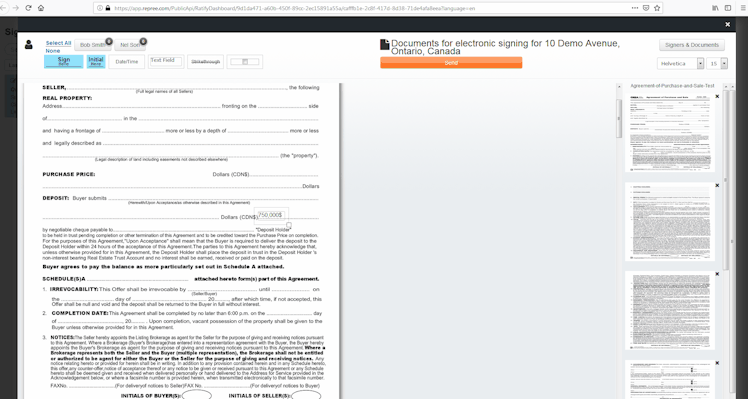
2. To add text in your document, you need to drag the Text Field box. Place the text field box wherever you want to make your changes, then write your new text inside the box. To resize the Text Field box, move the little white box to adjust the size. You also have the Note option to write notes for your clients or the Highlight option to emphasize your text.
→ You can assign a text field or any tags to a particular signer, allowing them to fill in the text field assigned to them. You need to select the signer who will be assigned to the added text before placing your tags.The signer's name under the text field box indicates that this text field is assigned to that particular signer.
3. You can use the Check Mark box option to request your client to make a selection. Here, you need to select your client first. Otherwise, use an unassigned check box tag to add your selections to input forms.
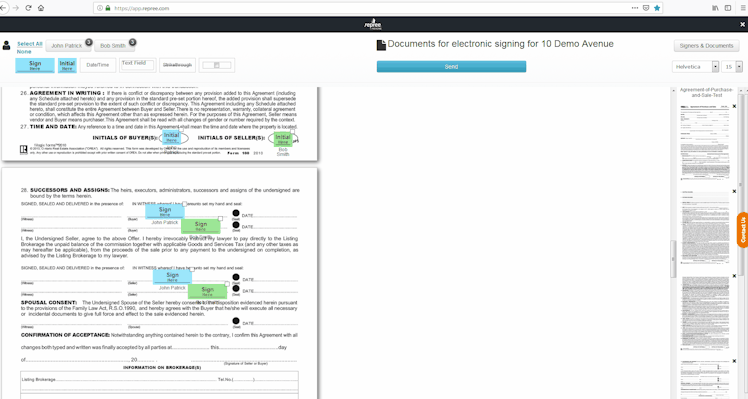
Place your Signatures / Initials:
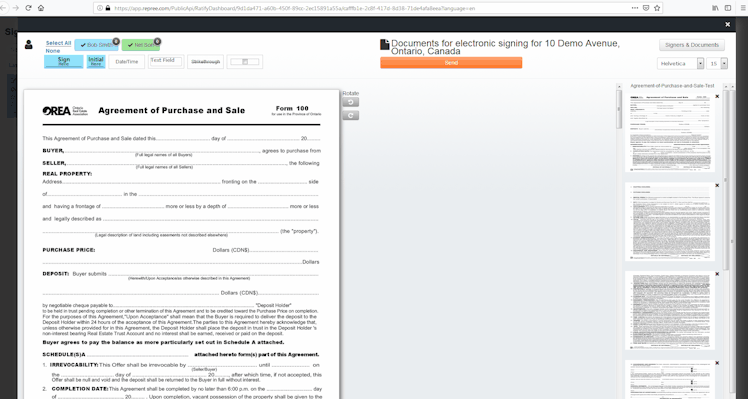
1. Once all the changes have been made to your documents, you can start placing your Tags. At the top of your screen, select the clients for which you want to place your signatures/initials.You can also Multi-Select your clients and drag once for all signers.
2. You need select your client and then place the Date/Time box in your document. After your clients will complete their tags, the Date/Time box will be populated automatically from their local machine. You can:
- Select Time to only have the time;
- Select Date to only have the date;
- Select Date and Time to have the full date (date and time).
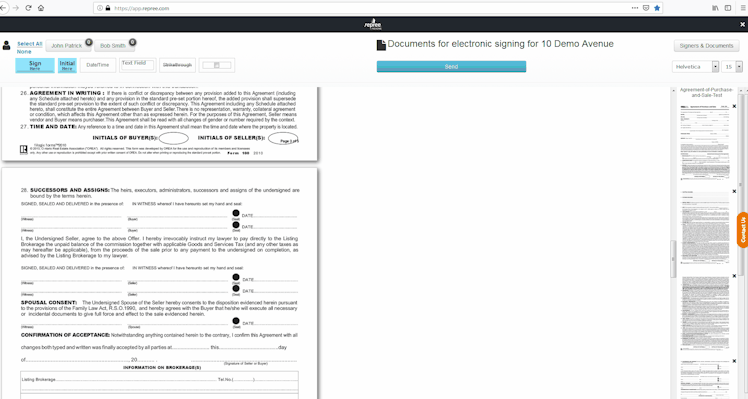
3. Once you have finished placing all your Tags, click Send on your top right hand.