Signing Guide
1. To help guide users in signing, there is a Signing Tour integrated in the system to direct signers to their assigned tags. Click Start Signing to start the tour. 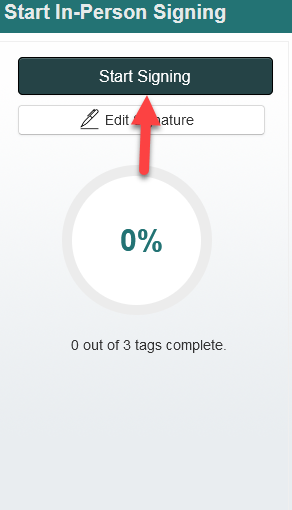
2. This will take the signer to the first assigned tag in the contract. The tag interaction instructions will appear on the popup next to the tag! For example, click the Initial tag to place the Initial. Once you are done, click Next to be taken to the next assigned tag. 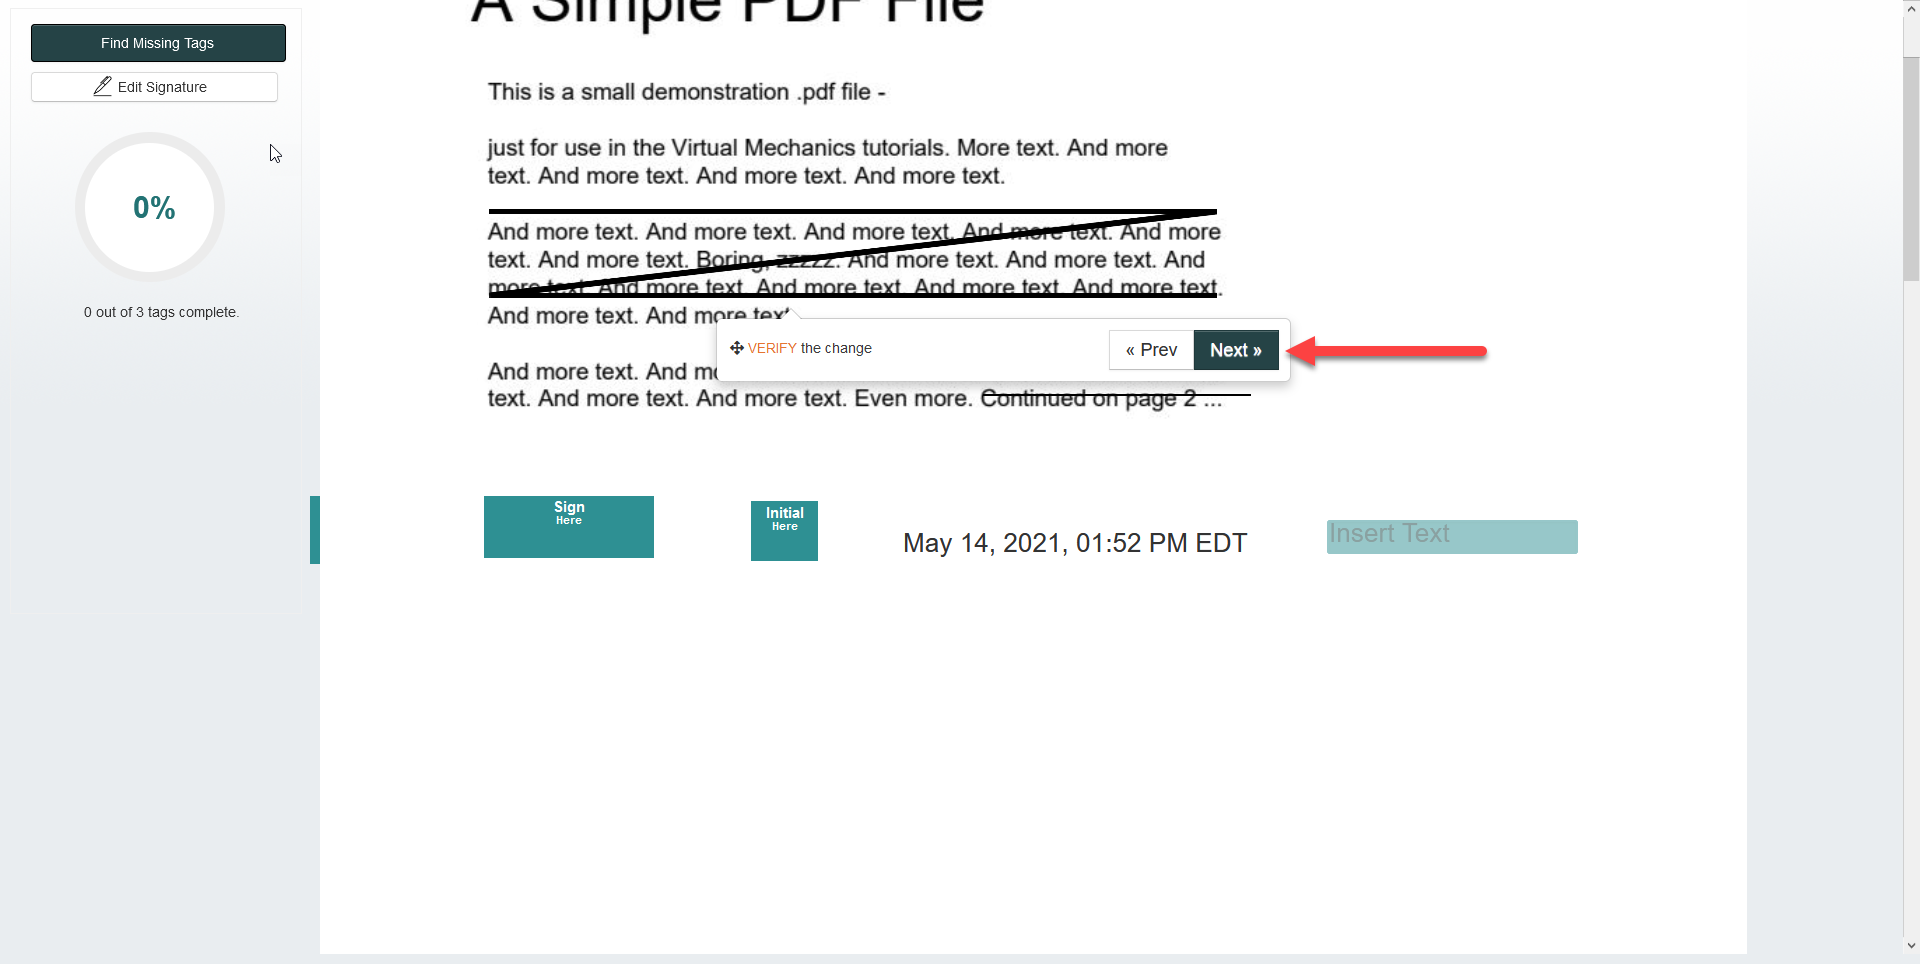
3. The progression bar on the left will indicate how many assigned tags are left. 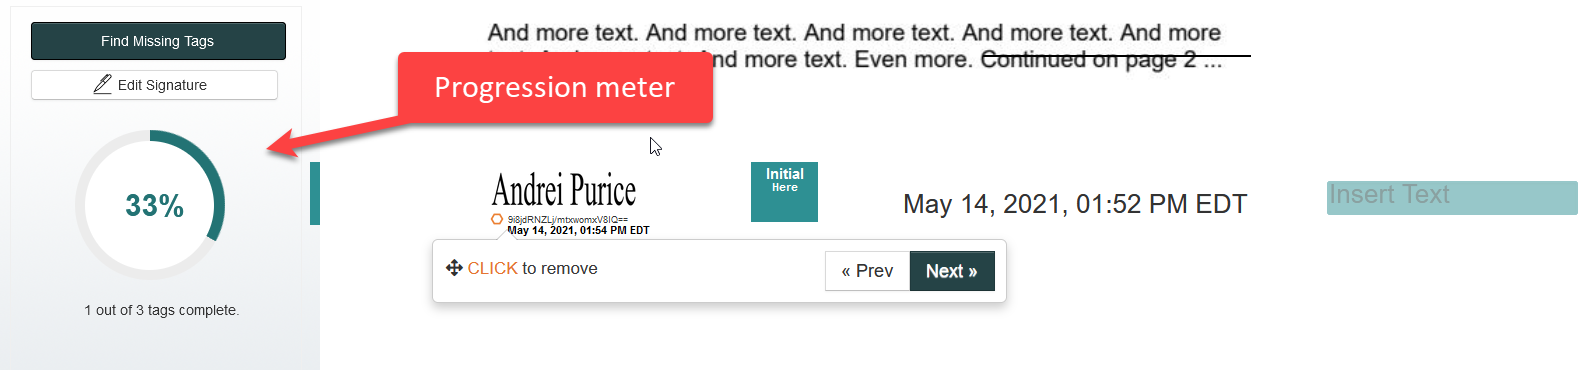
4. If the signer has reached the end of the contract, but the progression bar indicates that tags are pending, click Find Missing Tags and the signer will be re-directed to the next pending tag. A colored tab fixed to the left edge contract will also indicate a pending tag.

Listed below are the different tags and their interactions:

- These are the signature and initial tags. Click on the colored box to apply your signature or initial.

- The date/time tag will automatically populate with the signer's date/time from their device.
- Assigned check box's (1) do not require a check mark, but will need to be acknowledged. Clicking Next on the tag popup will mark the tag as complete. However, Assigned text fields (2) are required to be filled in.